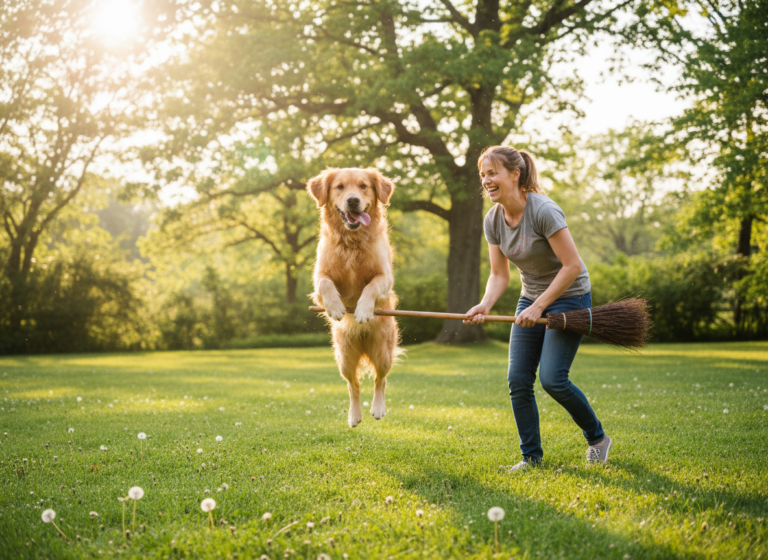
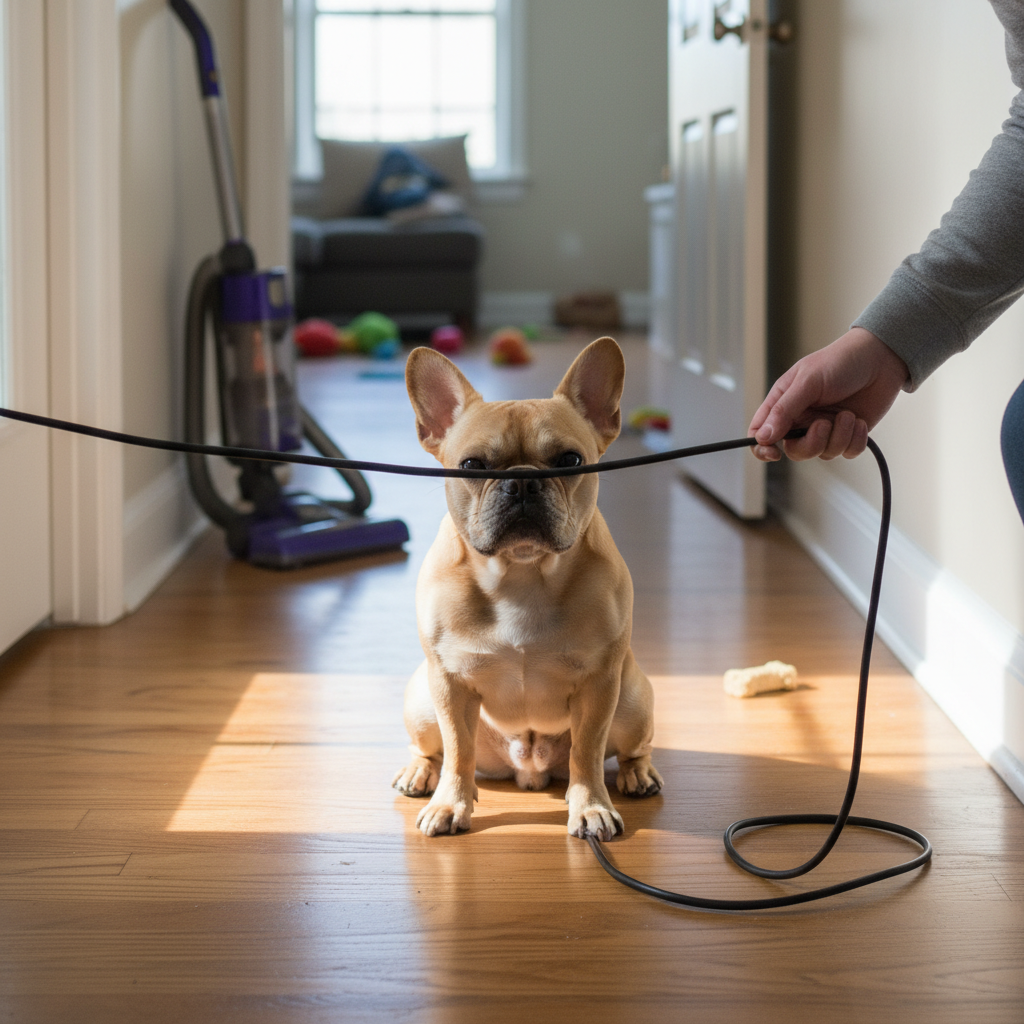
Let’s be honest, the moment the vacuum cleaner comes out of the closet, chaos can ensue. Some dogs bark at it like it’s a metallic monster, others hide under the nearest piece of furniture, and many just seem determined to be exactly where you need to clean. The power cord, in particular, becomes a slithering snake that’s either a terrifying obstacle or a tempting chew toy. But what if we could change the narrative? What if that pesky cord could become a tool for fun, bonding, and a little bit of indoor agility?
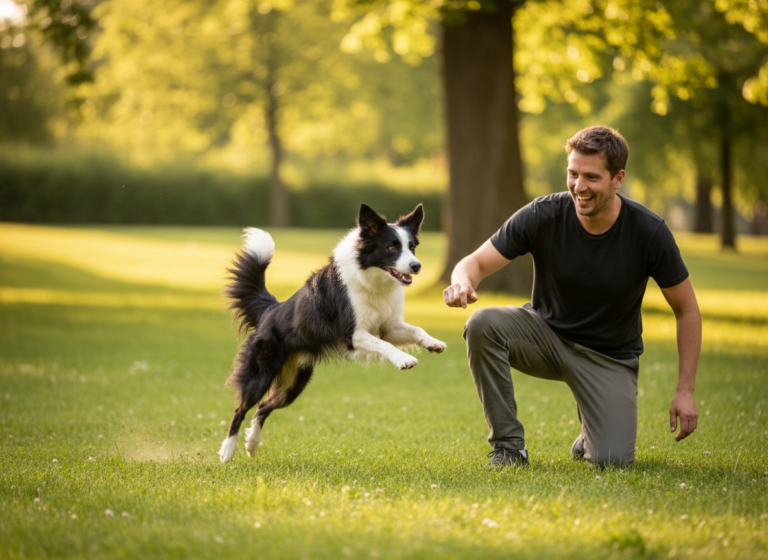
Welcome to the world of at-home agility, where everyday objects transform into training opportunities! Teaching your dog to safely jump the vacuum cord is more than just a cute party trick. It’s a fantastic way to build your dog’s confidence, improve their body awareness, and provide much-needed mental stimulation, especially on rainy days when a long walk is out of the question. This simple exercise strengthens your communication and turns a potentially stressful chore into an engaging game you can both enjoy. In this guide, we’ll walk you through everything you need to know to teach this fun skill safely and effectively, using only positive reinforcement and a whole lot of praise.
Setting the Stage: Gathering Your Tools for Safe Jumping Fun
Before you and your furry friend embark on this jumping journey, it’s best to get all your supplies in order. Having everything ready means you can keep the training session flowing, positive, and focused. The great news is, you likely already have everything you need right at home! This isn’t about fancy equipment; it’s about using what you’ve got to create a fun learning environment.
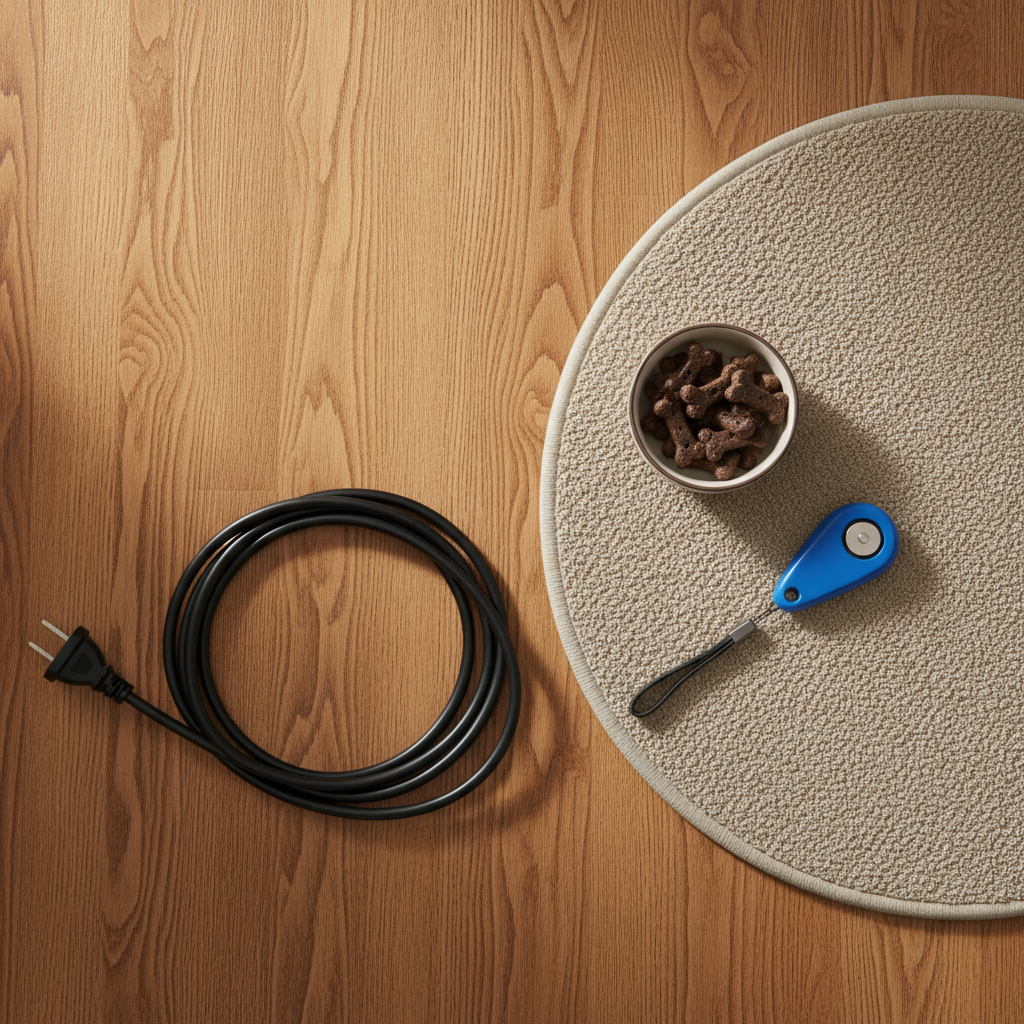
What You’ll Need:
- High-Value Treats: We’re not talking about their everyday kibble. You want something extra special that will really motivate your pup. Think small, soft, smelly treats like tiny pieces of cheese, cooked chicken, or commercial training treats. The goal is to make them think, ‘Wow, it’s totally worth it to pay attention to this cord thing!’
- The Vacuum Cord (Unplugged!): This is your star piece of equipment. CRITICAL SAFETY NOTE: For the entirety of this training, the vacuum cleaner must be completely unplugged from the wall outlet. We are teaching a fun trick, and we never want to associate it with a live electrical cord.
- A Non-Slip Surface: Safety is paramount. Hardwood, tile, or laminate floors can be slippery for paws, especially during takeoff and landing. Conduct your training sessions on a rug, carpet, or a yoga mat to provide excellent grip and cushion for your dog’s joints.
- A Clicker (Optional, but Recommended): If you’re familiar with clicker training, this is a perfect time to use it. A clicker is a tool that makes a distinct sound to mark the exact moment your dog does the right thing. This precise communication can speed up the learning process significantly. If you don’t use a clicker, a consistent verbal marker like a sharp “Yes!” works just as well.
- Patience and a Positive Attitude: This is the most important tool in your kit! Every dog learns at a different pace. Your job is to be their patient, encouraging coach. Keep it light, keep it fun, and be ready to celebrate the smallest bits of progress. Your positive energy is contagious!
Expert Tip: Keep your training sessions short and sweet, especially in the beginning. Aim for multiple 3-5 minute sessions throughout the day rather than one long, grueling session. This keeps your dog excited to learn and prevents them from getting frustrated or bored.
Step-by-Step: From Cord-Curious to Confident Jumper
Alright, you’ve got your treats and your unplugged cord. Now for the fun part! This process is all about breaking down the final behavior—a confident jump—into tiny, achievable steps. We’ll use a technique called ‘shaping,’ where we reward successive approximations of the goal. Remember to go at your dog’s pace and shower them with praise!
-
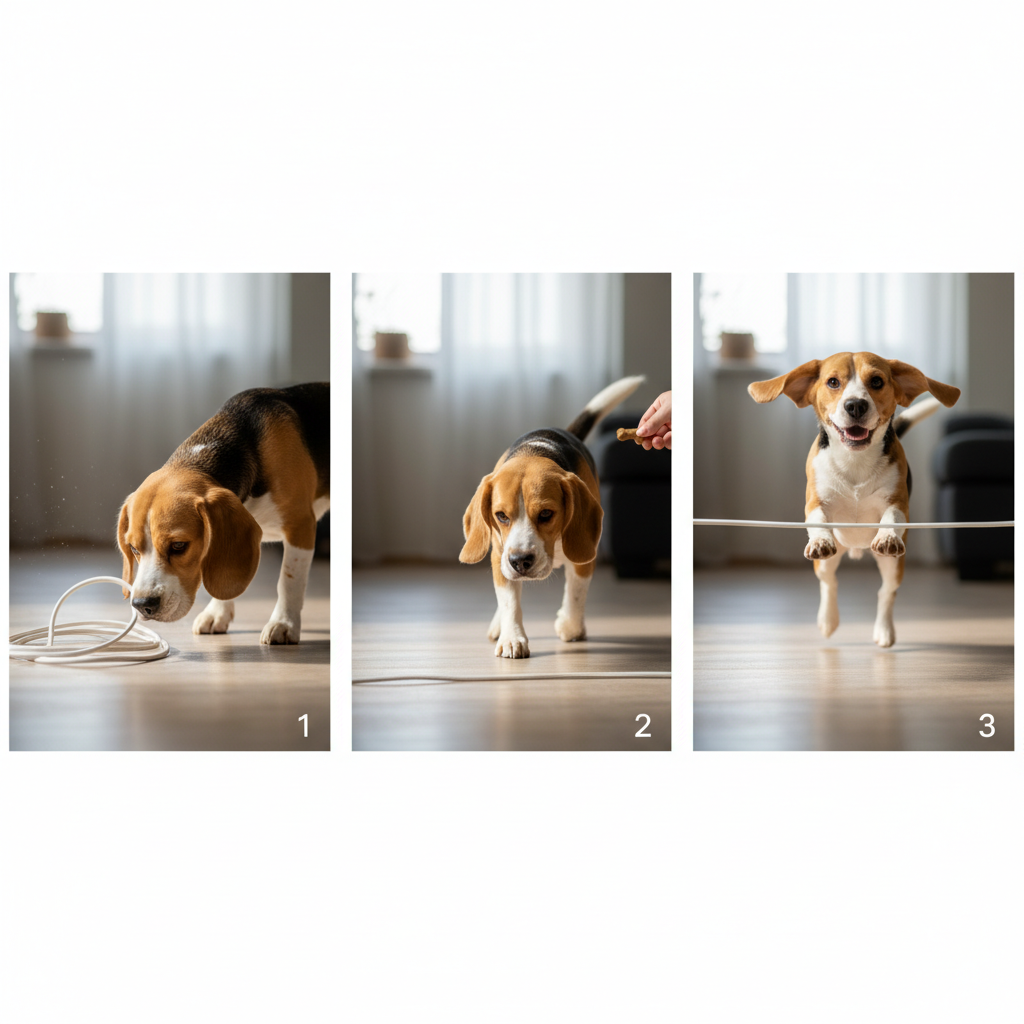
Step 1: Introduce the Cord
First things first, let’s make sure the cord isn’t a scary monster. Lay the unplugged cord flat on your non-slip training surface. Let your dog investigate it. If they sniff it, click (or say “Yes!”) and give them a treat. If they ignore it, that’s okay too. Toss a treat near the cord, then on the cord itself. The goal here is simple: Cord = Awesome Treats! Do this for a minute or two until your dog is completely comfortable with the cord lying on the floor.
-
Step 2: The ‘Step-Over’
With the cord still flat on the ground, use a treat to lure your dog from one side to the other. Hold the treat near their nose and guide them across the cord. The moment their last paw crosses it, click/”Yes!” and give them the treat. Repeat this several times in both directions. They aren’t jumping yet; they are simply learning to cross this new line on the floor.
-
Step 3: Introduce Your Cue
Once your dog is reliably stepping over the cord, it’s time to add a verbal cue. Just as your dog is about to step over, say your chosen word in an upbeat, happy tone. Good options include “Jump,” “Over,” “Hop,” or “Hup!” As soon as they cross, click/”Yes!” and reward. The sequence is: Say Cue -> Dog Performs Action -> Mark & Reward. After a few repetitions, they’ll start to associate your word with the action of crossing the cord.
-
Step 4: Create a Tiny Hurdle
This is where the ‘jump’ begins! While holding the cord, simply lift it one inch off the ground. That’s it. For a small dog, even half an inch is enough. Make it so low that it’s barely an obstacle. Use your verbal cue (“Jump!”) and lure them over with a treat just as you did before. Most dogs won’t even notice the change and will hop over it naturally. When they do, have a jackpot party! Give them lots of treats and praise. This is a big step!
-
Step 5: Gradually Increase the Height
Over several training sessions, you can *slowly* increase the height. We’re talking fractions of an inch at a time. The goal is for the jump to always be incredibly easy and successful for your dog. If they knock the cord, hesitate, or try to go around, you’ve raised it too high, too fast. Simply lower it back to the last height where they were successful and practice a few more times before trying again. For safety, the jump should never be higher than your dog’s wrist (carpal) joint. This is a low-impact, fun trick, not a high-jump competition.
-
Step 6: Fade the Lure
As your dog gets the hang of it, you can start to fade the food lure. Instead of holding a treat to guide them, use an empty hand with the same motion. When they jump, click/”Yes!” and then give them a treat from your other hand. Eventually, your hand signal and verbal cue will be enough to prompt them to jump, and the treat becomes a reward for a job well done, not a bribe to get them over.
Keeping it Safe and Fun: The Golden Rules of Cord Agility
While this is a fantastic and relatively simple trick to teach, safety should always be your number one priority. Turning a blind eye to safety can lead to injury or create a negative association with what should be a fun activity. Before you get too carried away with your dog’s newfound acrobatic skills, let’s establish some non-negotiable ground rules.
- Rule #1: ALWAYS Train with an Unplugged Cord. This is the most important rule and bears repeating. Never, ever, under any circumstances, should you use a cord that is plugged into an electrical outlet. This eliminates any risk of electric shock and prevents the vacuum from suddenly turning on and terrifying your dog.
- Rule #2: Non-Slip Surfaces are a Must. Imagine trying to do a jump on a slippery floor in your socks. It’s a recipe for disaster! Ensure your dog has a secure footing by training on a carpet, a large area rug, or a set of interlocking foam mats. This protects their joints and prevents dangerous slips and falls.
- Rule #3: Know Your Dog’s Limits. Not all dogs are built for jumping. Puppies whose growth plates have not yet closed (typically under 12-18 months) should not be encouraged to jump. Senior dogs with arthritis or dogs with known back or joint issues should also skip this activity. When in doubt, consult your veterinarian. Always keep the jumps very low, regardless of your dog’s athletic ability.
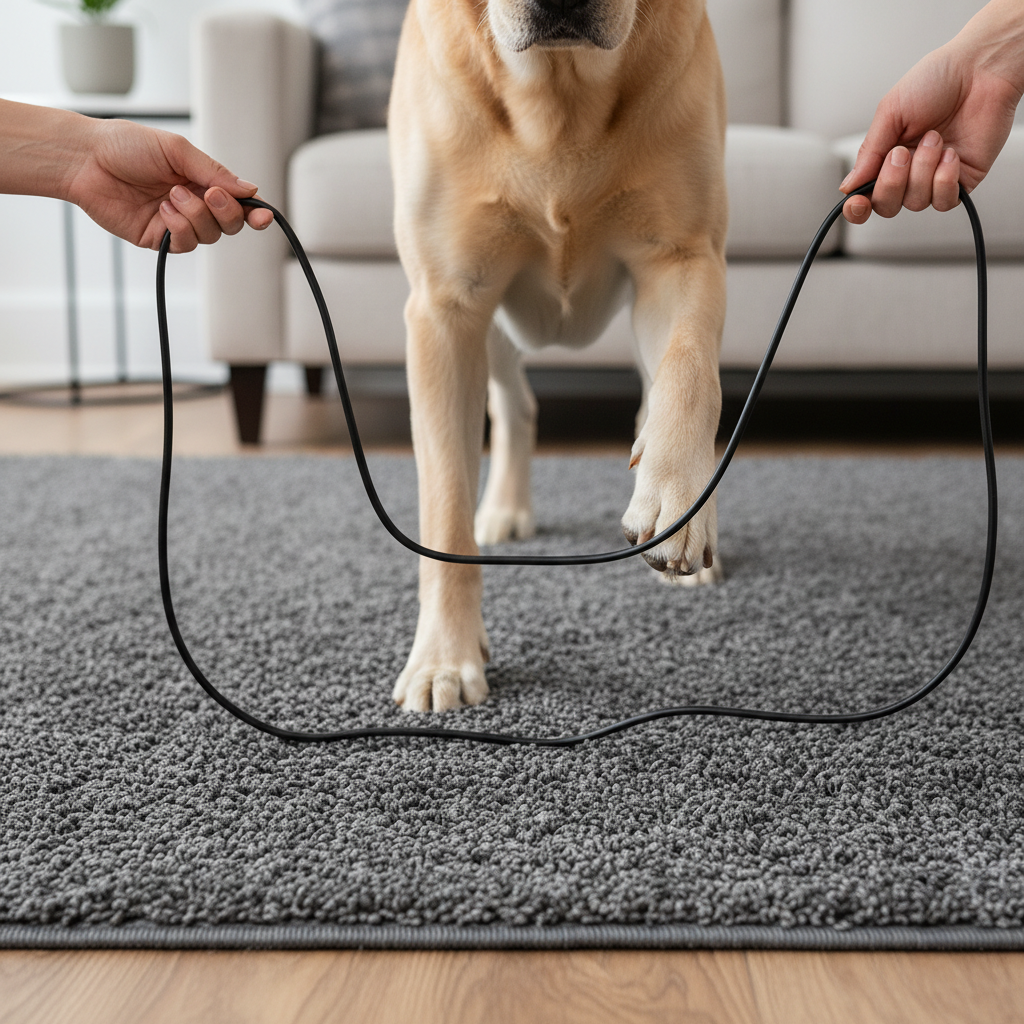
- Rule #4: Keep it Loose. When you’re holding the cord, don’t hold it taut like a tightrope. Keep it slack and be ready to drop it instantly if your dog’s paw catches it. A taut cord can trip them up and cause a nasty tumble. The cord should always give way easily.
- Rule #5: Keep Sessions Short and Positive. End each training session on a high note, with a successful jump and lots of praise. If you or your dog are getting frustrated, it’s time to stop. Take a break and try again later. Training should always be a positive experience that builds your bond, not a chore that creates stress.
Remember, the goal isn’t to create a canine Olympian. It’s to have fun, build confidence, and burn off a little mental and physical energy in a safe, controlled way. Prioritizing safety ensures this remains a positive party trick for years to come.
Oops! Troubleshooting Common Sticking Points
Even with the best plan, you might run into a few little hiccups along the way. Don’t worry, it’s completely normal! Every dog is an individual, and they all have their own unique learning styles and anxieties. Here’s how to troubleshoot some of the most common issues you might encounter while teaching the cord jump.
My Dog is Scared of the Cord or Vacuum.
This is very common, as vacuums are loud and unpredictable. If the cord itself is scary, go back to step one. Don’t even try to get them to cross it yet. Simply place the cord on the floor and sprinkle high-value treats all around and on top of it. Do this for a few days without asking for any other behavior. Let your dog discover on their own that the cord makes treats appear. This process, called counter-conditioning, changes their emotional response from ‘scary thing!’ to ‘magic treat snake!’.
My Dog Keeps Going Around the Cord Instead of Over It.
Ah, the clever pup who looks for the path of least resistance! This is an easy fix. Set up your training session in a hallway or doorway. The walls will act as natural barriers, making going *over* the cord the easiest and most obvious option. You can also create your own ‘channel’ using couch cushions or storage bins. Once your dog gets the idea of going over it in the channel, you can gradually practice in more open spaces.
My Dog Tries to Bite or Chew the Cord.
If your dog is grabbing the cord with their mouth, stop the session immediately. This is a safety issue we don’t want to encourage. Work on a solid ‘Drop It’ or ‘Leave It’ cue separately from the jump training. When you re-introduce the cord jump, keep the sessions very short and reward only for jumping, not for any mouth contact. If they bite the cord, say “Ah-ah,” remove the cord for 30 seconds, and then try again. They will quickly learn that putting their mouth on the cord makes the fun game stop.
My Dog Hesitates or Seems Unsure.
Hesitation is often a sign of confusion or a lack of confidence. It usually means you’ve progressed a step too quickly. Take a deep breath and go back to the last step where your dog was 100% successful and happy. If they were great at stepping over the flat cord but hesitate when you lift it an inch, go back to the flat cord for a few more successful repetitions. Rebuild their confidence with easy wins before making it slightly more challenging again. Your patience will pay off!
Conclusion
Congratulations! You now have all the tools and knowledge to transform that everyday vacuum cord from a household nuisance into a source of joy, learning, and connection for you and your dog. By following these safe, positive, and step-by-step instructions, you’re not just teaching a fun trick; you’re enriching your dog’s life. You’re providing crucial mental stimulation that wards off boredom, building their physical coordination, and strengthening the incredible bond that you share.
Remember to always keep it safe, keep it positive, and celebrate every tiny victory along the way. The next time you pull out the vacuum cleaner, you might just see a wagging tail and a pair of eager eyes, ready for another fun session of at-home agility. Happy training!