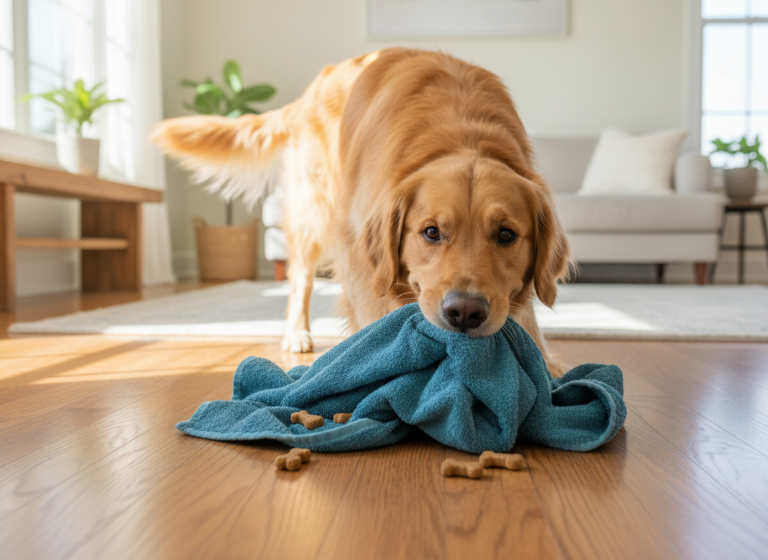
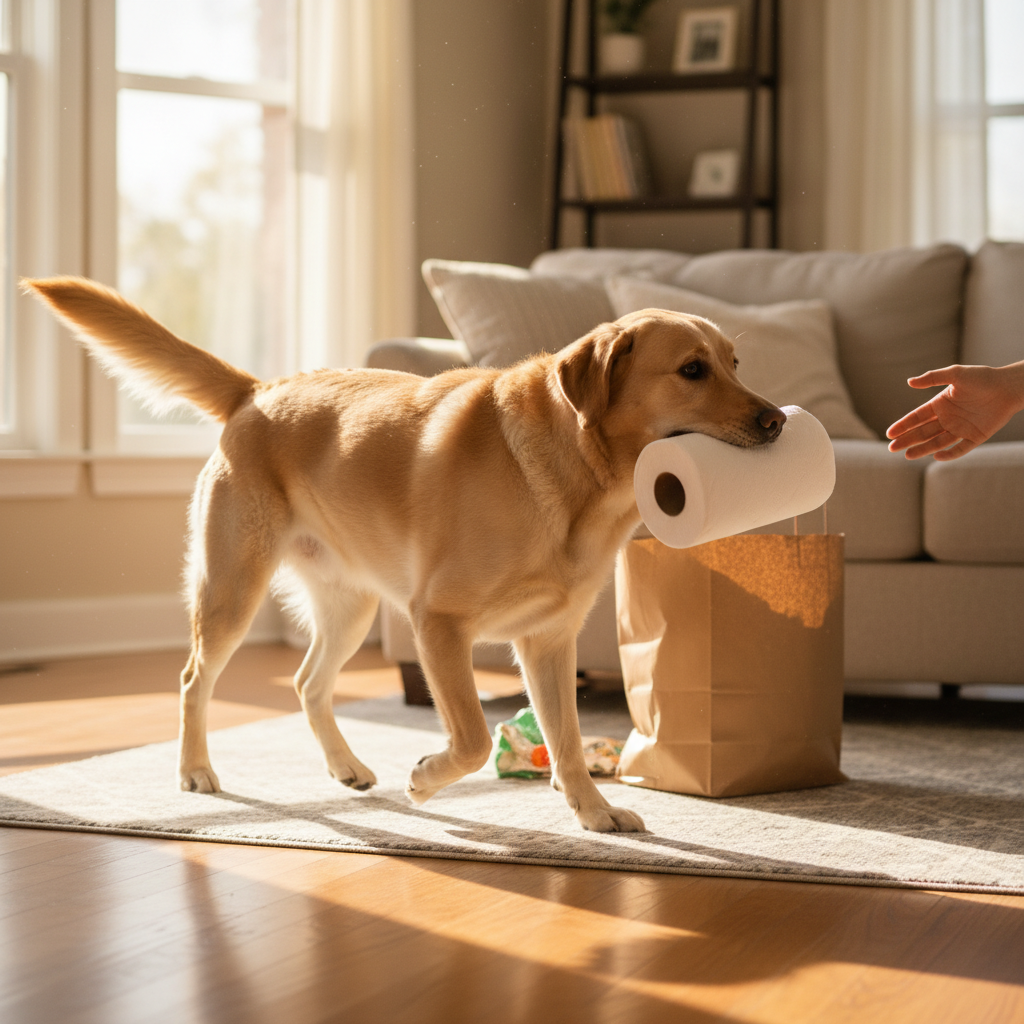
We’ve all been there: juggling multiple grocery bags, fumbling for keys, and trying not to drop the eggs. What if your furry best friend could lend a paw? Teaching your dog to remove items from grocery bags isn’t just an impressive party trick; it’s a fantastic way to provide mental stimulation, build their confidence, and strengthen your bond. It turns a mundane chore into an exciting game for your pup!
This isn’t about turning your dog into a butler (though that would be nice!), but about engaging their brilliant mind and natural desire to work with you. Using positive reinforcement, we can teach them this helpful task in a way that feels like pure fun. In this guide, we’ll walk you through everything you need, from the foundational commands to the final ‘unpack’ cue, and we’ll even troubleshoot some common bumps along the road. Ready to unlock your dog’s hidden talents? Let’s get started!
Setting the Stage for Success: What You’ll Need
Setting the Stage for Success: What You’ll Need
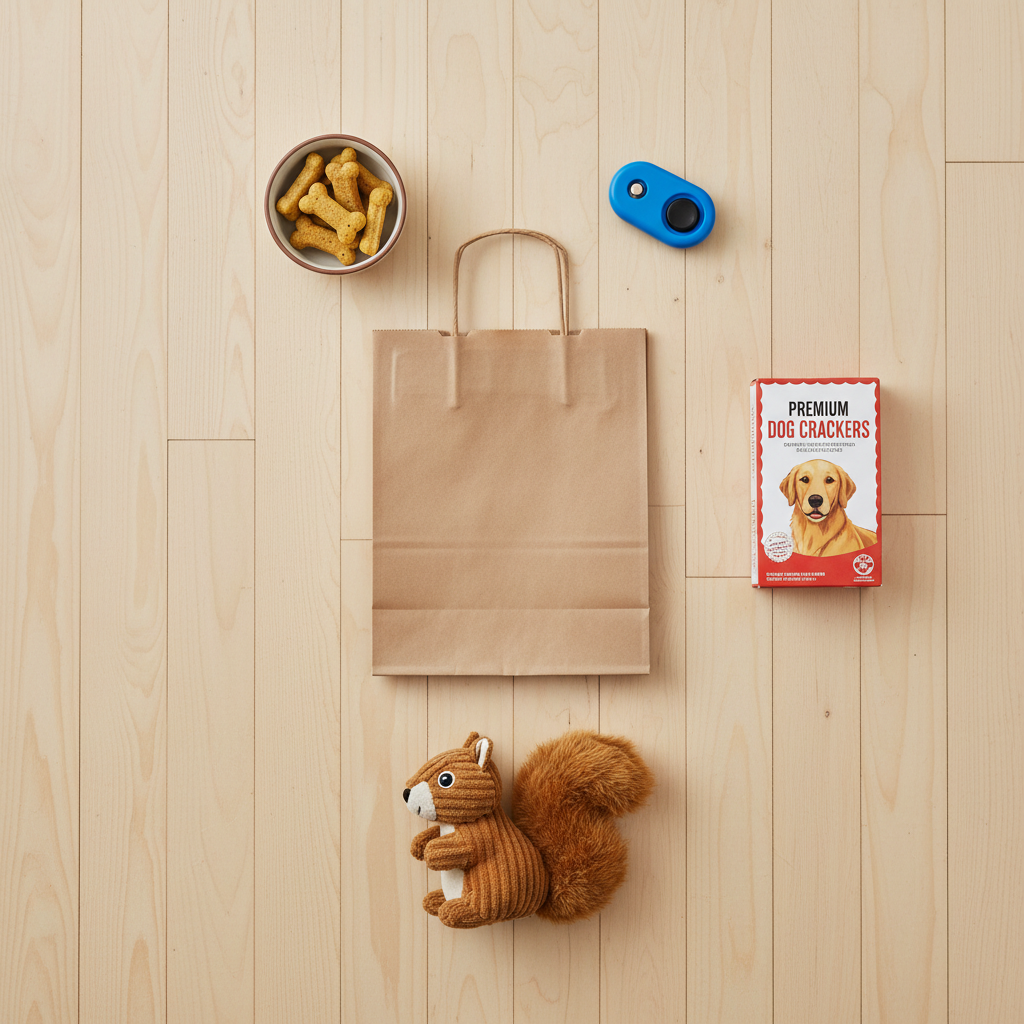
Before you and your furry assistant can get to work, it’s important to gather a few key supplies. Proper preparation makes the training process smoother, more effective, and a lot more fun for both of you. Think of this as creating the perfect classroom for your canine student. Here’s your checklist for success:
- High-Value Treats: We’re not talking about their everyday kibble. You need the good stuff! Think small, soft, smelly treats that your dog absolutely loves, like tiny pieces of chicken, cheese, or commercial training treats. The goal is to make the reward so irresistible that your dog is eager to work for it.
- A Clicker (Optional but Recommended): A clicker is a fantastic tool for marking the exact moment your dog does something right. This precise communication can speed up the learning process significantly. If you’re not using a clicker, choose a consistent marker word like ‘Yes!’ said in an enthusiastic tone.
- Sturdy Paper Grocery Bags: Start with paper bags that have a flat bottom and can stand up on their own. This makes it easier for your dog to access the items without the bag collapsing on them. You can eventually move to reusable bags, but paper is perfect for learning.
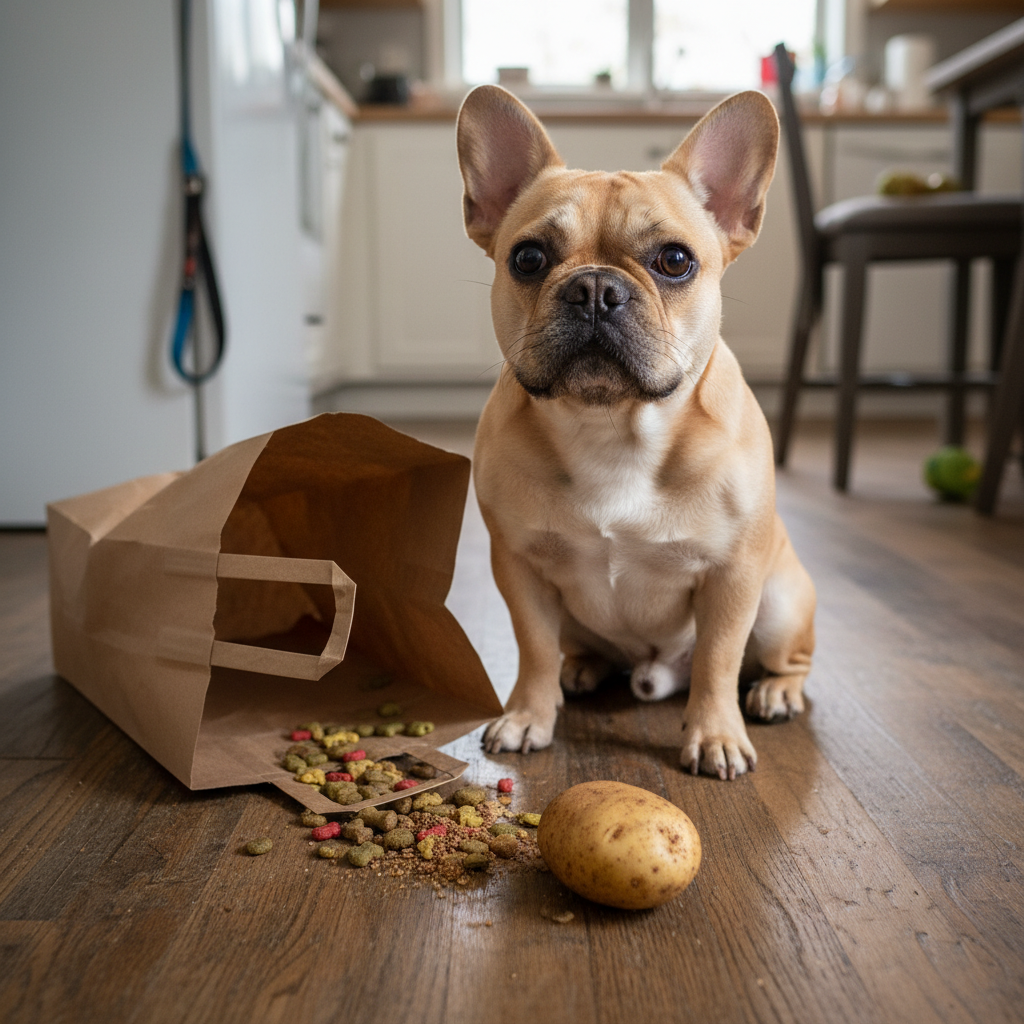
- Dog-Safe Training Items: You don’t want to start with a carton of eggs! Choose a few items that are easy for your dog to pick up and hold, and that won’t break or be tempting to chew. Good starting options include:
- Empty cereal or cracker boxes
- Plastic water bottles (empty, with the cap and ring removed)
- A roll of paper towels
- One of their favorite soft toys
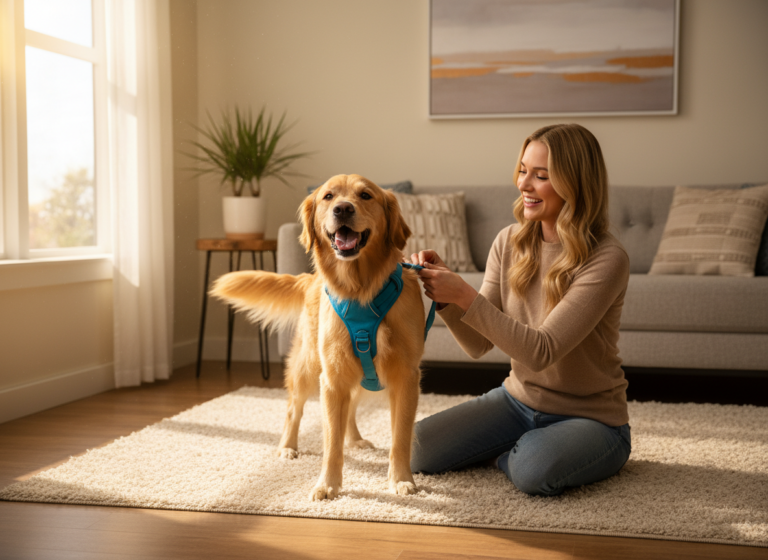
- A Quiet Training Space: Choose a room in your house with minimal distractions. Turn off the TV, put your phone on silent, and make sure other pets or family members won’t interrupt your session. A calm environment helps your dog focus on the task at hand.
Remember, the golden rule of dog training is to keep sessions short and sweet. Aim for 5-10 minute sessions once or twice a day. Always end on a positive note when your dog is successful and still engaged. This keeps them excited for the next lesson!
Step 1: Mastering the ‘Take It’ and ‘Drop It’ Cues
Step 1: Mastering the ‘Take It’ and ‘Drop It’ Cues
Before your dog can unpack a bag, they need to understand the two most critical parts of the job: how to gently pick something up and how to let it go on cue. These foundational skills are the building blocks for our entire trick. Let’s break them down into fun, simple games.
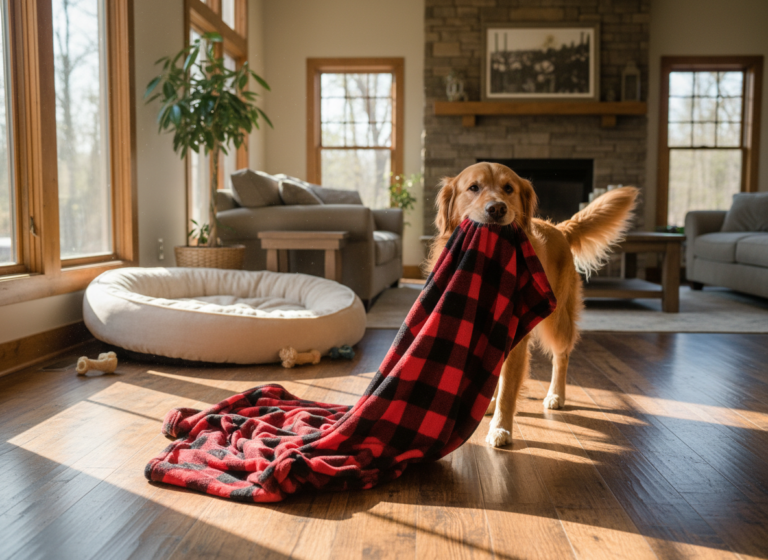
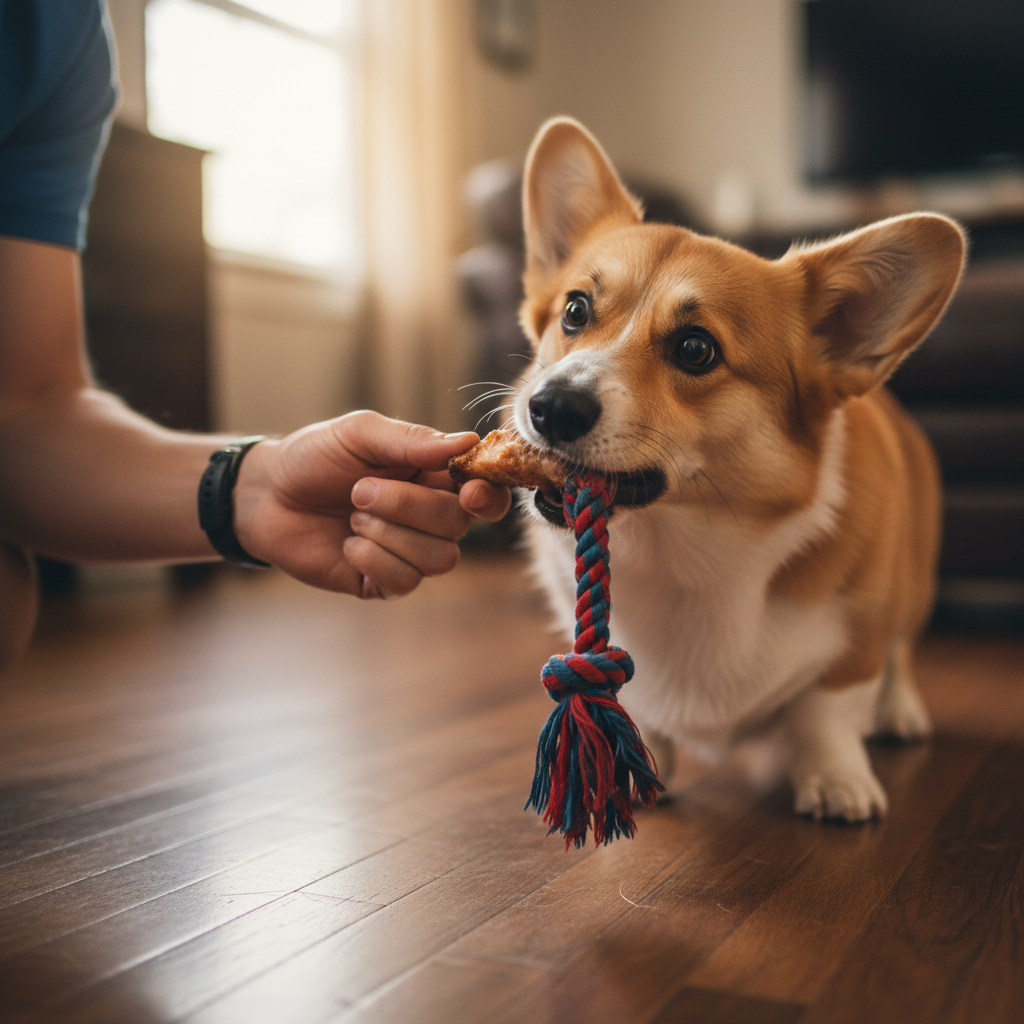
Teaching ‘Take It’
The goal here is a gentle, soft mouth, not a chomp. We want our dog to hold the item carefully.
- Start with an object your dog likes, like a favorite toy. Hold it out in front of them. The second they show any interest—sniffing it, booping it with their nose—click (or say ‘Yes!’) and give them a treat. Repeat this a few times.
- Next, wait for more. Hold the object out and wait for them to open their mouth and touch it. The moment their teeth or mouth make contact, click and treat. We’re shaping the behavior step by step.
- Encourage a hold. Once they’re reliably mouthing the object, delay your click for a split second. You want them to hold the object, even for a moment, before you click and treat. Gradually increase the duration of the hold.
- Add the cue. When your dog is consistently taking and holding the item, you can add the verbal cue. Say ‘Take It’ just as you present the object. With repetition, they’ll associate the words with the action.
Teaching ‘Drop It’
‘Drop It’ should be a happy trade, not a forceful command. We want them to want to give you the item.
- The Trade-Up Game: Give your dog an object to hold (one they like, but not their absolute favorite). Then, present a super high-value treat near their nose. To eat the treat, they’ll have to drop the item. The moment they do, say ‘Yes!’ and give them the delicious reward.
- No Grabbing! It’s crucial that you let them drop the item on their own. Don’t pull it from their mouth. Let the amazing treat do the work.
- Add the Cue: Once they are reliably dropping the item to take the treat, start saying ‘Drop It’ right before you present the treat. Over time, they will learn that ‘Drop It’ means an amazing treat is coming their way.
- Practice with different objects. Once they master the game with one toy, practice with other dog-safe items to help them generalize the skill.
Expert Tip: Keep the energy positive and playful. If your dog seems frustrated or confused, you might be moving too fast. Simply go back to the last step where they were successful and practice a bit more before moving forward.
Step 2: From the Floor to the Bag
Step 2: From the Floor to the Bag
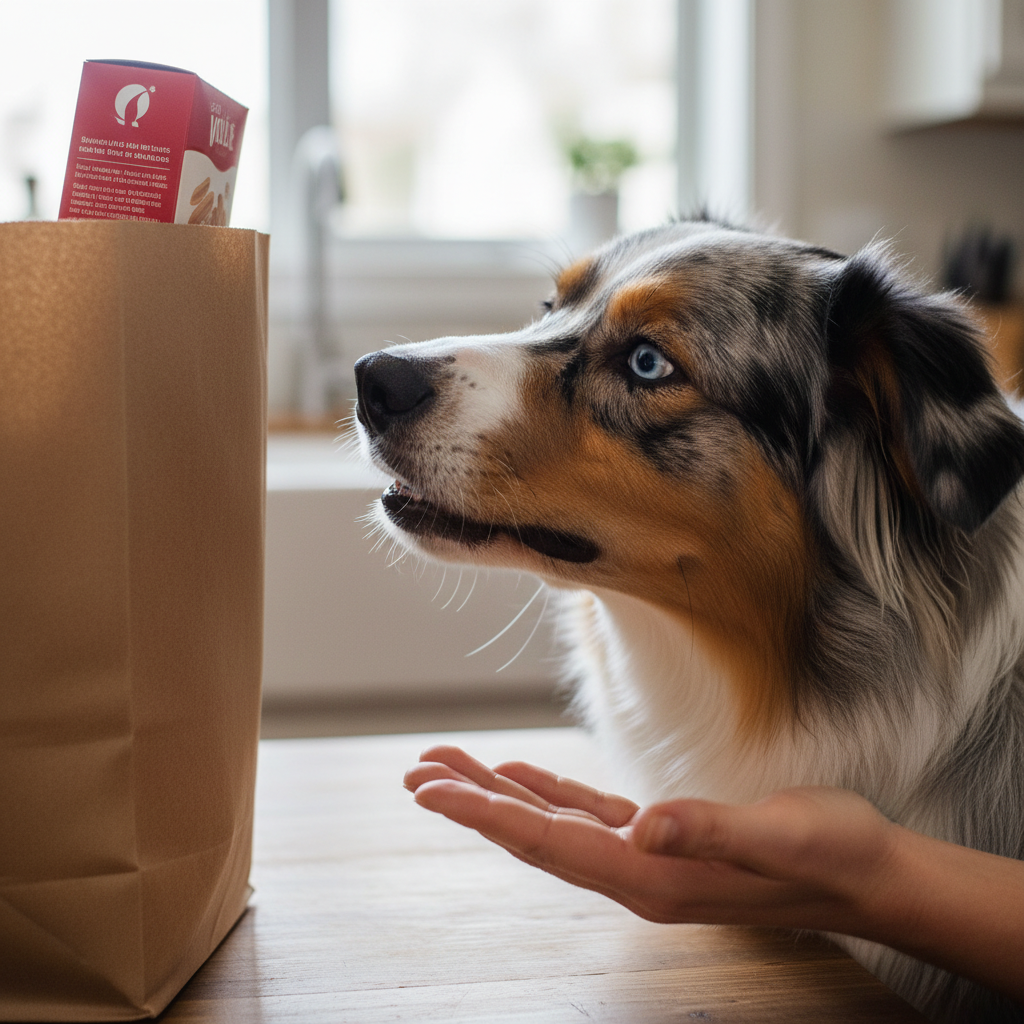
Now that your dog is a pro at ‘Take It’ and ‘Drop It’ with items on the floor, it’s time to introduce the main event: the grocery bag! This step is all about building a positive association with the bag and gradually transferring their existing skills to this new context. The key here is to go slow and make sure your dog is comfortable and confident at every stage.
First, let’s make the bag the best thing ever. Place your sturdy paper bag on the floor in your training area. Don’t ask your dog to do anything with it yet. Simply toss some high-value treats in and around the bag. Let your dog explore it at their own pace, sniffing it and eating the treats. Do this for a minute or two, then put the bag away. Repeat this game a few times over a day or two until your dog lights up with excitement when they see the bag. This prevents any fear or hesitation about sticking their head inside.
Once the bag is a source of joy, we can start asking for our ‘Take It’ cue.
- Start on the Outside: Place one of your training items (like the cereal box) on the floor right next to the bag. Give your ‘Take It’ cue. When they pick it up, praise them lavishly and play the ‘Drop It’ game.
- Just Inside the Rim: Now, place the item just inside the top edge of the bag, so it’s still very visible and easy to grab. Cue ‘Take It.’ This might be a new challenge, so be ready to reward even just a little bit of effort. If they successfully grab it, have a treat party!
- Lower it Down: Over several repetitions and sessions, gradually place the item deeper and deeper into the bag. If at any point your dog hesitates, they’re telling you that you’ve moved a bit too fast. Simply go back to the previous, easier step (e.g., placing the item higher up) and practice there a few more times before trying again.
Patience is your superpower during this stage. Every dog learns at a different pace. Celebrate the small wins, like your dog confidently putting their head in the bag, just as much as you celebrate them grabbing the item. Keeping it positive ensures they’ll stay engaged and eager to learn.
Step 3: Putting It All Together and Unpacking!
Step 3: Putting It All Together and Unpacking!
This is the moment we’ve been working towards! Your dog knows how to take an item and drop it, and they’re comfortable interacting with the grocery bag. Now it’s time to chain these behaviors together into the full, impressive sequence of unpacking. We’ll introduce a new cue to signal the start of this fun new job.
Choose a specific verbal cue you want to use for the entire action. It could be ‘Unpack,’ ‘Help,’ ‘Get the groceries,’ or anything else you like—just be consistent!
- The First Unpack: Place one, easy-to-grab item (like the paper towel roll) inside the bag. Stand back a little to give your dog space to work.
- Give the New Cue: With an encouraging tone, say your new cue (‘Unpack!’) and point towards the bag. Your dog might be a little confused at first. You can help them by tapping the bag or pointing directly at the item inside.
- Cue ‘Take It’: If they need a hint, use your now-familiar ‘Take It’ cue while pointing at the item. The moment they grab it and lift it out of the bag, praise them like they just won an Olympic medal! This is a huge step!
- Finish the Sequence: Once they have the item, let them bring it to you (or a designated spot) and then give your ‘Drop It’ cue. Reward with a jackpot of treats and lots of happy praise.
- Rinse and Repeat: Practice this sequence with a single item until your dog starts to anticipate the steps and responds confidently to your new ‘Unpack’ cue without needing the extra ‘Take It’ prompt.
- Add More Items: Once they’ve mastered one item, you can try placing two easy items in the bag. After they bring you the first one, send them back for the second. This teaches them to clear the bag.
Remember to generalize this skill by practicing with different items and eventually different types of bags (like your reusable ones). Always supervise to ensure your dog is only handling items that are safe, non-toxic, and unbreakable.
Common Hiccups and How to Fix Them
Common Hiccups and How to Fix Them
Even with the best plan, you might run into a few little bumps on your training journey. Don’t worry, it’s completely normal! Dog training is rarely a straight line. The key is to identify the problem and adjust your approach with patience and positivity. Here are some common challenges and how to troubleshoot them.
My dog is chewing or mouthing the items too hard.
This is a common issue, especially with younger dogs or breeds that are naturally ‘mouthy.’ The goal is to teach a soft, gentle hold. First, make sure you’re practicing your ‘Drop It’ with an extremely high-value treat—something so good they’d rather have the treat than chew the item. You can also go back to the ‘Take It’ foundation and specifically reward only the gentlest of grips. Click and treat for a soft mouth, but if they start to chomp, calmly take the item away for a few seconds before trying again. Practice with harder, less chewable items like a nylon bone or a plastic bottle before moving back to cardboard boxes.
My dog seems scared of the grocery bag.
If your dog is hesitant, backing away, or showing signs of fear (tucked tail, flattened ears), it’s crucial not to force them. The bag has to be a source of fun, not fear. Stop all training and go back to basic association building. Leave the bag on the floor in a common area. Throughout the day, walk by and casually drop delicious treats in and around it without making a big deal. Let your dog discover them on their own. This process, called desensitization and counter-conditioning, changes their emotional response from ‘that’s a scary monster’ to ‘that’s the magic treat box!’ Only once they are happily approaching the bag should you try re-introducing the training steps.
Here’s a quick-reference table for these and other common issues:
| Problem | Quick Solution |
|---|---|
| Dog chews the items. | Go back to ‘Take It’ basics, rewarding only a soft mouth. Use a higher-value treat for ‘Drop It’. |
| Dog is scared of the bag. | Stop training. Leave the bag out and drop treats in and around it to build a positive association. |
| Dog won’t put their head in the bag. | Start with a shallower container, like a shoebox lid, and gradually work up to deeper bags. |
| Dog loses interest quickly. | Keep training sessions shorter (2-3 minutes) and use more exciting, higher-value treats. |
| Dog grabs the item but runs off with it. | Make your ‘Drop It’ reward more enticing and practice in a smaller space to prevent the ‘keep away’ game. |
Conclusion
Congratulations, you’ve unlocked a fantastic new skill in your canine companion! Teaching your dog to unpack groceries is so much more than a neat trick. It’s a testament to your partnership, a boost for your dog’s confidence, and a wonderful way to channel their energy into a positive ‘job.’ You’ve provided them with valuable mental enrichment and strengthened the incredible bond you share.
Remember to always keep it safe by only allowing your dog to handle items that are non-toxic, unbreakable, and not a choking hazard. Most importantly, celebrate the journey. Every training session, every small success, and even every little hiccup is a shared experience that brings you closer together. Now, go enjoy your amazing, helpful paw-tner!