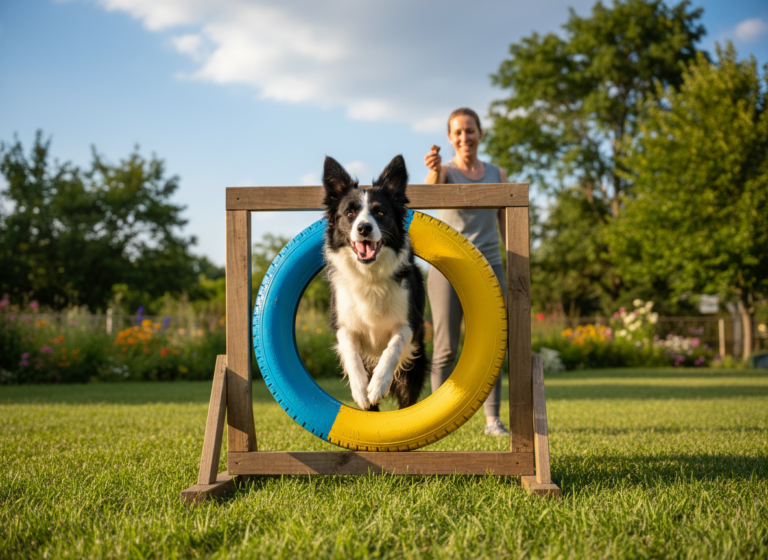
Got a dog with energy to spare? You know the type—the one who’s already fetched the ball fifty times and is looking at you like, ‘What’s next?’ While endless games of fetch and long runs are fantastic, sometimes you need an activity that engages their brain as much as their body. Welcome to the world of dog parkour!
Dog parkour, or urban agility, is an incredible way to channel your dog’s natural instincts to run, jump, and climb in a safe and controlled way. It’s not about reckless stunts; it’s about building confidence, strengthening your bond, and providing incredible mental stimulation. And one of the most fun and impressive foundational moves to start with is the Knee Vault.
This trick looks flashy, but it’s surprisingly accessible for most healthy, active dogs. It teaches body awareness, focus, and trust. In this guide, we’ll break down everything you need to know to teach your furry athlete how to fly. We’ll go from the absolute basics to a polished, impressive vault, all while keeping things safe, positive, and incredibly fun. Ready to see your dog soar? Let’s get started!
Safety First: Pre-Flight Checks for Your Canine Athlete
Before you and your pup start leaping, it’s crucial to lay a foundation of safety. Parkour is an athletic activity, and just like any human athlete, your dog needs to be properly prepared to avoid injury and ensure the experience is positive. Rushing into things is a recipe for setbacks, so let’s run through a quick pre-flight checklist.
Age and Physical Development
This is a big one. The high-impact nature of jumping and landing means parkour is not suitable for young puppies whose growth plates haven’t closed yet. For most breeds, this happens between 12 and 18 months. Starting too early can risk serious, long-term joint damage. If you have a puppy, you can work on the ‘paws up’ foundation steps on very low surfaces, but save any actual vaulting until they are physically mature. When in doubt, always consult your veterinarian.
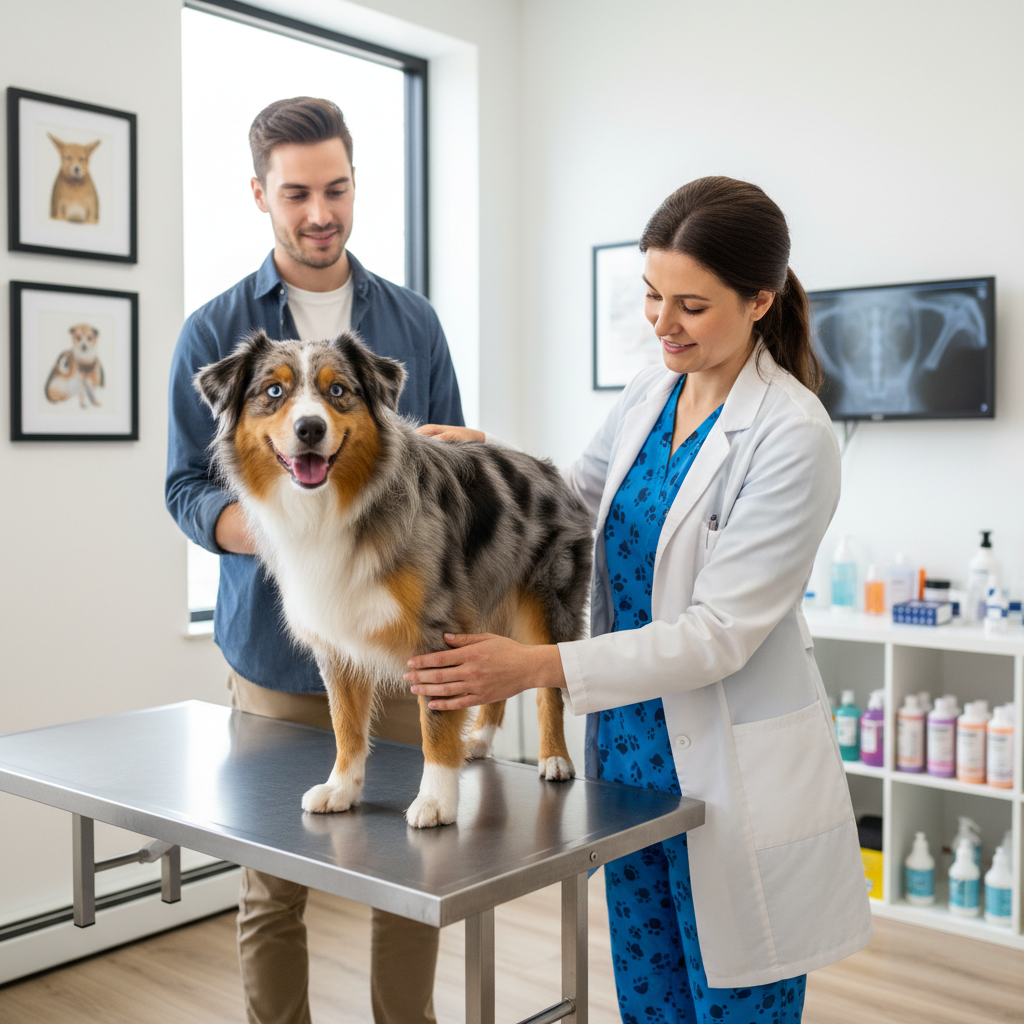
A Quick Vet Check-Up
Speaking of vets, it’s always a smart idea to get a clean bill of health before starting any new high-impact sport. This is especially important for breeds prone to joint issues like hip or elbow dysplasia (e.g., German Shepherds, Labradors). Your vet can assess your dog’s overall physical condition, check their joints, and give you the green light to begin your parkour journey.
Essential Obedience Foundations
Parkour isn’t just about physical ability; it’s about control and communication. Your dog should have a few basic skills down before you start. A reliable ‘stay’ is important for setting up the trick, and a zippy ‘come’ or recall is essential for safety. Most importantly, you need a dog who can focus on you, even with minor distractions. This training process will strengthen that focus tenfold!
Expert Tip: Warm-ups and cool-downs are not just for people! Before a training session, engage in a few minutes of light jogging or playful fetch. Afterwards, a calm walk helps muscles cool down properly.
Choosing the Right Environment
Where you practice matters immensely. Start your training on a soft, non-slip surface. A grassy lawn or a carpeted room is perfect. Avoid hard, slippery surfaces like concrete, asphalt, or slick hardwood floors, as they offer poor traction and no shock absorption, increasing the risk of slips and jarring landings.
Gearing Up: The Simple Toolkit for a Successful Vault
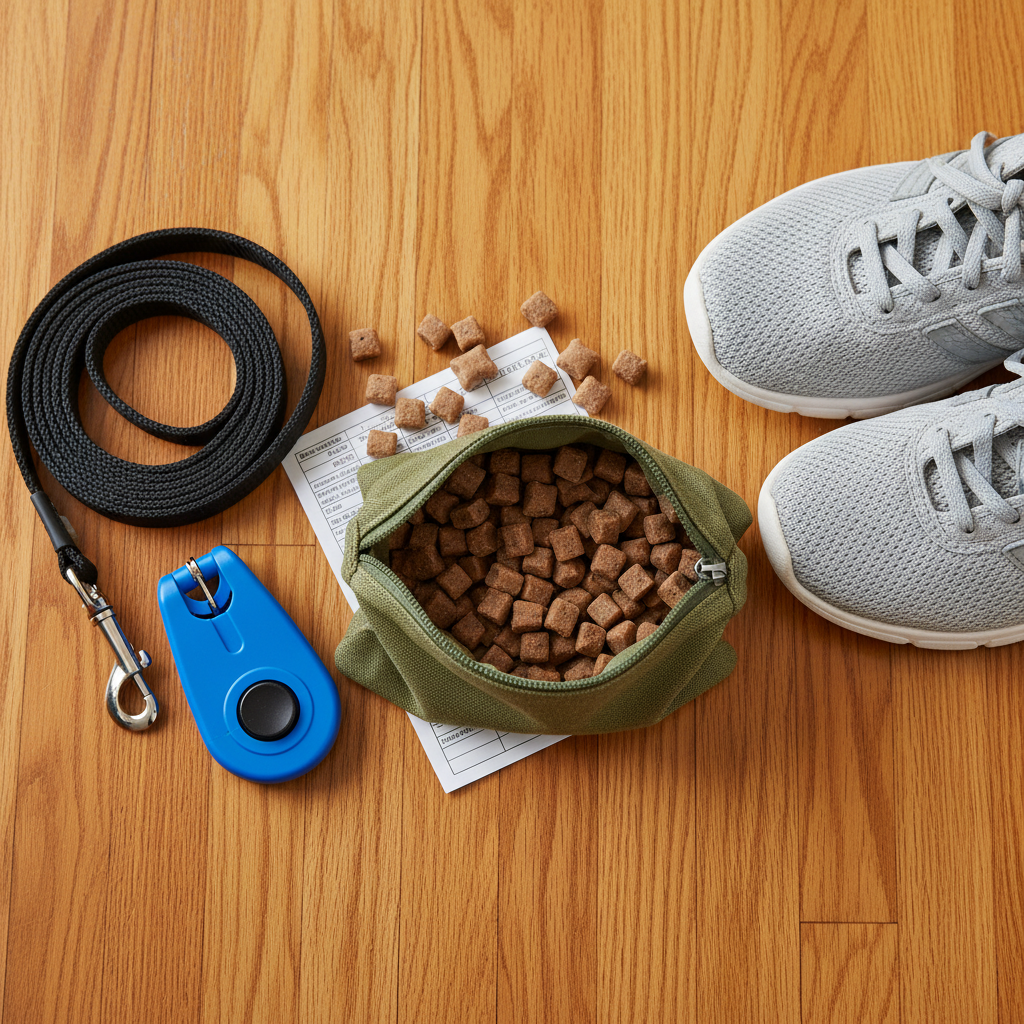
You might be picturing a mountain of expensive agility equipment, but one of the best things about teaching the knee vault is how little you actually need! Your primary tools are patience, positivity, and your own body. However, having a few key items on hand can make the process smoother and more effective.
High-Value Treats
This is your currency. For a new and physically demanding trick, your dog’s regular kibble might not cut it. You need something really exciting to motivate them. Think small, soft, smelly, and easy to swallow quickly so you can keep the training pace up. Good options include:
- Small pieces of cooked chicken or turkey
- Cheese cubes (in moderation)
- Commercial soft training treats
- Bits of hot dog
The key is ‘high-value’—something your dog absolutely loves and doesn’t get all the time. Prepare more than you think you’ll need; you want to reward every success generously!
A Clicker (Optional, but Recommended!)
If you haven’t used a clicker before, this is a great time to start. A clicker is a small handheld device that makes a distinct ‘click’ sound. It’s used to ‘mark’ the exact moment your dog does the correct behavior. The sequence is: dog does the action -> you click -> you give a treat. The click becomes a powerful signal that means, ‘Yes! That exact thing you just did earned you a reward.’ It provides crystal-clear communication and can speed up learning significantly.
The Right ‘Equipment’ (That’s You!)
Your body is the central piece of equipment for this trick. Be prepared to get down on the ground. Wear comfortable, durable clothing you don’t mind getting a little dirty. Sturdy pants (like jeans) are a good idea to protect your leg from toenails. Good, supportive shoes with non-slip soles are also important to keep you stable as your dog vaults.
Remember: Your energy and attitude are contagious. Stay positive, be patient, and celebrate the small wins. If you get frustrated, your dog will feel it. It’s better to end a session on a high note than to push through frustration.
Step-by-Step to a Perfect Knee Vault
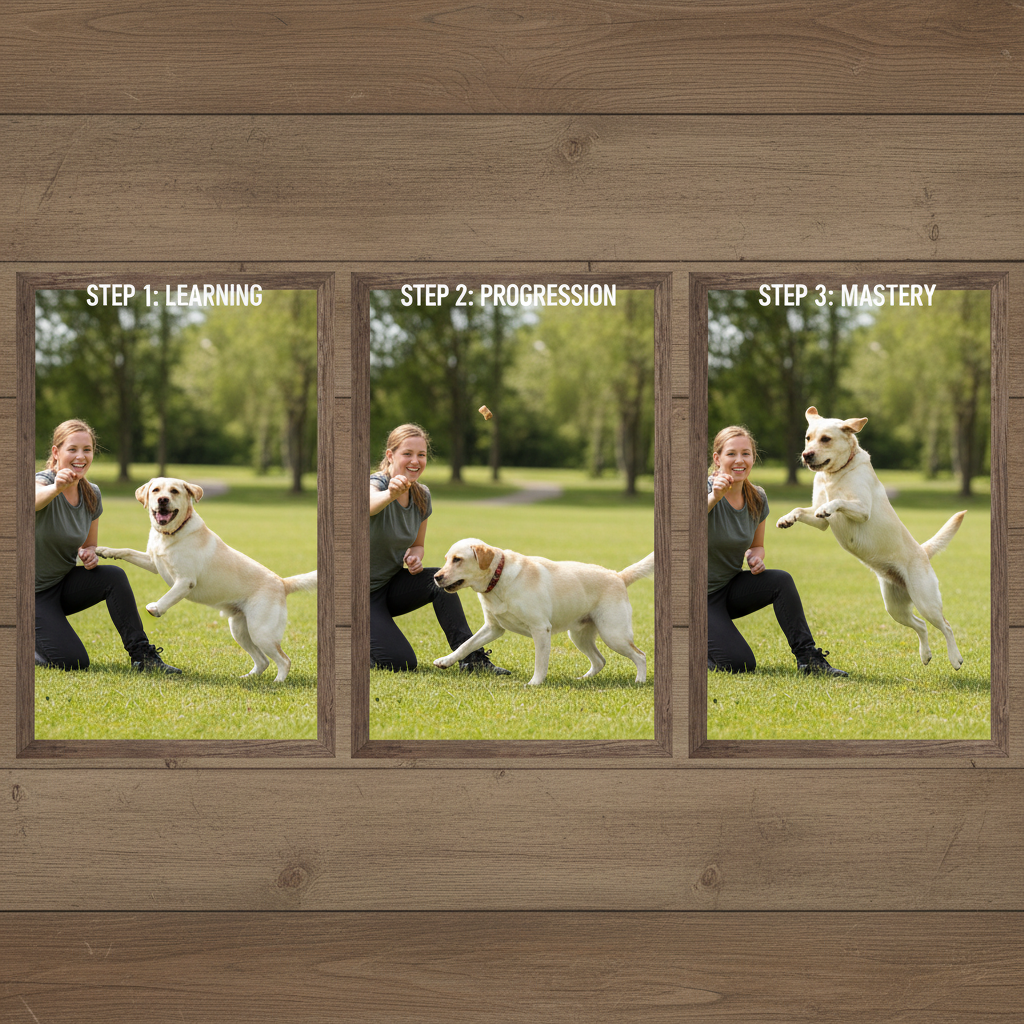
Alright, the moment of truth! It’s time to teach the vault. Remember to keep sessions short (5-10 minutes is plenty) and always end on a positive note. We’re going to build this behavior in small, easy-to-digest layers. This method is called ‘shaping,’ and it’s all about rewarding small steps toward the final goal.
Step 1: The ‘Paws Up’ Foundation
The goal here is simple: teach your dog to comfortably place their front two paws on your bent knee. Don’t even think about jumping yet!
- Kneel on the ground on one knee, creating a stable platform with your other thigh.
- Hold a high-value treat in your hand and use it as a lure. Show the treat to your dog and then move your hand over your bent knee, encouraging them to step up onto your leg to get it.
- The very instant their front paws touch your leg, click (if using a clicker) and give them the treat. Praise them enthusiastically!
- If they are hesitant, reward any interaction at first—sniffing your knee, putting one paw up, etc. Gradually ask for more until you consistently get two paws up.
- Practice this until your dog is confidently and eagerly placing their paws on your knee on cue. You can add a verbal cue like ‘Paws Up’ or ‘Touch’.
Step 2: Introducing Forward Motion
Now we want to shift from a static ‘paws up’ to a more dynamic movement over the knee. We’re not vaulting yet, just walking over.
- Get into the same kneeling position.
- This time, instead of luring them onto your knee, show them the treat and then toss it on the ground a foot or two behind your knee.
- As they move to get the treat, they will naturally have to step or hop over your leg. The moment their body is over your leg, click and let them get the tossed treat.
- Repeat this several times. The goal is to make going over your knee the path to the reward.
Step 3: Building the ‘Vault’
This is where it all comes together! We’ll combine the ‘paws up’ with the forward momentum to create the vaulting motion.
- Kneel as before. This time, as your dog approaches, use a hand gesture to guide them up and over your knee, similar to the ‘paws up’ lure but with more forward motion.
- As they place their paws on your knee and push off to go over, say your new verbal cue, like ‘Vault!’ or ‘Hup!’ in an excited tone.
- Click the moment they are in mid-air or as their hind legs clear your knee. Reward them with a treat and lots of praise on the other side.
- At this stage, your vault might look more like a clumsy scramble. That’s perfectly okay! Reward the effort and the general motion. The height and grace will come with practice.
Step 4: Fading the Lure and Raising the Bar
Once your dog understands the concept, it’s time to make the trick look more polished.
- Start to fade the hand lure. Instead of a big guiding motion with a treat in your hand, use a smaller hand signal or a simple point.
- Rely more on your verbal cue (‘Vault!’). The goal is for the dog to perform the action on the verbal cue alone, with your bent knee being the visual cue.
- As they get more confident and athletic, you can very gradually increase the height of your knee. Go from kneeling to sitting on a low stool, and eventually to a standing position with your knee bent. Only increase the height when they are 100% confident and safe at the current level.
Houston, We Have a Problem: Troubleshooting Common Vaulting Issues

Training is rarely a straight line to success. It’s totally normal to hit a few bumps along the way! If you get stuck, don’t worry. Here are some of the most common challenges and how to work through them with a positive attitude.
‘My dog just puts their paws on my knee and stops.’
This usually means the dog has perfected Step 1 but doesn’t understand the ‘over’ part. The reward behind you isn’t enticing enough. Go back to Step 2 (Introducing Forward Motion). Make the treat toss more exciting! Use an even higher value treat, or a favorite toy. You can also try having a second person stand behind you to call the dog and make the ‘other side’ more appealing.
‘My dog tries to run around my knee instead of over it.’
This is a classic! The dog sees the reward and takes the easiest path. The solution is to manage the environment. Practice in a narrower space, like a hallway, with your back against one wall. This naturally ‘funnels’ them over your leg as the most direct route. You can also set up pillows or other soft objects to block the sides.
‘My dog seems scared or hesitant to jump.’
Never force a fearful dog. Hesitation is a sign that you’ve moved too fast or they lack confidence. Take a big step back. Go back to the ‘Paws Up’ game on your knee and make it the best game ever with tons of rewards and praise. You can also lower the obstacle. Instead of your knee, start with just your shin on the ground, or even a rolled-up towel. Build their confidence on ridiculously easy obstacles before trying your knee again.
Key Takeaway: If your dog is failing, the setup is likely too difficult. Always ask yourself, ‘How can I make this easier for my dog to succeed?’ Then, reward that success like they just won the lottery.
‘The vault is messy and they keep crashing into me.’
Body awareness takes time to develop. For messy vaults, focus on your treat placement. By rewarding them slightly away from your body on the landing side, you can guide them to a cleaner landing. Also, check your own stability. Make sure you are braced and solid. If you wobble, they will feel insecure. For a while, you can use your free hand to gently guide their shoulder as they go over to help them understand the desired path.
Level Up: What Comes After the Knee Vault?
Congratulations on teaching the knee vault! You’ve unlocked a fantastic skill that will impress your friends and, more importantly, deepen the bond with your dog. But this is just the beginning of your parkour adventure. The knee vault is a gateway to a whole world of fun, confidence-building activities.
Once your dog has mastered vaulting off your knee, you can start ‘generalizing’ the behavior to other objects. This teaches them to trust your judgment and be confident interacting with their environment.
Next-Level Parkour Moves to Try:
- Object Vaults: Using the same ‘Vault!’ cue, you can encourage your dog to vault over other low, stable objects. Start with something very safe, like a pillow or a sturdy, low footstool. Always check that the object is stable and won’t tip or slide.
- Four Paws On: This is a classic parkour move that builds incredible body awareness and confidence. The goal is to get your dog to place all four of their paws on an object. Start with large, low objects like a park bench, a wide tree stump, or a stable platform. Lure them up and reward them for getting all four paws on the surface.
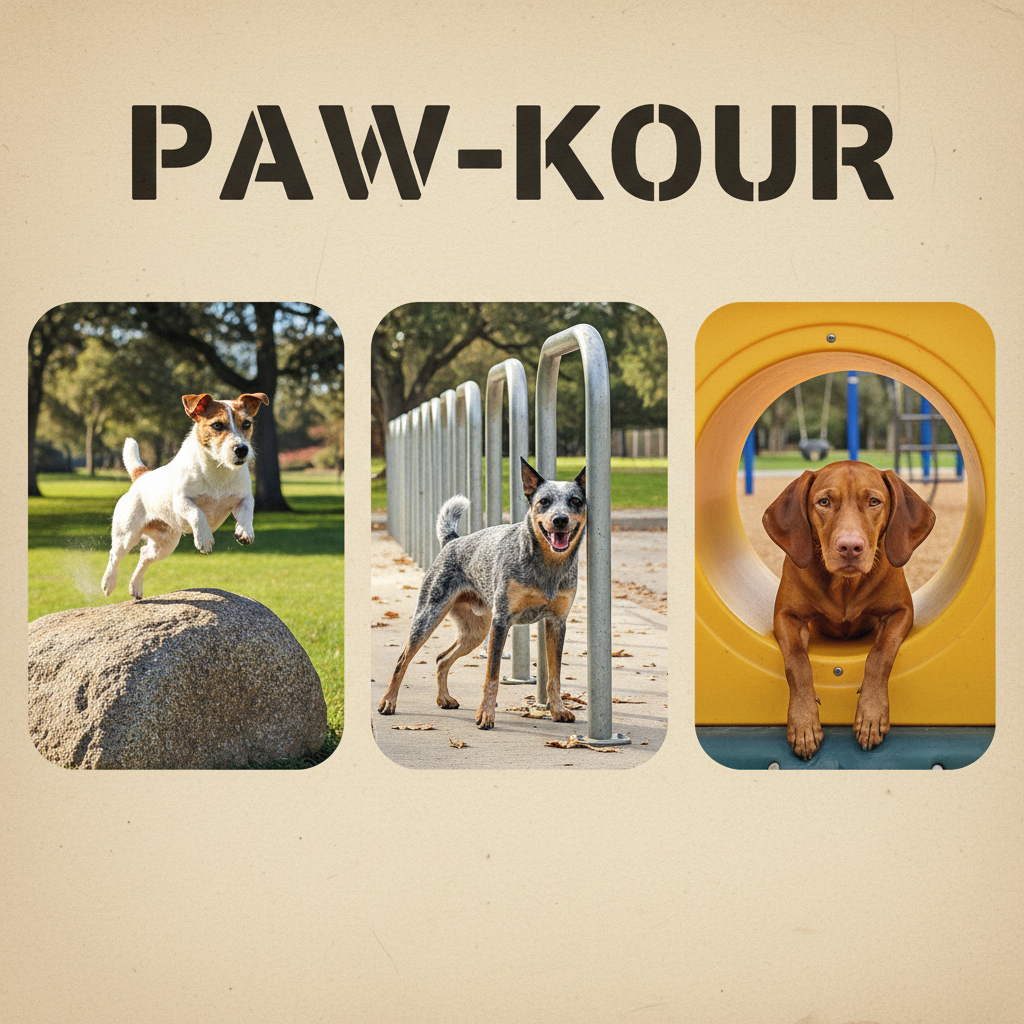
- ‘Under’ and ‘Through’: Parkour isn’t just about going over things! Teaching your dog to go ‘under’ obstacles (like a park bench) or ‘through’ gaps (like between two poles or through a playground tire) is another fantastic way to build their skills and confidence.
As you explore, always put safety first. Inspect every obstacle before you ask your dog to interact with it. Is it stable? Is the surface slippery? Are there any sharp edges? Your job is to be your dog’s safety manager.
Join the Community: Look for local or online dog parkour groups! Organizations like the International Dog Parkour Association have great resources, safety guidelines, and even titling programs if you get really into it. It’s a wonderful way to connect with other enthusiasts and learn from the pros.
The world is now your dog’s playground. By exploring it together, you’re not just burning energy; you’re building a thinking, confident, and adventurous canine partner.
Conclusion
You’ve done it! From the first tentative ‘paws up’ to a confident, soaring vault, you’ve guided your dog on an amazing journey. Teaching the knee vault is about so much more than just a cool trick. It’s about communication, building trust, and providing a powerful outlet for your high-energy dog’s physical and mental needs. You’ve given them a job that’s both fun and rewarding, strengthening your partnership with every single repetition.
Remember to always keep your training sessions positive, listen to your dog, and prioritize their safety and enjoyment above all else. The skills you’ve both learned are a foundation for a lifetime of adventure together.
So grab those treats, head outside, and keep practicing. The world is full of things to safely jump over, go under, and explore. You haven’t just taught a trick; you’ve opened up a whole new way to see and interact with the world together. Happy vaulting!