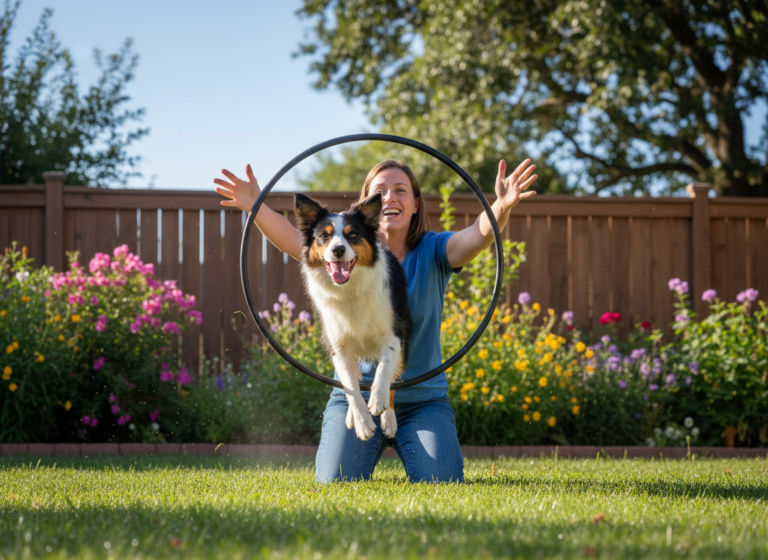
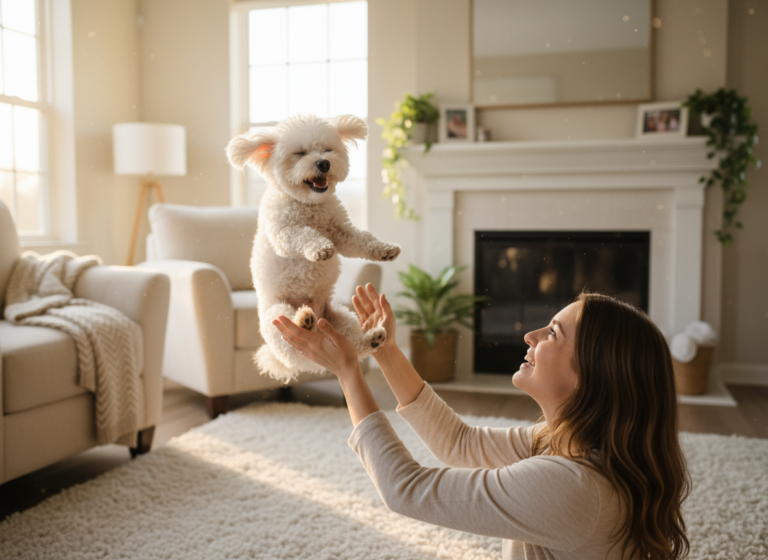
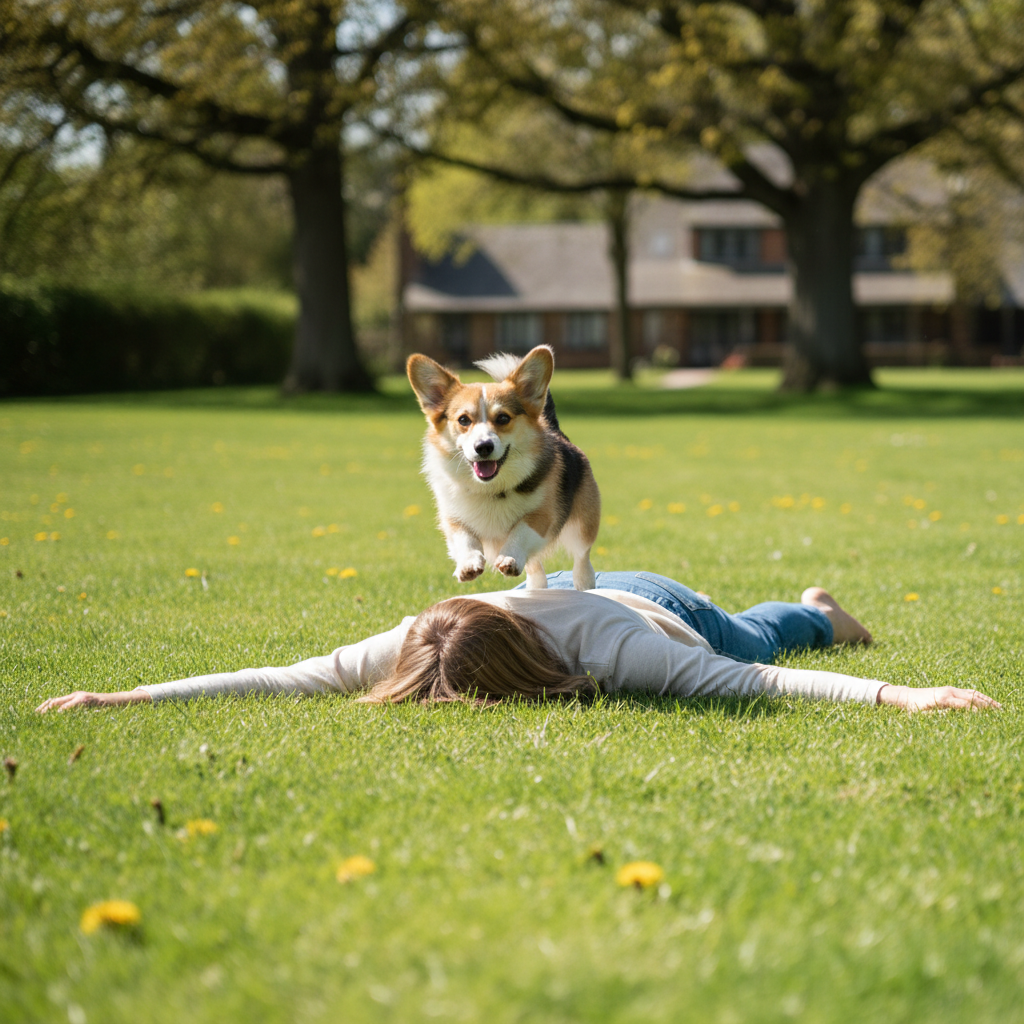
Have you ever seen those amazing videos of a dog soaring gracefully over its owner and thought, ‘I wish my dog could do that!’? Well, you’re in the right place! This trick, which we affectionately call the ‘Trust Fall,’ is more than just a cool party trick. It’s a profound exercise in communication, trust, and partnership between you and your canine companion. When your dog leaps over you, it’s a physical demonstration of the incredible bond you share—they trust you to be their safe, predictable anchor.
But let’s be honest, the idea can be a little intimidating for both of you. How do you start? Is it safe? What if my dog is scared? Don’t worry, we’ve got you covered. This comprehensive guide will break down the entire process into small, manageable, and fun steps. We’ll use positive reinforcement techniques to build your dog’s confidence, ensuring the experience is enjoyable for everyone involved. By the end, you won’t just have a dog who can perform an impressive feat; you’ll have a deeper, more trusting relationship. So grab your tastiest treats, find a soft patch of grass, and let’s get ready to fly!
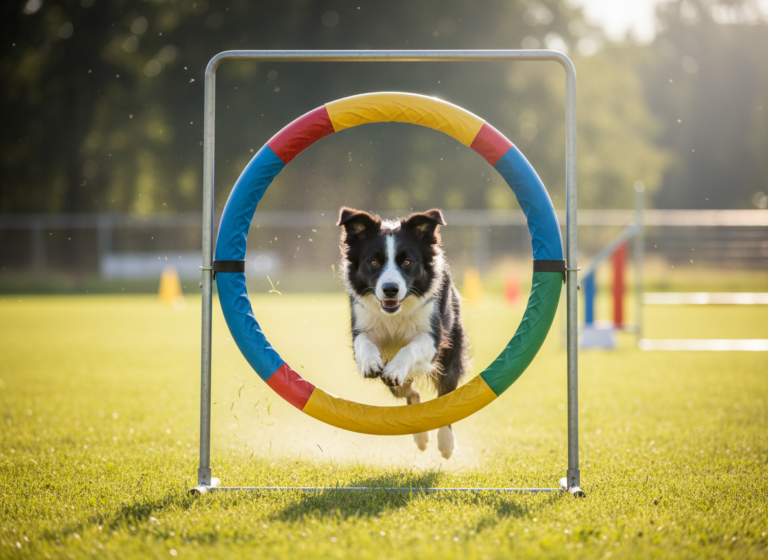
Laying the Foundation: Is Your Dog Ready to Leap?
Before you even think about getting into a seated position, we need to do a little prep work. Just like you wouldn’t run a marathon without training, your dog needs a solid foundation before attempting an advanced trick like this. It’s all about setting them up for success and, most importantly, keeping them safe.
Physical Health Check
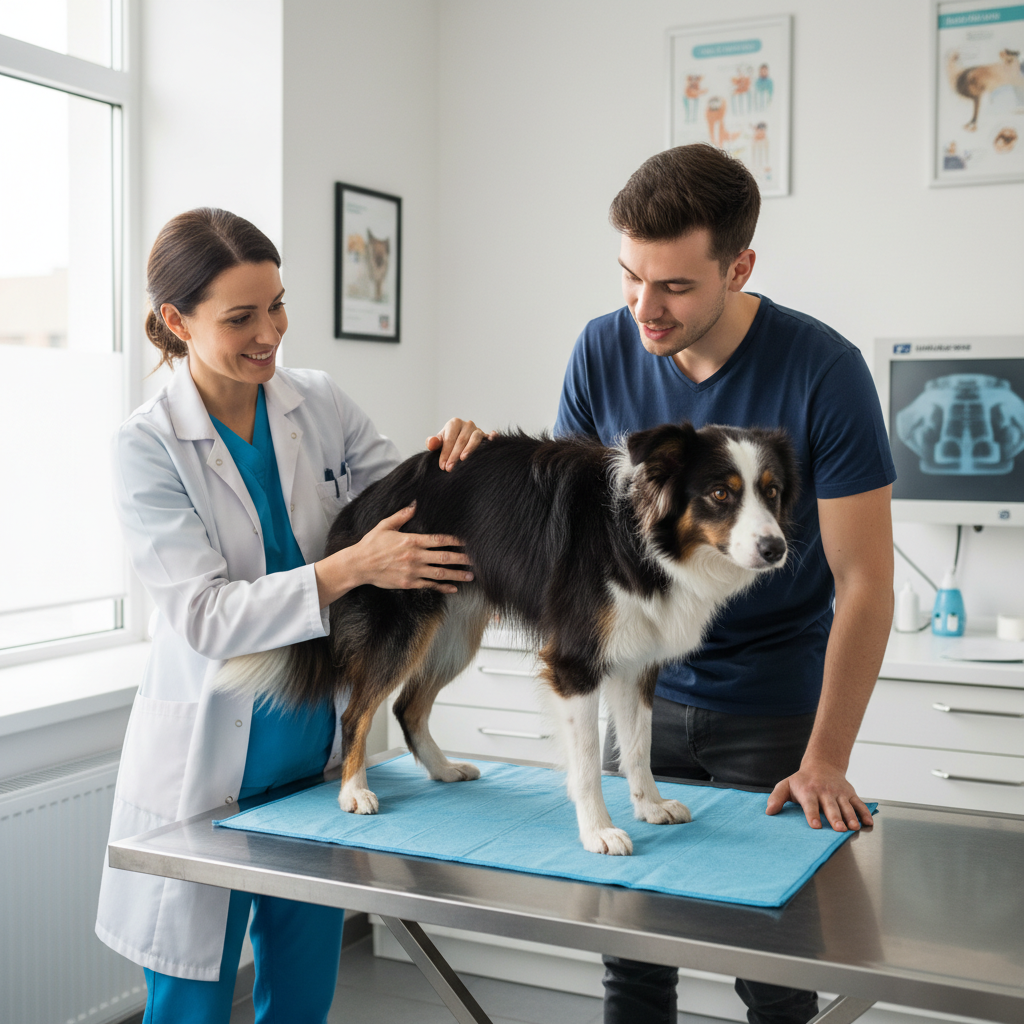
First things first, let’s talk health. This trick involves jumping, which puts stress on your dog’s joints. It’s not suitable for all dogs.
- Age: Puppies whose growth plates haven’t closed (usually under 12-18 months, depending on the breed) should not be doing this kind of repetitive jumping. Wait until they are fully grown. Likewise, senior dogs with arthritis or joint issues should stick to ground-based fun.
- Health: A recent vet check-up is always a good idea. Ensure your dog is at a healthy weight to avoid unnecessary strain on their body. This trick is best for dogs who are physically fit and free from any back, hip, or leg problems.
- Breed: While many breeds can learn this, be extra cautious with long-bodied breeds like Dachshunds or Basset Hounds, as they are more prone to back injuries.
Behavioral Readiness Checklist
Beyond physical health, your dog needs a few key skills in their behavioral toolkit. This isn’t a ‘Day One’ trick; it builds on existing training.
- A Solid ‘Stay’: Your dog needs to be able to hold a ‘stay’ while you get into position. If they break their stay constantly, you’ll both get frustrated.
- A Zippy ‘Come’ or Recall: The initial part of the jump relies on your dog moving towards you with enthusiasm.
- Prior Jump Experience: Has your dog ever jumped over anything before? Even a small log on a walk or a broomstick laid on the floor? Having a basic concept of ‘over’ is a huge advantage.
- Confidence: A timid or anxious dog might find this trick overwhelming. We want a dog who is generally confident and enjoys learning new things. If your dog is fearful, work on general confidence-building exercises first.
Expert Tip: If you’re unsure about your dog’s physical readiness, please consult your veterinarian. They can assess your dog’s joint health and give you the green light before you begin training.
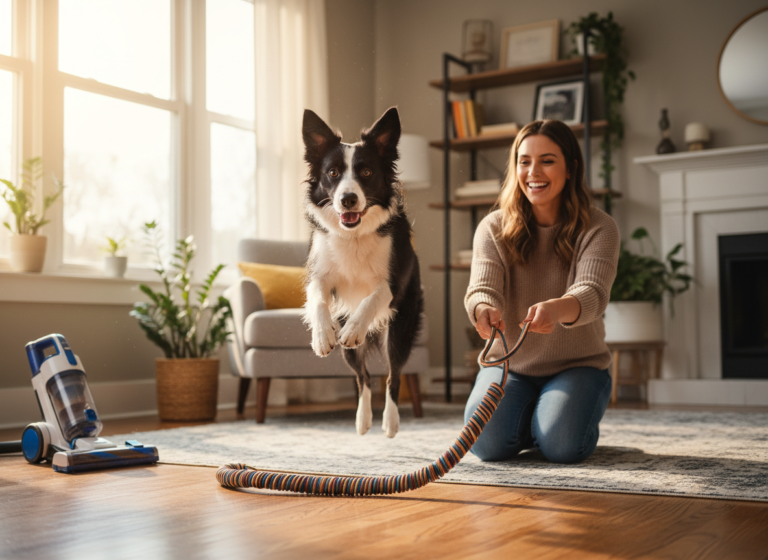
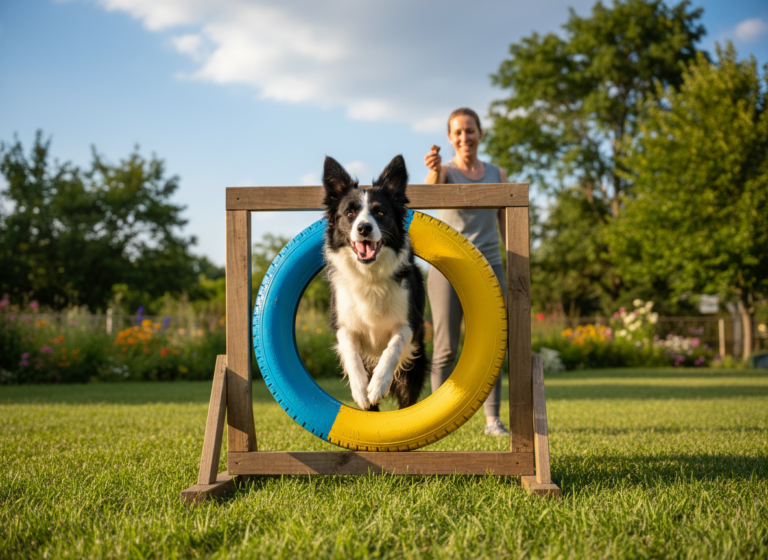
Step 1: Mastering the ‘Over’ Command
Okay, foundation is solid? Great! Now, we teach the core concept: jumping over something on command. We’re not using you as the obstacle just yet. We’ll start with something low, neutral, and un-intimidating.
The goal here is to associate the word ‘Over’ (or ‘Hup,’ ‘Jump,’ etc.—pick one and stick with it!) with the physical act of clearing an object. Consistency is key!
Choosing Your Starter Obstacle
Find something that is very low to the ground and not wobbly or scary. Good options include:
- A broomstick laid on the floor.
- A rolled-up yoga mat or towel.
- A few books laid flat.
- A PVC pipe from the hardware store.
The Training Process
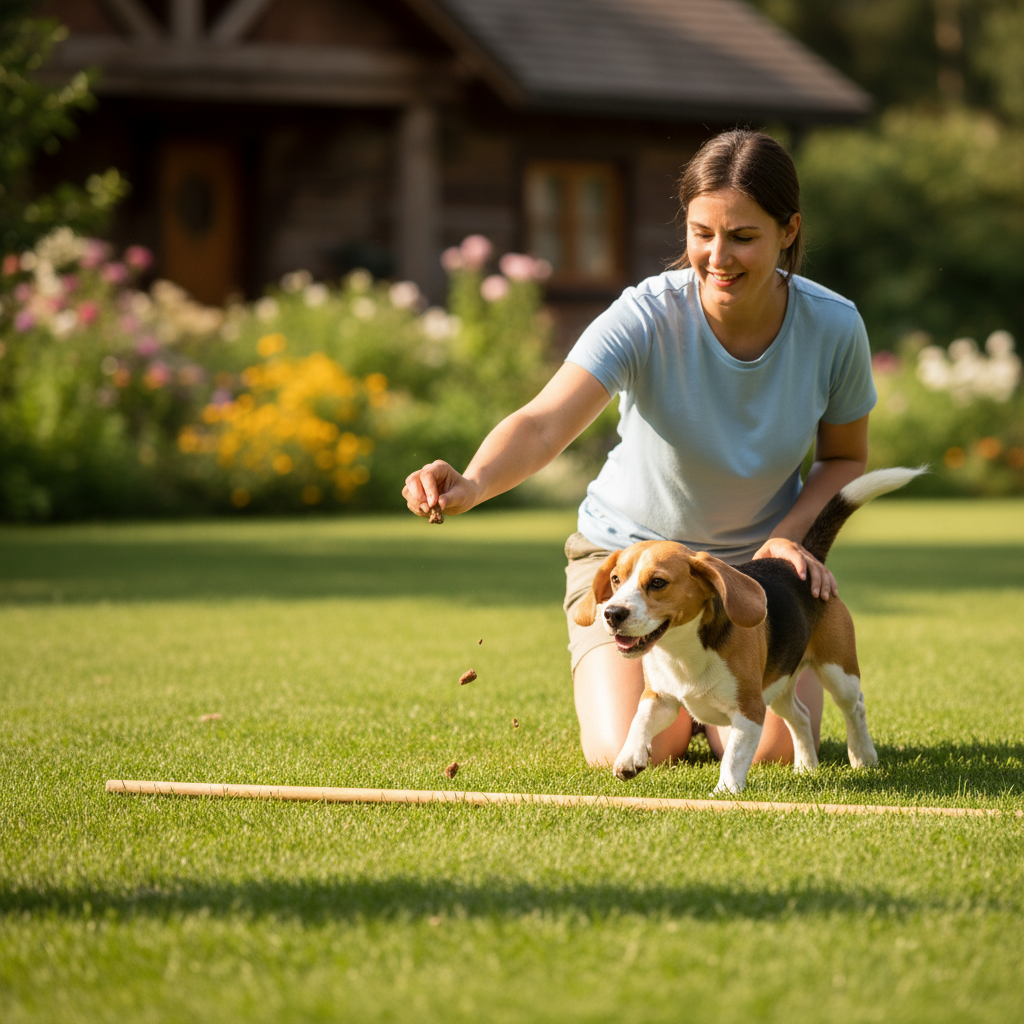
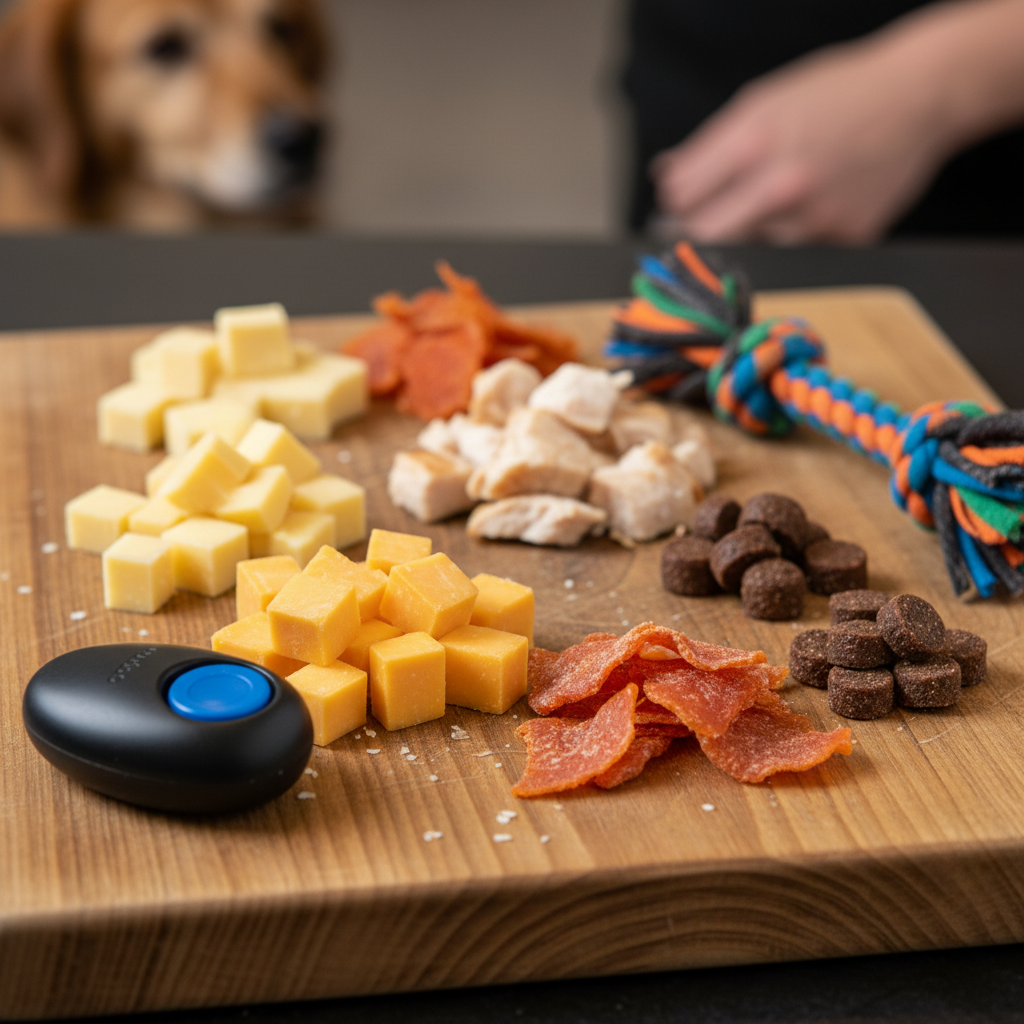
- Lure and Reward: Place your low obstacle on the ground. With your dog on one side and you on the other, use a high-value treat to lure them across it. As they step or hop over, say your command (‘Over!’) in a cheerful voice and immediately give them the treat and lots of praise on the other side.
- Repeat, Repeat, Repeat: Do this 5-10 times in a row, then take a break. You want to build a strong, positive association. Your dog should start to think, ‘Hopping over this thing gets me yummy snacks and praise! What a great game!’
- Fade the Lure: Once your dog is confidently hopping over with the treat lure, start to fade it. Use an empty hand to gesture over the obstacle, say your command, and then reward them from your other hand after they cross.
- Increase the Challenge (Slightly!): Once they have the hand gesture down, see if they’ll do it with just the verbal command ‘Over!’. Don’t rush this step. If they hesitate, go back to the hand gesture for a few more reps. You can also very slightly raise the obstacle (e.g., place the broomstick on two flat books), but keep it low and safe. We’re building confidence, not training for the high jump!
Keep your training sessions short and sweet—no more than 5-10 minutes at a time. We want to end each session on a high note, leaving your dog eager for the next one.
Step 2: From Obstacle to Owner (The Lie-Down)
This is where the real trust-building begins. You are now going to become the ‘obstacle.’ It’s a huge step for your dog, so we’ll start in the least intimidating position possible: lying flat on the ground.
Your goal is to transfer the ‘Over’ command from the neutral object to you. Your dog needs to understand that the same fun game applies, even when a person is involved.
Getting Into Position
Find a soft surface like a carpeted floor or grassy lawn. Lie flat on your stomach. To make it easier for your dog, you can tuck your arms and legs in to make yourself as small and low-profile as possible. Think ‘human log’.
Making the First Jump
- The Assisted Jump: Have a helper, if possible, hold your dog on a loose leash a few feet away. If you’re alone, have your dog in a ‘stay’.
- Lure and Command: Hold a tasty treat and use the same hand gesture and verbal command (‘Over!’) you used with the broomstick. Lure your dog to jump over your mid-back or waist area. This is usually the lowest and easiest point for them to clear.
- Celebrate BIG!: The moment their paws clear your back and land on the other side, erupt in praise! Make a huge fuss. Give them the treat, tell them they’re the smartest dog in the world. This first jump over you is a massive confidence booster.
- Rinse and Repeat: Practice this several times. If your dog is hesitant, that’s okay! Don’t force them. Go back to the broomstick for a few reps, then place the broomstick right next to your body and have them jump that. Gradually move it over your back until they are comfortable.
Patience is Paramount: Your dog might try to run around you at first. It’s not disobedience; it’s avoidance. They’re not sure what you’re asking. Simply reset calmly and make the jump as enticing and easy as possible. Shorten the distance and use your most exciting ‘happy voice’.
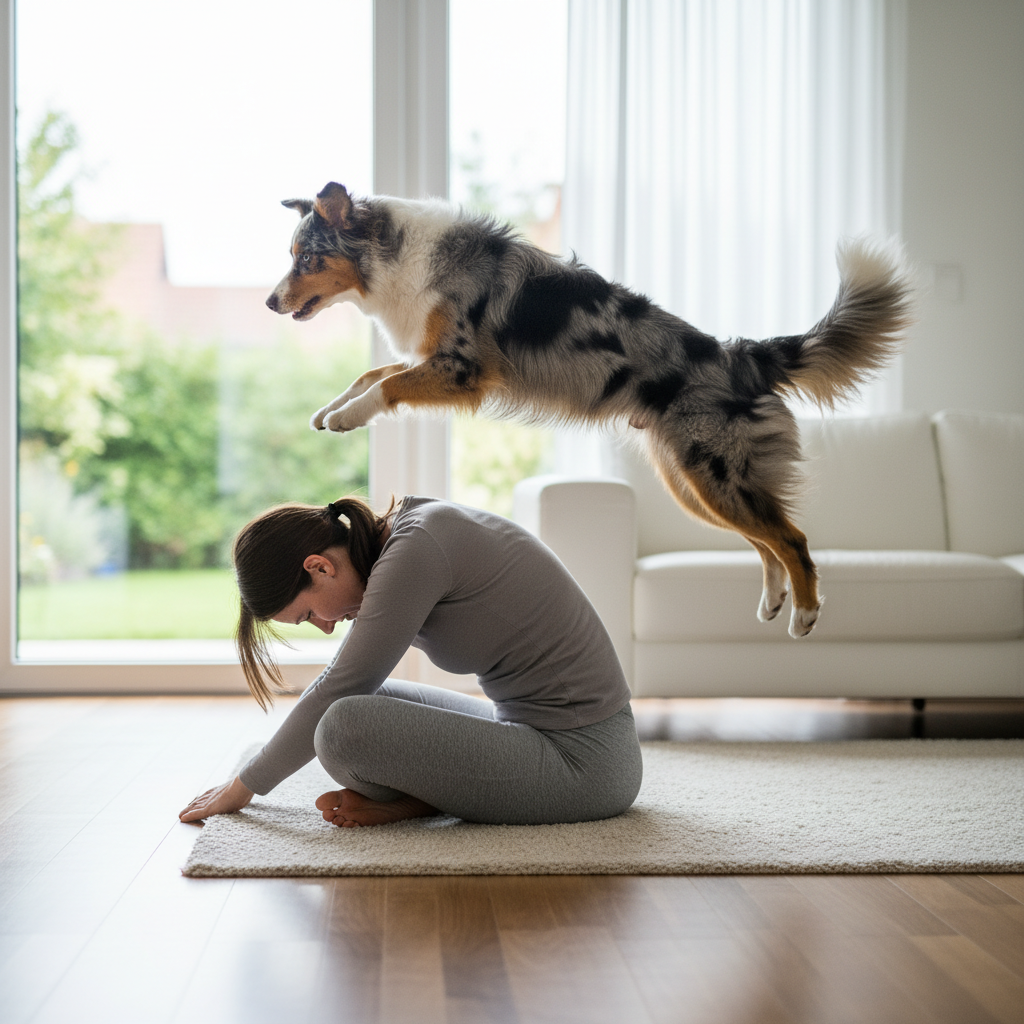
Step 3: The Grand Finale – The Seated Jump
You’ve made it to the final stage! Your dog understands ‘Over’ and trusts you enough to jump over your body while you’re lying down. Now, we just need to change the picture by moving into a seated position. This will be the highest and most challenging jump, so we’ll take it slow.
From Lying to Sitting
The transition is key. We don’t want to go from lying flat to sitting straight up in one go. That can be intimidating. Instead, we’ll use a progressive approach.
- The ‘Plank’ or ‘Seal’ Position: Start by propping yourself up on your elbows, still mostly lying down. This raises your height slightly. Practice the ‘Over’ command in this position until your dog is completely comfortable.
- The ‘Crawl’ Position: Next, move to your hands and knees, creating a low tunnel. At first, you can encourage your dog to go ‘Through’ the tunnel. After a few reps, lower your back and encourage them to go ‘Over’ it.
- The ‘Low Sit’ or ‘Tuck’: Now, it’s time to sit. Start by sitting on the ground with your knees tucked into your chest and your head down. This makes you as small as possible. Use your lure and ‘Over’ command to guide them over your back/shoulders.
- The Final Position: Once your dog is confidently jumping over you in a low tuck, you can slowly start to sit up straighter. Sit cross-legged on the floor. Keep your head slightly ducked at first to protect your face and make the jump easier. Guide your dog over your lap or legs. As they get the hang of it, they will naturally start jumping higher over your bent back.
Refining the Technique
At this stage, you can start working on form. Encourage a clean take-off and landing by rewarding the smoothest jumps. You can use a specific ‘launch spot’ by placing a small mat or target where you want your dog to start from. This creates a predictable and repeatable behavior. Always remember to keep it positive. If your dog knocks into you, no big deal! Just laugh it off and try again, maybe from a slightly lower position to rebuild confidence.
Troubleshooting and Safety Reminders
Even with the best training plan, you might hit a few snags. That’s completely normal! The key is to know how to troubleshoot these issues positively and always prioritize safety for both you and your four-legged athlete.
Common Training Hurdles
Here are some common problems and how to solve them:
| Problem | Solution |
|---|---|
| My dog keeps trying to run around me instead of jumping. | This usually means the jump looks too intimidating. Make yourself smaller and lower. Increase the value of your treat and use an energetic, encouraging tone. You can also use ‘guides’ like pillows or cushions on either side of you to create a clearer path. |
| My dog hesitates or seems scared before the jump. | Never force them. Go back a step to where they were last successful and confident (e.g., jumping over you while you lie flat). Spend more time there, making it a super fun game before trying to increase the height again. Short, happy sessions are key. |
| My dog clips my back/head with their paws when they jump. | This is often a sign that they aren’t confident in the height or distance. Make sure they have a clear, non-slip take-off and landing area. You can also try taking a step or two towards them as they approach to give them a little ‘boost’ and help them clear the distance more easily. |
Essential Safety Rules
- Protect Yourself: Always tuck your chin to your chest as your dog jumps, especially in the beginning. This protects your face and eyes from accidental paw scrapes.
- Safe Surfaces Only: Practice on soft, non-slip surfaces like grass or a carpeted area. Avoid slippery hardwood, tile, or concrete, which can cause injury to your dog upon landing.
- Know When to Quit: Keep sessions short (5-10 minutes max). If you or your dog are getting tired or frustrated, end the session on a positive note with an easy win (like a simple ‘sit’ or ‘shake’) and try again tomorrow.
- Listen to Your Dog: Pay close attention to your dog’s body language. If they are showing signs of stress like yawning, lip licking, or avoiding the game, it’s time for a break. Training should always be fun, not a chore.
Conclusion
Congratulations, you did it! Teaching your dog the ‘Trust Fall’ is an incredible journey that goes far beyond the finished trick. Every successful leap is a testament to the communication, trust, and positive relationship you’ve built together. Remember that every dog learns at a different pace. Whether it took you two days or two months, the time you’ve invested has strengthened your bond in ways that will last a lifetime.
Now you have a fantastic trick to show off, but more importantly, you have a dog who has learned to trust you, problem-solve, and work with you as a team. So give your amazing dog a big hug and a well-deserved treat. Keep practicing, keep it fun, and continue finding new and exciting ways to challenge yourselves and grow together. Happy training!