Does your heart skip a beat every time your dog hears the doorbell and barrels down the stairs like a furry cannonball? Or maybe you have a clumsy puppy or a senior dog whose joints aren’t what they used to be. Staircases can be a surprising source of anxiety for pet owners, and for good reason. A single misstep can lead to a dangerous tumble for both your dog and you.
But what if you could turn that chaotic scramble into a moment of calm control? You can! The solution is a simple but powerful command: ‘Wait.’
Teaching your dog to wait at the top and bottom of the stairs isn’t just a neat party trick; it’s a fundamental safety protocol. It’s about creating a household rule that protects them from injury, prevents them from tripping you, and builds their impulse control. In this guide, we’re going to walk you through everything you need to know, from the basic setup to troubleshooting common issues. Get ready to stop the tumble and create a safer home for your best friend!
Why Stair Safety is a Non-Negotiable for Your Dog
Before we dive into the ‘how-to,’ let’s talk about the ‘why.’ Understanding the risks associated with stairs can be a powerful motivator for committing to this training. For our dogs, especially those at certain life stages or with specific physical traits, stairs present a genuine hazard.
The Tumble Risk for Puppies and Seniors
Puppies are bundles of uncoordinated energy. Their depth perception isn’t fully developed, and their bodies are still growing. A mad dash down the stairs can easily result in a fall, potentially causing sprains, fractures, or painful growth plate injuries. Similarly, senior dogs often face challenges like arthritis, muscle weakness, and decreased vision. Stairs they once navigated with ease can become a daunting obstacle, and a fall can be catastrophic for their fragile bodies.
Breed-Specific Considerations
Certain breeds are more susceptible to stair-related injuries. Dogs with long spines and short legs, like Dachshunds and Corgis, are at a higher risk for Intervertebral Disc Disease (IVDD), a condition that can be aggravated by the repetitive impact of climbing stairs. Large and giant breeds, such as Great Danes and Mastiffs, are prone to joint issues like hip dysplasia, where the stress of stairs can cause significant pain and long-term damage.
It’s a Safety Issue for You, Too!
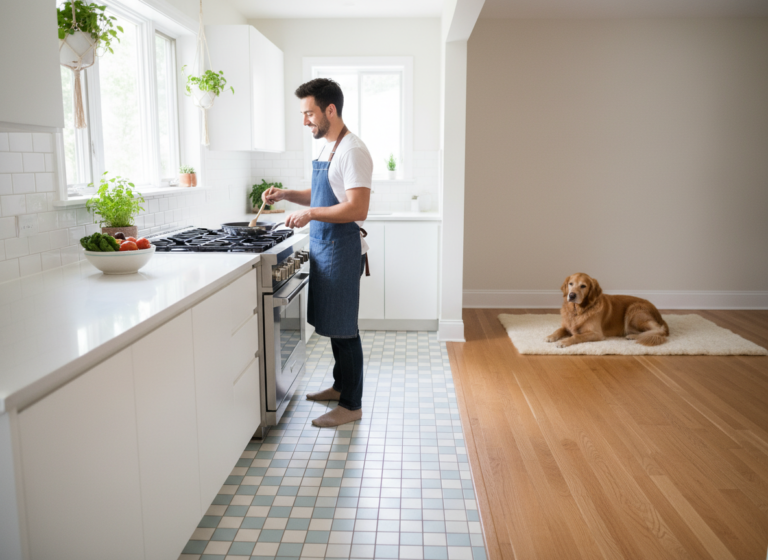
Let’s be honest, a dog underfoot is a major trip hazard. An excited pup weaving between your legs as you descend the stairs with a laundry basket is a recipe for disaster. By teaching a solid ‘wait,’ you ensure your path is clear, protecting yourself from a potentially serious fall. It establishes a predictable and safe routine for everyone in the household.
Expert Tip: Think of the ‘wait’ command at the stairs as the equivalent of teaching a child to look both ways before crossing the street. It’s a foundational safety skill that becomes an automatic, life-protecting habit.
Gearing Up for Success: Your Training Toolkit
The great news is that you don’t need a lot of fancy equipment to teach this command. Success hinges more on consistency and patience than on expensive gadgets. Here’s a simple checklist of what you’ll need to get started:
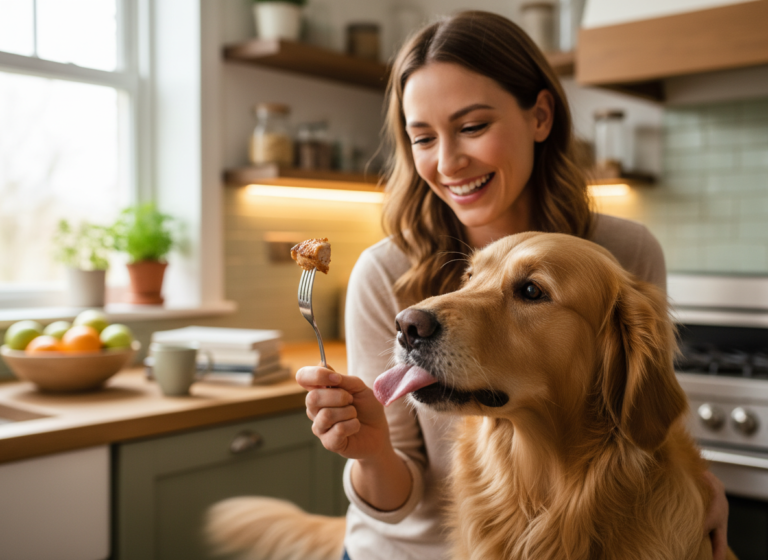
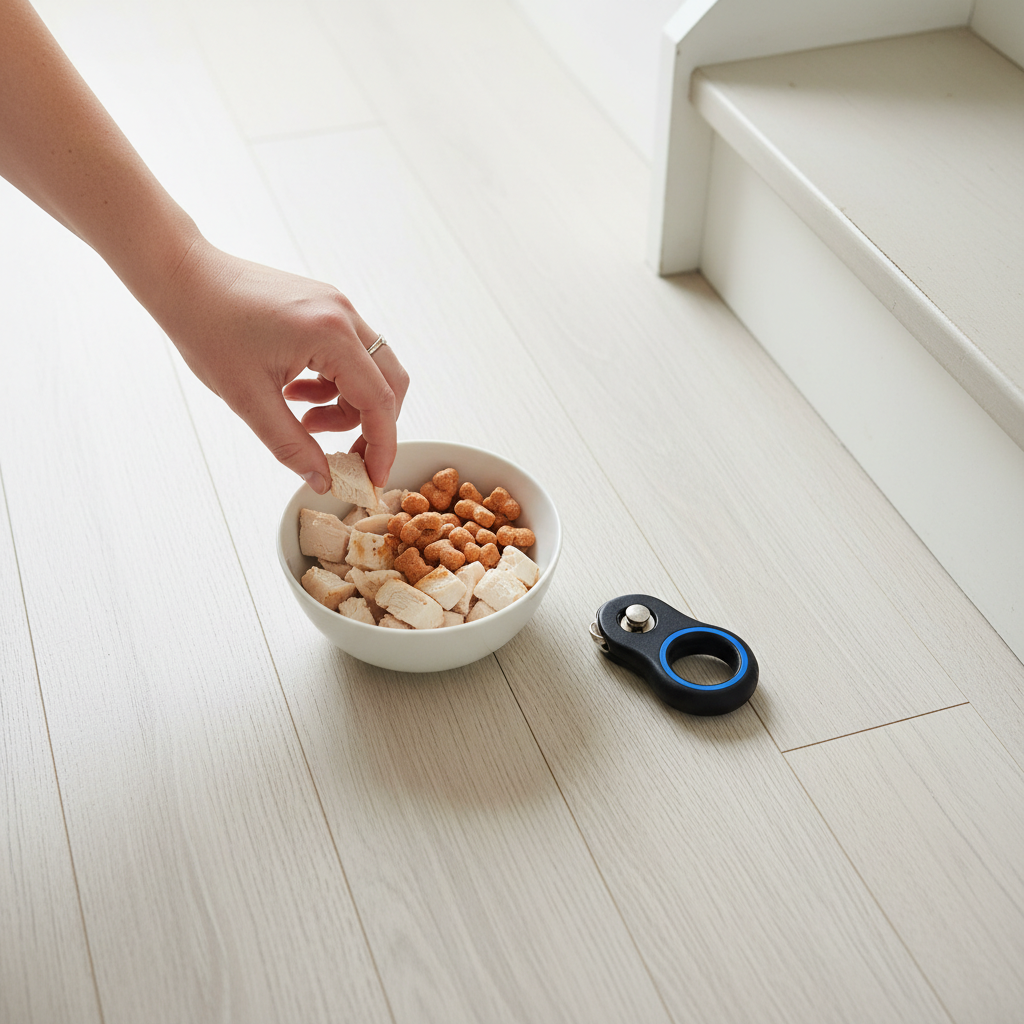
- High-Value Treats: We’re not talking about their everyday kibble. You need something special that will really get their attention and make them want to work for it. Think small, pea-sized pieces of cooked chicken, cheese, hot dogs, or soft, smelly training treats. The goal is a reward that says, ‘Wow, paying attention is REALLY worth it!’
- A Quiet Staircase: Choose a time and place with minimal distractions. You want your dog to be able to focus entirely on you and the task at hand. Avoid training during busy times, like when the kids are coming home from school or when your partner is making dinner.
- A Clicker (Optional but Recommended): A clicker is a fantastic tool for marking the exact moment your dog does the right thing. The ‘click’ acts as a clear signal that a reward is coming. If you’ve never used one, don’t worry! It’s simple: click the instant your dog performs the desired action (like keeping their paws still), then immediately give them a treat. This precision can speed up the learning process significantly.
- Patience and a Positive Attitude: This is the most important tool in your kit! Your dog feeds off your energy. If you get frustrated, they’ll get stressed. Keep sessions short (5-10 minutes is perfect) and always end on a positive note. Remember, you’re building a new habit, and that takes time. Celebrate the small wins and enjoy the process of working together.
Once you have your treats chopped and your positive mindset ready, you’re all set to begin the first step of this important safety journey.
The Step-by-Step Guide to a Perfect Stair ‘Wait’
Alright, let’s get to the fun part! We’re going to build this skill brick by brick, ensuring your dog understands each step before moving on to the next. This gradual approach is the key to creating a reliable and stress-free ‘wait.’ Remember to keep it fun and positive!
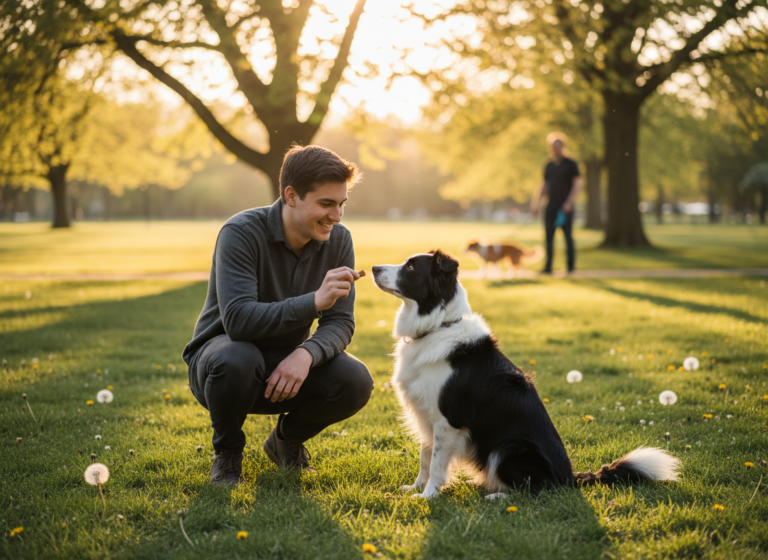
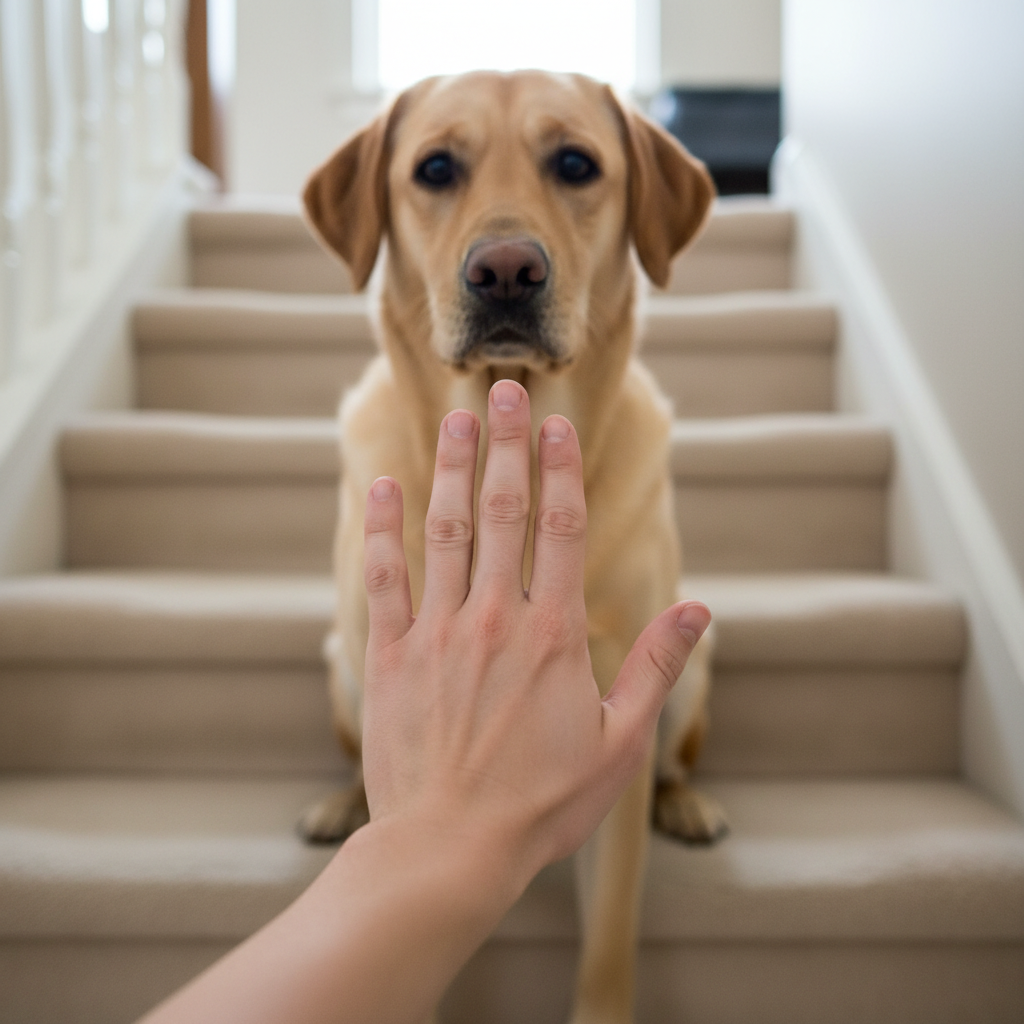
- Step 1: Master ‘Wait’ on a Flat Surface. Before you even look at the stairs, teach the concept of ‘wait’ on level ground. Have your dog sit. Say ‘Wait’ in a calm, clear voice and use a clear hand signal (like an open palm facing them). Take one small step back. If they stay, immediately step back to them, praise them enthusiastically (‘Yes! Good wait!’), and give them a treat. If they move, gently guide them back to the starting spot and try again with a smaller step. Practice this until you can take a few steps back without them moving.
- Step 2: Introduce the Bottom of the Stairs. Now, move your training session to the base of the staircase. Ask your dog to sit a few feet away from the first step. Repeat the process from Step 1. Your goal here is to get them used to performing the command in the presence of the stairs, without actually interacting with them yet.
- Step 3: The One-Paw Challenge. This is where it gets real! Lure your dog towards the first step. The moment one paw touches the step, say ‘Wait’ and use your hand signal. If they hold their position for even a split second, click (if using) and reward. You are rewarding the pause, the moment of hesitation. Gradually increase the duration they must wait with one or two paws on the step before getting their reward.
- Step 4: Conquering the Top of the Stairs. The top of the stairs is often more challenging because gravity and excitement are on their side. Go to the top of the stairs with your dog on a leash for safety. Ask them to sit a few feet back from the edge. Use the same ‘Wait’ command. Reward them for staying put. Slowly, over several sessions, practice getting closer to the edge, always rewarding them for holding their position.
- Step 5: Adding a Release Cue. Your dog also needs to know when it’s okay to move! Choose a release word like ‘Okay,’ ‘Free,’ or ‘Let’s go.’ After they have successfully waited, say your release cue in an upbeat tone and toss a treat down a few steps for them to get. This clearly marks the end of the ‘wait’ and makes the release fun.
- Step 6: Proofing the Behavior. Once your dog is reliably waiting, start adding duration (making them wait longer), distance (you moving further away), and distractions (another person walking by, a toy squeaking). Start small and build up gradually. The goal is for them to wait no matter what is going on around them until they hear that magic release word.
Troubleshooting: When Your Training Hits a Snag

Training is never a perfectly straight line; there will be zigs and zags along the way. Don’t get discouraged! Here are some common problems and how to solve them.
‘My dog breaks the ‘wait’ as soon as I move!’
This is very common! It usually means you’ve tried to progress too quickly. Go back a step. If they break the ‘wait’ when you take one full step away, try just shifting your weight or lifting your foot slightly instead. Reward that tiny moment of stillness. You are building their impulse control muscle, and it needs to be strengthened slowly. Make it ridiculously easy for them to succeed, and then build from there.
‘They only listen when I’m holding a treat.’
The treat is a lure at first, but it needs to become a reward. To fade the lure, start practicing with the treat hidden in your pocket or in your other hand. Go through the motions exactly the same way, and then produce the treat *after* they successfully wait. You can also start using ‘life rewards.’ For example, the reward for waiting at the top of the stairs is the release cue (‘Okay!’) that lets them come down with you. The act of getting to proceed becomes the reward itself.
‘My dog is just too excited and can’t focus!’
If your dog is bursting with energy, a training session is likely to be frustrating for both of you. Before you practice on the stairs, try a quick game of fetch or a brisk walk to burn off some of that excess energy. A dog that is physically and mentally a little tired is a much more focused and receptive student.
‘What about going *up* the stairs? Should they wait then too?’
Absolutely! The routine should be the same for both directions. Teach them to wait at the bottom until you give the release cue to go up. This is especially important in preventing them from tripping you as you begin to ascend. Use the same training steps, just in the opposite direction.
Remember: Every dog learns at a different pace. If you’re feeling stuck, take a break. End the session with a simple command you know they can do successfully, like ‘sit,’ and reward them for that. You can always try again tomorrow. Progress over perfection!
Beyond the Stairs: Unlocking a World of Impulse Control
Congratulations on teaching your dog to be safe on the stairs! But the benefits of a solid ‘wait’ command extend far beyond your staircase. You’ve just installed a powerful ‘pause button’ on your dog, a foundational skill in impulse control that will improve their behavior in countless other situations.
Think about all the moments when a little patience would make life easier and safer. You can now use your ‘wait’ command to:
- Prevent Door Dashing: Ask your dog to ‘wait’ a safe distance from the front door when you open it for guests or to receive a package. No more bolting into the street!
- Create Calm Mealtimes: Have your dog ‘wait’ while you prepare and put down their food bowl. They can only eat once you give the release cue. This prevents frantic gobbling and teaches polite mealtime manners.
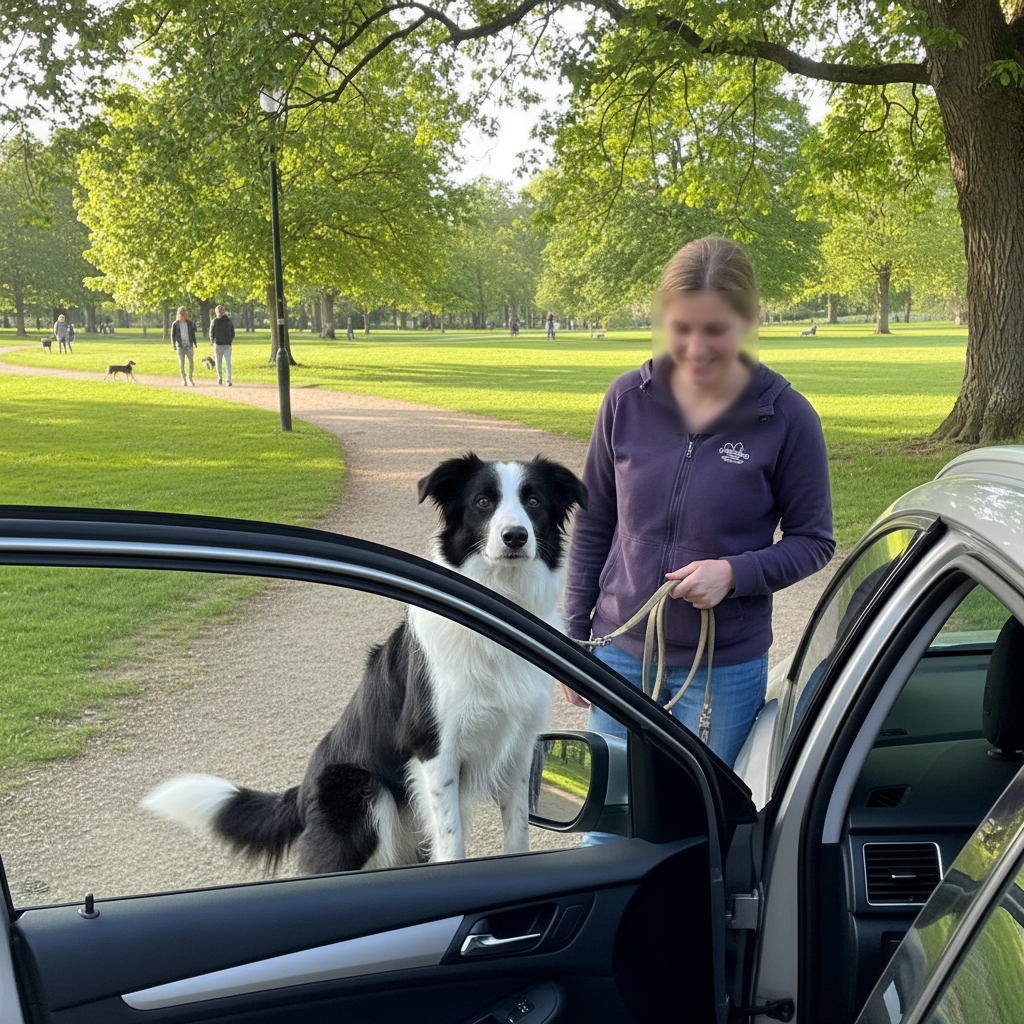
- Ensure Safe Car Exits: A dog that leaps from the car the second the door opens is at risk of running into traffic. Teach them to ‘wait’ inside the car until you’ve clipped on their leash and given the ‘okay’ to get out.
- Manage Greetings on Walks: When another person or dog approaches, putting your dog in a ‘wait’ can prevent frantic pulling and jumping, allowing for calmer, more controlled introductions.
By generalizing the ‘wait’ command to these different contexts, you are reinforcing the idea that they should look to you for guidance in exciting situations. You’re not just controlling their actions; you’re strengthening your bond and communication. The patience they learn at the top of the stairs becomes the patience they use at the front door, proving that a little training in one area can have a wonderful, positive ripple effect across your entire life together.
Conclusion
Teaching your dog to wait at the stairs is one of the most practical and impactful things you can do for their safety and your peace of mind. It’s a simple investment of time and patience that pays huge dividends for years to come. You’ve transformed a potential hazard into a checkpoint for safety, reinforced your role as a trusted leader, and equipped your dog with a valuable life skill.
Remember to be consistent, keep it positive, and celebrate every small step of progress. Every time your dog pauses at the top of the stairs and looks to you for permission, that’s a testament to your training and the special bond you share. So, take a deep breath, grab some tasty treats, and start building this life-saving habit today. Your dog—and your ankles—will thank you!