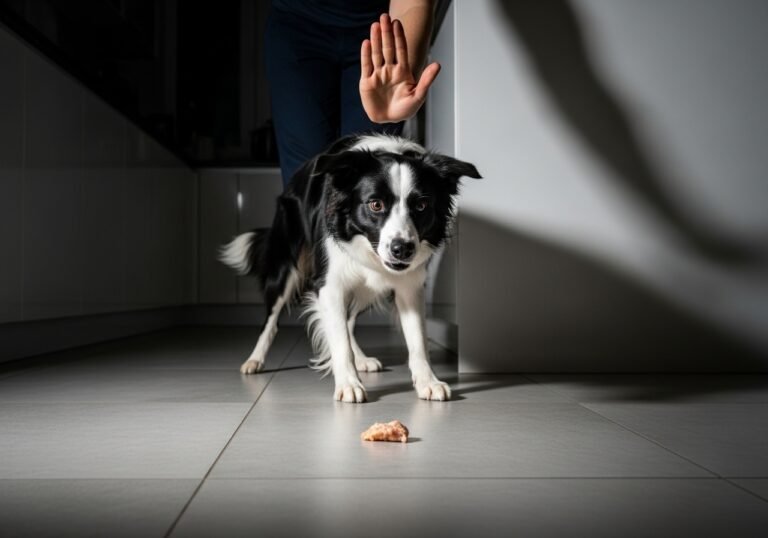
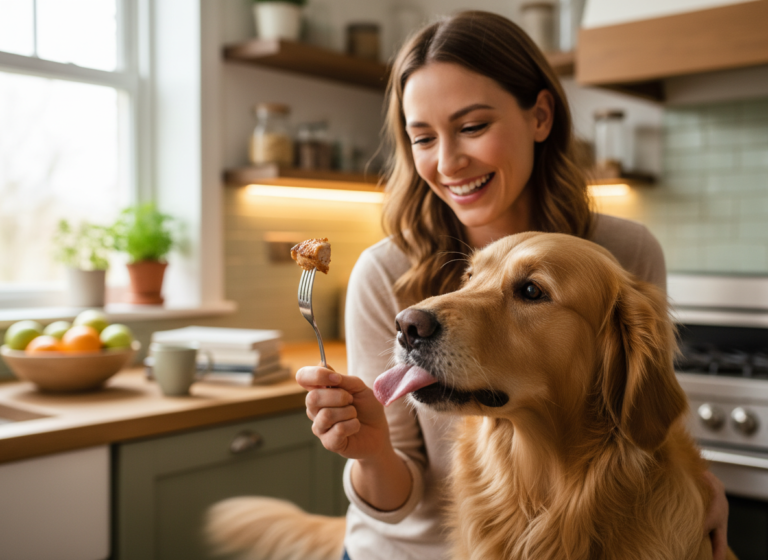
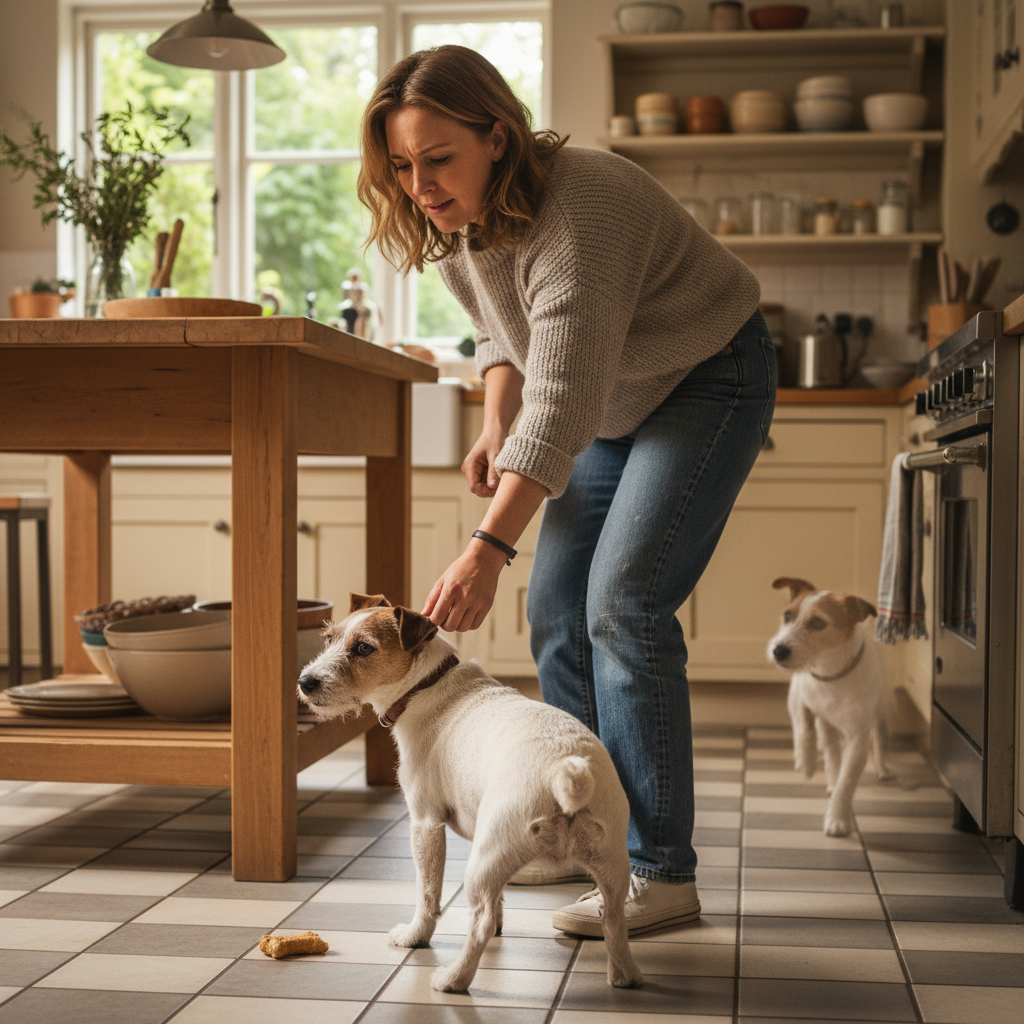
Is every mealtime in your house a carefully choreographed dance around a furry, four-legged obstacle? Do you find yourself navigating a minefield of hopeful eyes and a strategically placed snout every time you open the refrigerator? If you’re nodding along, you’re not alone. The kitchen is a magical place for our dogs—a wonderland of tantalizing smells and the source of all things delicious. But it can also be a place of frustration for us and danger for them. Constant begging, underfoot maneuvering, and the risk of them grabbing a dropped onion or a hot piece of food can turn cooking from a joy into a chore.
But what if you could reclaim your culinary space? What if you could prepare meals in peace, without a furry shadow judging your every chop? The good news is, you can! Establishing a ‘no kitchen’ boundary is not about punishment or exclusion; it’s about creating clear, consistent rules that benefit everyone. It’s about teaching your dog polite behavior, ensuring their safety, and bringing a sense of calm back to the heart of your home. In this guide, we’ll walk you through everything you need to know, step-by-step, to transform your kitchen from a canine free-for-all into your personal, peaceful sanctuary.
Why a ‘No Kitchen’ Boundary is a Game-Changer for You and Your Dog
Before we dive into the ‘how,’ let’s talk about the ‘why.’ Understanding the benefits of a dog-free kitchen can be a huge motivator to stay consistent with the training. This isn’t just about stopping annoying begging; it’s a crucial part of responsible pet ownership.
For Your Dog’s Safety
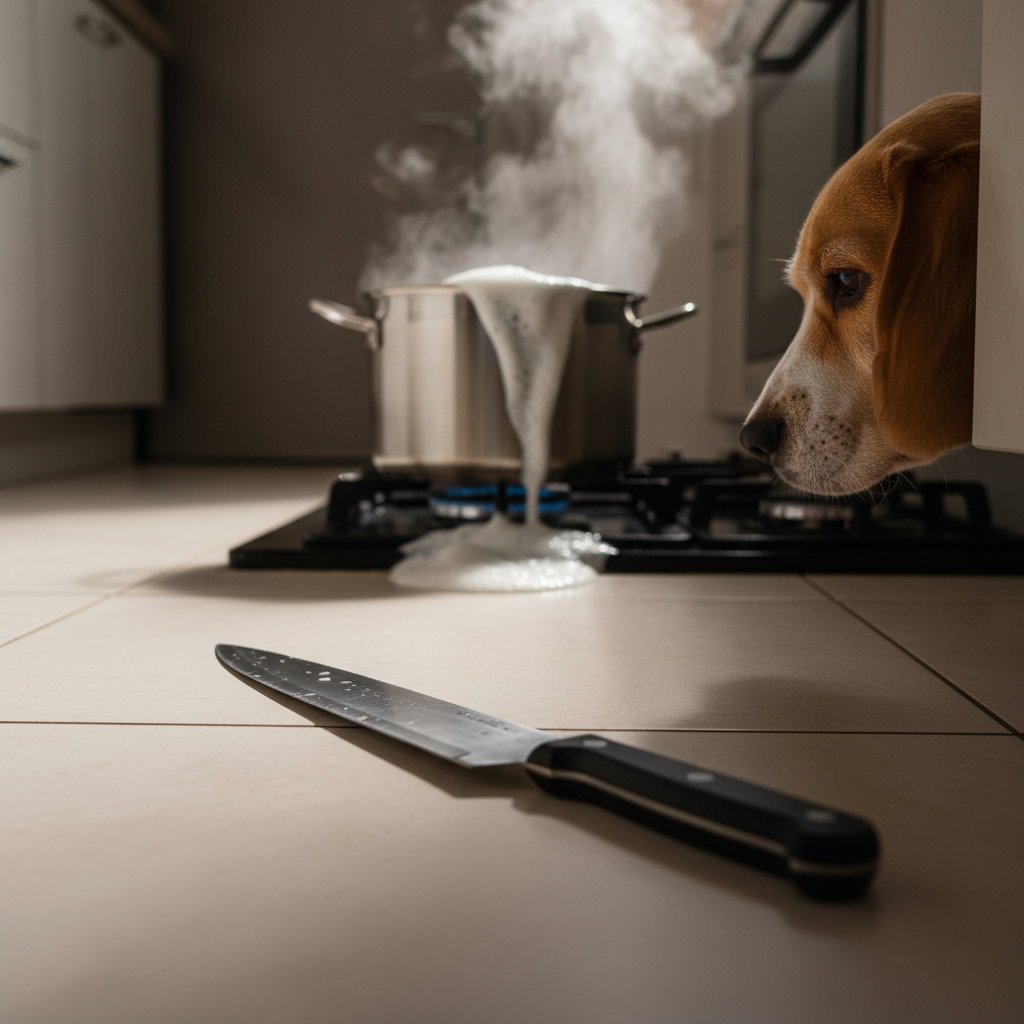
The kitchen is one of the most hazardous rooms in the house for a curious pup. Think about it from their perspective: sizzling pans, sharp knives, and fascinating new smells are all at their level.
- Toxic Foods: Many common ingredients are toxic to dogs, including onions, garlic, chocolate, grapes, and xylitol (an artificial sweetener). A quick snatch of a dropped ingredient can lead to an emergency vet visit.
- Hot Surfaces & Spills: A hot stove, a boiling pot of water, or a pan of sizzling oil can cause severe burns if knocked over or touched by an inquisitive nose.
- Sharp Objects: A dropped knife or a broken piece of glass poses a significant risk of cuts to paws and mouths.
By teaching your dog to stay out, you create an invisible safety barrier, drastically reducing the risk of accidents.
For Your Peace of Mind and Hygiene
Let’s be honest: it’s hard to focus on a recipe when you’re also trying not to step on a tail. A no-kitchen rule creates a more relaxing environment for you.
- Reduced Stress: No more worrying about your dog getting underfoot, begging, or counter-surfing. You can cook and eat in peace.
- Better Hygiene: Dog hair has a way of getting everywhere. Keeping your dog out of the food prep area is a simple way to maintain a more hygienic kitchen.
- Clearer Communication: Dogs thrive on structure and rules. When they know what’s expected of them, it reduces their anxiety and confusion. A clear boundary is a form of kind and effective communication.
Establishing boundaries is an act of love. It tells your dog, ‘I will keep you safe, and this is how we can live together happily and calmly.’
Gearing Up for Success: Your Training Toolkit
Great news! You don’t need a lot of fancy or expensive equipment to teach this boundary. The most important tool is your patience and consistency. However, having a few key items on hand will make the process smoother and more effective for both you and your canine student.
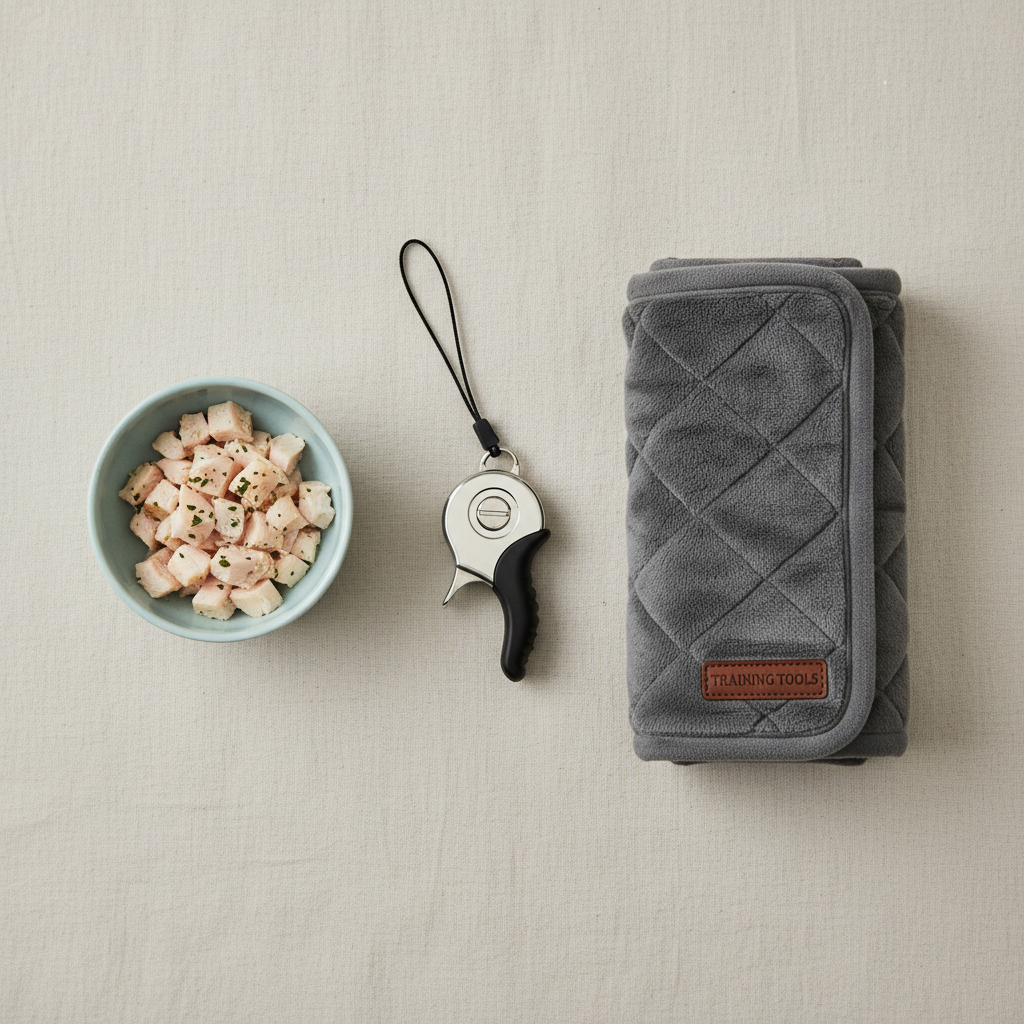
The Essentials
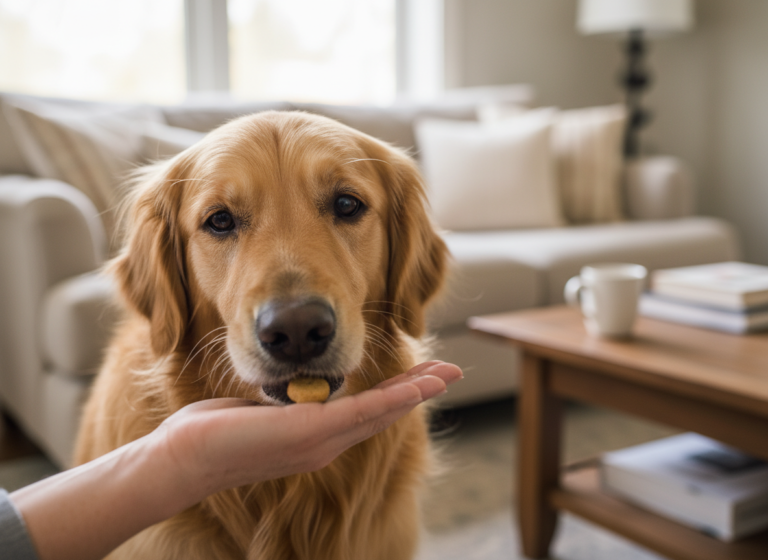
- High-Value Treats: We’re not talking about their everyday kibble. You need something extra special that your dog will go bonkers for. Think small pieces of cooked chicken, cheese, hot dogs, or high-quality commercial training treats. The goal is to make staying out of the kitchen more rewarding than anything in the kitchen.
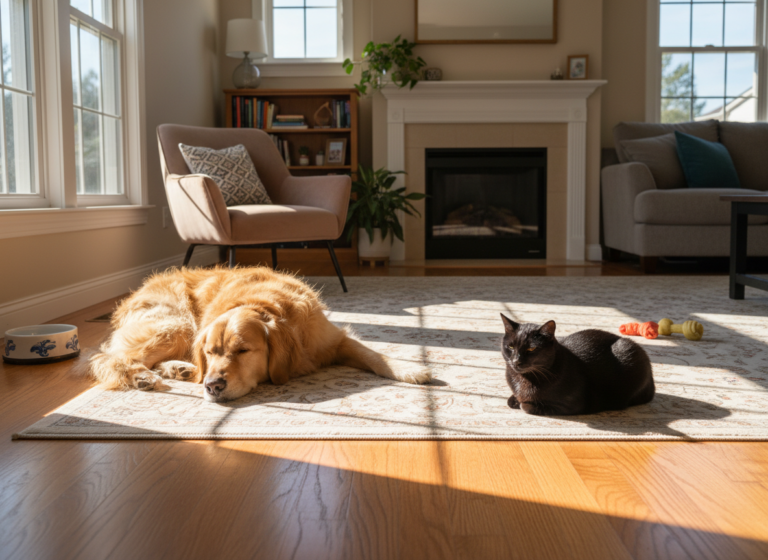
- A Comfortable Mat or Bed: This will be your dog’s designated ‘spot.’ It should be comfortable and placed just outside the kitchen entrance. This gives them a clear, positive place to go instead of just being told ‘no.’ We’re teaching them what to do, not just what not to do.
- A Clicker (Optional): If you’re familiar with clicker training, this is a fantastic tool for marking the exact moment your dog does the right thing (like staying on the mat). If not, a consistent verbal marker like a happy “Yes!” works just as well.
- A Baby Gate or Pet Gate (Optional, for Beginners): For some dogs, especially persistent ones, a physical barrier can be a lifesaver in the initial stages. It manages the environment so you can focus on rewarding the good behavior without constantly correcting the unwanted behavior. It’s a management tool, not a permanent solution.
The Step-by-Step Guide to a Dog-Free Kitchen
Alright, let’s get to the fun part! Remember to keep your training sessions short and positive, especially at the beginning—5 to 10 minutes a few times a day is much more effective than one long, frustrating session. Let’s build that boundary!
- Step 1: Define the Boundary Line. Decide exactly where the kitchen begins. Is it the edge of the tile? A specific doorway? This line must be absolute and consistent. For your dog, it’s black and white—they are either in or out. There is no ‘just the paws are in’ gray area.
- Step 2: Introduce the ‘Place’ Mat. Place the comfy mat you chose just outside your defined boundary. Make it a super positive place! Toss treats onto the mat, praise your dog enthusiastically whenever they step on it, and make it the best spot in the house. We want them to associate the mat with wonderful things.
- Step 3: Lure and Reward. With a high-value treat in hand, lure your dog onto their mat. The moment all four paws are on it, say “Yes!” (or click) and give them the treat. Repeat this several times. Then, toss a treat a short distance away from the mat to ‘reset’ them, and repeat the luring process.
- Step 4: Build Value for Staying Put. Once your dog is happily going to the mat, start rewarding them for staying there. Lure them to the mat, and instead of giving one treat, give them a few in a row while they remain on the mat. This teaches them that the mat is a magical source of continuous rewards.
- Step 5: Add the Verbal Cue. When your dog is reliably going to the mat when you lure them, you can add a verbal cue like “Place” or “On your mat.” Say the cue right before you lure them. After many repetitions, they will start to associate the word with the action.
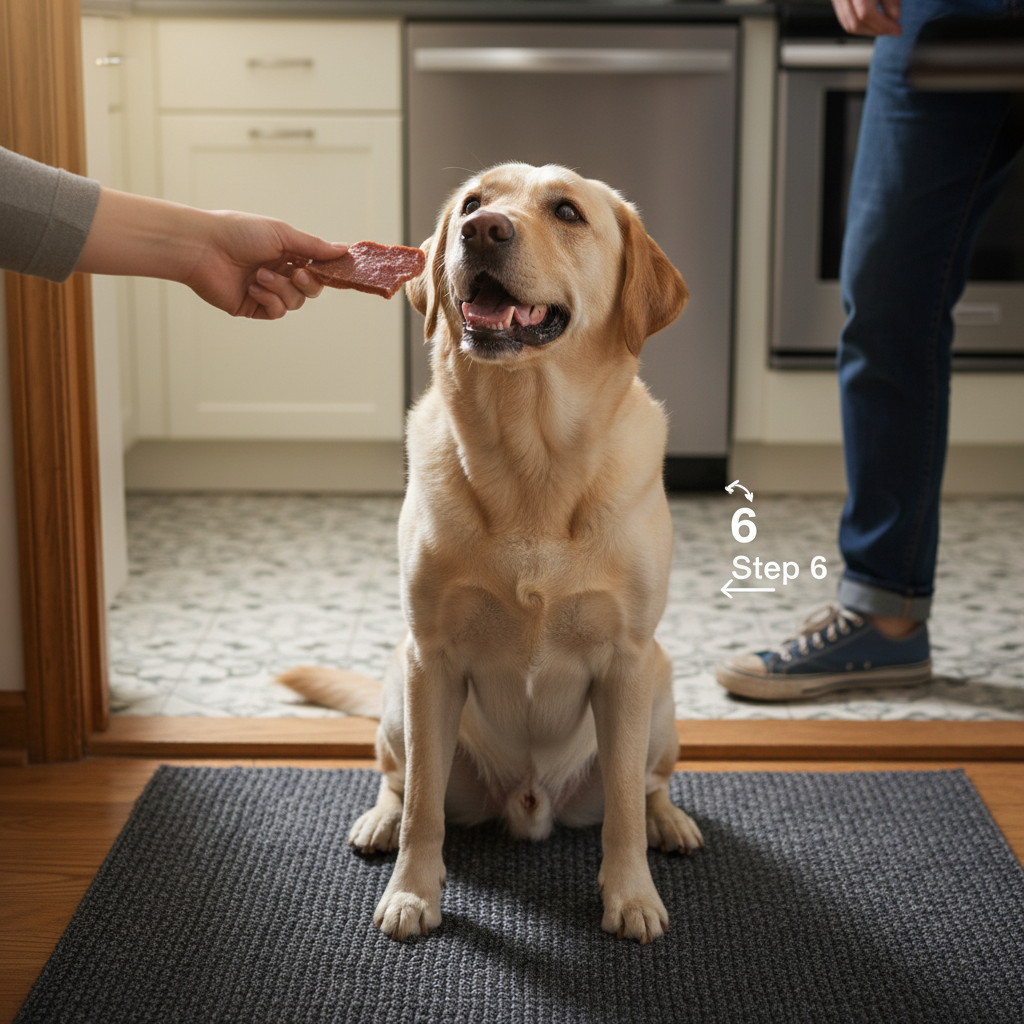
- Step 6: Start Proofing with Movement. This is where the boundary training really begins. Ask your dog to go to their place. Reward them. Then, take one step into the kitchen and immediately step back out and reward them if they stayed on the mat. If they get up, no big deal! Don’t scold them. Simply lure them back and start again with an easier step. Gradually increase how many steps you take into the kitchen and how long you stay there before returning to reward them.
- Step 7: Add Distractions. The ultimate test! Once your dog can stay on their mat while you walk around the kitchen, start adding small distractions. Open the fridge. Open a crinkly bag. Pick up their food bowl. At each stage, if they stay on their mat, return and give them a jackpot of treats and praise! This teaches them that even when exciting things are happening, the best place to be is on their mat.
Troubleshooting Common Hurdles
Training is never a straight line to success. You’re bound to hit a few bumps in the road. Don’t get discouraged! Here’s how to handle some of the most common challenges when establishing your kitchen boundary.
What if my dog keeps breaking the boundary and running into the kitchen?
This is the most common issue! It usually means you’ve progressed too quickly. The key is to not make it a big deal. Avoid yelling or punishing. Instead, calmly and neutrally lead them back out of the kitchen and onto their mat. Then, take a step back in your training. Make it easier for them to succeed. Maybe you only take half a step into the kitchen before rewarding, or you reduce the time you’re in there. Remember, every time they succeed, their good behavior is reinforced.
My dog just whines and barks from their mat. What should I do?
A vocal protest! This is a sign of frustration, but it’s also a test to see if their noise-making will get them what they want (access to the kitchen). The golden rule here is: do not reward the whining. Don’t look at them, talk to them, or give in. Wait for a moment of silence, even if it’s just for a second to take a breath. The instant they are quiet, mark it with “Yes!” and go reward them. They will quickly learn that silence, not whining, brings the good stuff.
This works when I’m training, but my dog forgets the rule when I’m actually cooking.
This is where a management tool like a baby gate can be a huge help initially. When you’re too busy to actively train (like when you’re cooking a big meal), use the gate to prevent them from practicing the unwanted behavior of coming into the kitchen. This isn’t a failure; it’s smart management! It ensures they can’t ‘win’ by sneaking in when you’re distracted. Continue your short, focused training sessions at other times, and eventually, you won’t need the gate anymore.
Expert Tip: Try giving your dog a long-lasting chew, like a stuffed KONG or a bully stick, to enjoy on their mat while you’re busy in the kitchen. This creates a powerful positive association and keeps them happily occupied.
The Dos and Don’ts of Boundary Training
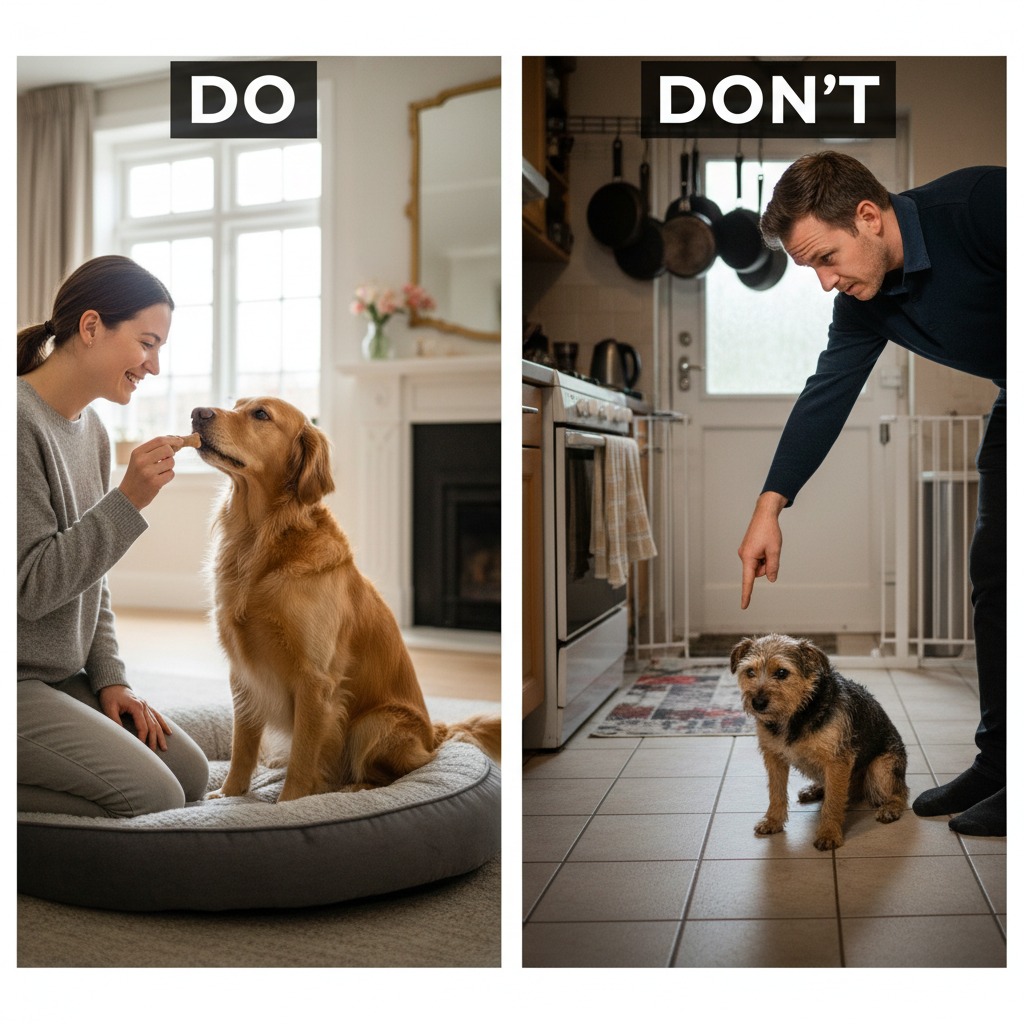
Consistency is the secret ingredient to successful dog training. Everyone in the household needs to be on the same page with the rules. To make it crystal clear, here’s a simple chart of the key dos and don’ts to keep in mind on your journey to a peaceful, dog-free kitchen.
| Do This ✅ | Avoid This ❌ |
|---|---|
| Be Absolutely Consistent. The boundary is the boundary, 100% of the time. Every single person, every single day. | Create ‘Sometimes’ Rules. Letting your dog in ‘just this once’ because they’re being cute will erase your hard work. |
| Use High-Value Rewards. Make staying out of the kitchen the most rewarding choice your dog can make. | Rely on Punishment. Yelling ‘Get out!’ or using fear will only create anxiety and damage your relationship with your dog. |
| Keep Training Sessions Short & Fun. End each session on a positive note, leaving your dog wanting to train more. | Train When You or Your Dog are Stressed. If you’re feeling frustrated, it’s better to end the session and try again later. |
| Manage the Environment. Use a baby gate when you can’t actively supervise to prevent your dog from practicing bad habits. | Expect Too Much, Too Soon. This is a process. Don’t expect your dog to be perfect after one session. Celebrate small victories! |
| Reward Calm Behavior. Randomly walk over and treat your dog when you see them lying calmly on their mat, even when you’re not training. | Feed Your Dog from the Table or Counter. This is the ultimate reward for being in the kitchen and the number one cause of begging. |
Conclusion
Congratulations on taking the first step towards a more peaceful and safer home! Teaching a ‘no kitchen’ boundary is more than just a cool trick; it’s a fundamental part of creating a respectful and harmonious relationship with your dog. By investing your time and patience now, you are building a foundation of clear communication that will last a lifetime.
Remember to celebrate the small wins along the way. The first time your dog goes to their mat without being lured, the first time you can open the fridge without a nose bumping your leg—these are all victories worth celebrating! Stay consistent, stay positive, and before you know it, the chaotic kitchen dance will be a distant memory. You’ll be able to enjoy cooking, and your dog will be happier and safer, relaxing in their designated spot, confident that they know the rules and are doing exactly what you want. Happy training!