Have you ever watched your dog wiggle forward in an adorable army crawl and thought, ‘What else can we do?’ If you’re looking for a new challenge that will boost your dog’s confidence, improve their body awareness, and seriously strengthen your bond, you’ve come to the right place. Teaching your dog to crawl in reverse is more than just a cool party trick; it’s a fantastic brain game that requires focus, coordination, and trust.
Unlike forward movement, backing up isn’t a natural motion for most dogs, which makes this trick an excellent exercise in problem-solving for your pup. It encourages them to think about how they use their body in a whole new way. In this guide, we’ll break down the process into simple, fun, and manageable steps. Forget about complicated techniques or frustrating sessions. We’re all about positive reinforcement, tasty treats, and celebrating the small wins. So, grab your clicker, some high-value snacks, and let’s get ready to go backward in the best way possible!
Setting the Stage: Prerequisites and Essential Tools
Setting the Stage: Prerequisites and Essential Tools
Before we dive into teaching the reverse crawl, let’s make sure you and your pup are set up for success. A little preparation goes a long way in making the training process smooth and enjoyable for everyone involved. Think of this as gathering your ingredients before you start cooking a new recipe!
Is Your Dog Ready?
While any dog can learn, a couple of foundational skills will make this trick much easier to teach. Your dog should have a solid understanding of:
- ‘Down’ or ‘Lie Down’: Your dog needs to be comfortable holding a down position for at least a few seconds. This is our starting position for every training session.
- ‘Crawl’ (Forward): While not strictly necessary, it’s incredibly helpful if your dog already knows how to do a standard army crawl. This means they understand the concept of moving while keeping their belly close to the floor. If they don’t know this yet, consider teaching it first!
- Lure Following: Your dog should be comfortable following a treat in your hand. This is the primary way we’ll guide them into the initial backward movement.
Expert Tip: Ensure your dog is physically comfortable. This trick requires some flexibility. If your dog is a senior, has joint issues, or any back problems, please consult your veterinarian before starting this type of training to ensure it’s safe for them.
Gathering Your Training Toolkit
You don’t need a lot of fancy equipment, but having the right tools on hand will make a world of difference. Here’s what I recommend:
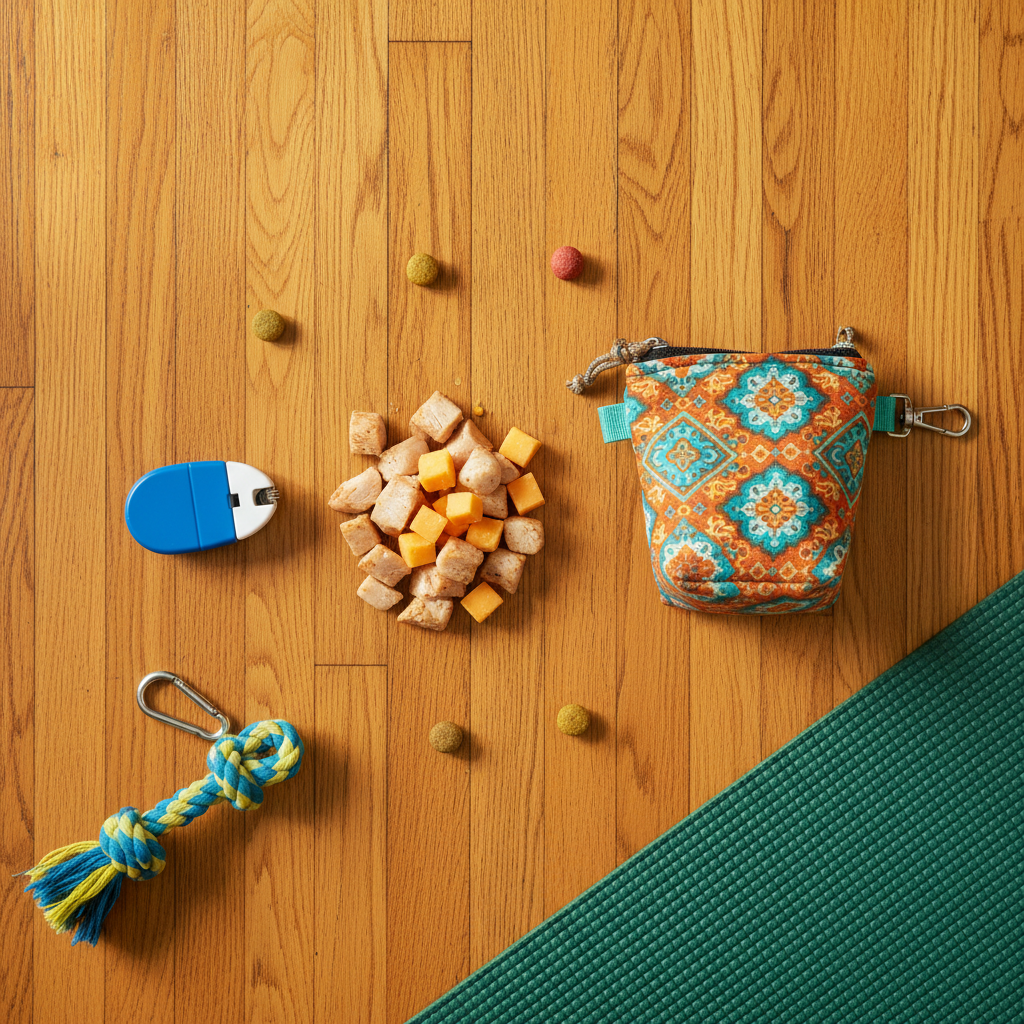
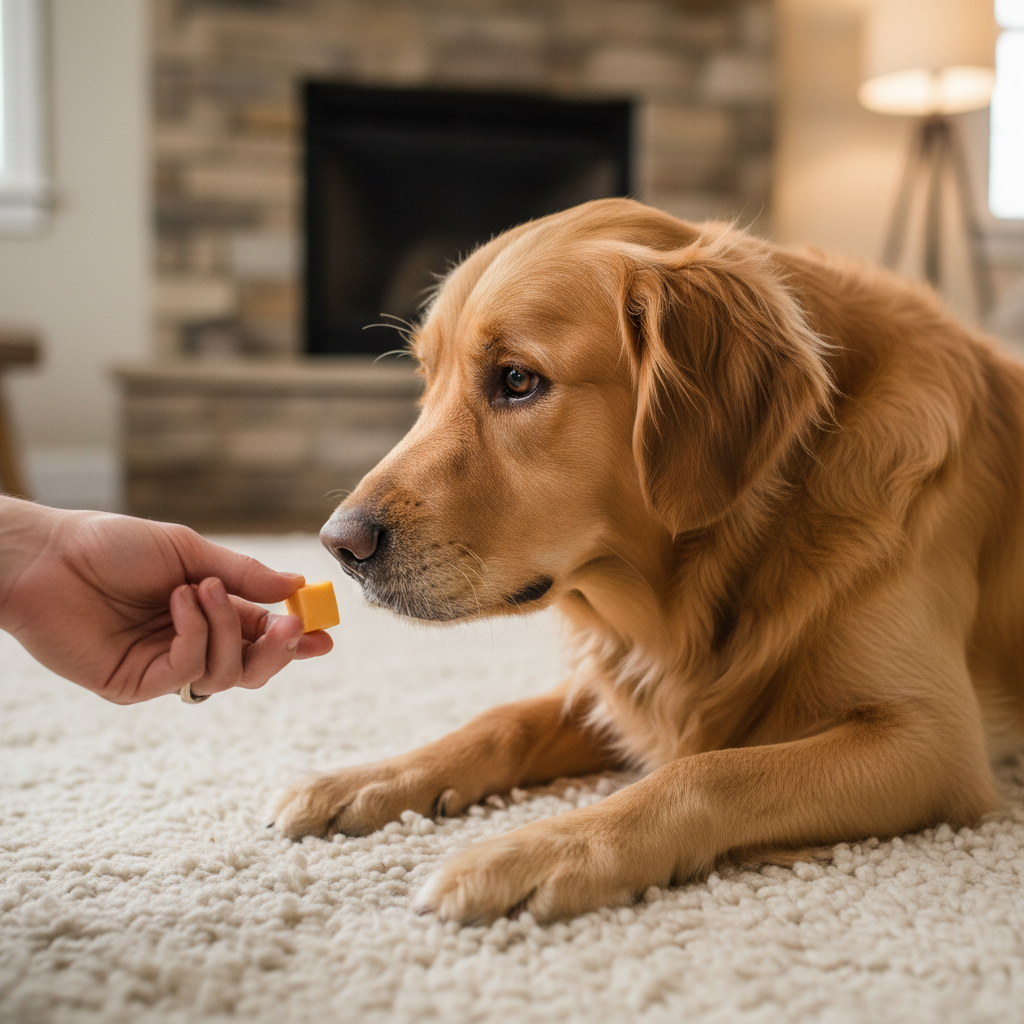
- High-Value Treats: This is non-negotiable! We’re asking our dogs to do something tricky and unnatural, so we need to pay them well. Forget the dry kibble for this one. Think small, soft, and extra smelly treats like tiny pieces of cheese, boiled chicken, or commercial training treats they absolutely love. The goal is to make them say, ‘Wow, for that treat, I’ll try anything!’
- A Clicker (Optional but Recommended): A clicker is a fantastic tool for marking the exact moment your dog does something right. The ‘click’ acts as a precise signal that means, ‘Yes! That’s it! A reward is coming.’ If you’re not using a clicker, you can use a consistent, short verbal marker like ‘Yes!’
- A Comfortable, Non-Slip Surface: You want your dog to feel secure, not worried about sliding around. A rug, carpeted area, or a yoga mat is perfect. Avoid slippery hardwood or tile floors, as this can make the movement difficult and potentially scary for your dog.
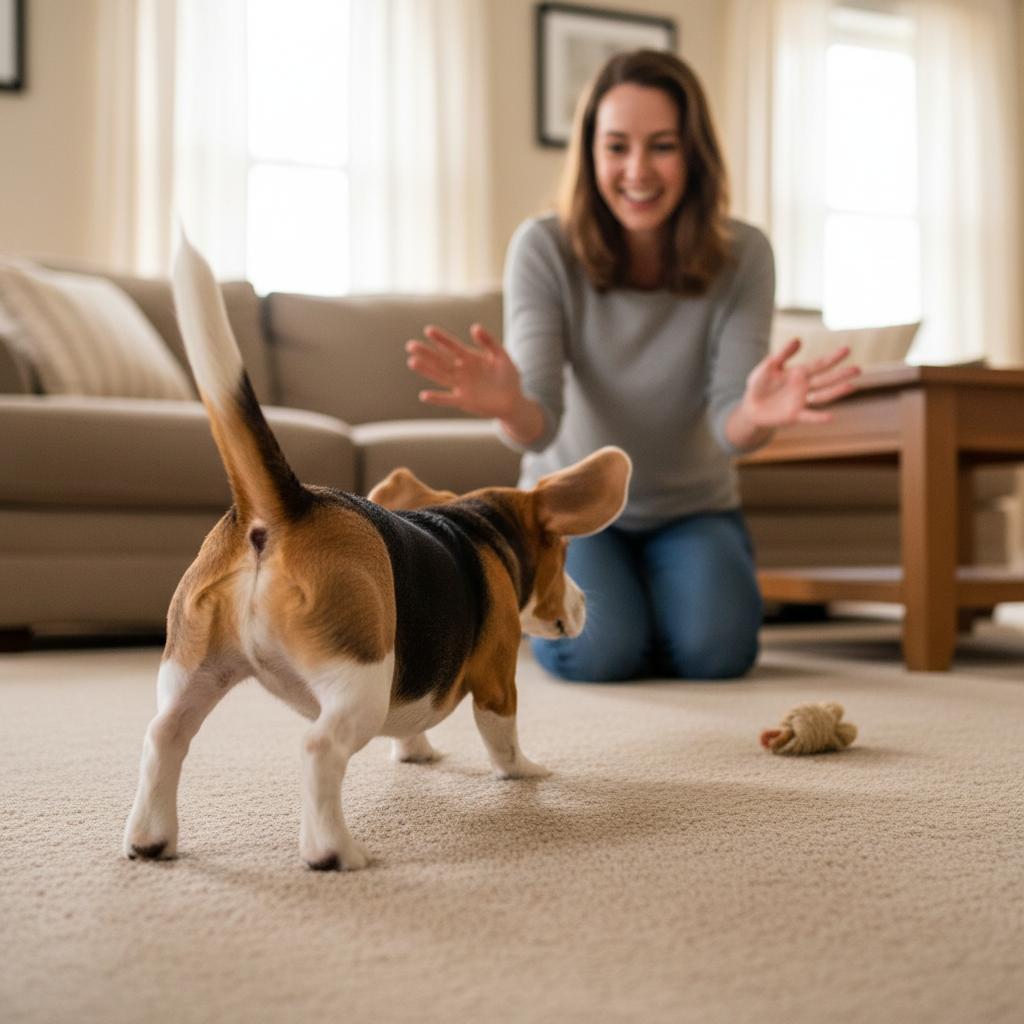
- A Positive Attitude: This is the most important tool of all! Keep your training sessions short (5-10 minutes max), upbeat, and fun. If you feel yourself getting frustrated, it’s time to end the session with an easy win (like a simple ‘sit’) and try again later. Your dog feeds off your energy.
Once you have your treats chopped, your clicker in hand, and a comfy spot picked out, you’re ready to start building the foundation for this amazing trick.
The Backward Scoot: Building the Core Movement
The Backward Scoot: Building the Core Movement
Okay, this is where the magic begins! We’re not going to ask for a full reverse crawl right away. Instead, our first goal is to capture the tiniest backward movement from a ‘down’ position. We call this the ‘backward scoot.’ It’s the foundational building block for the entire trick, so we want to make this step super clear and rewarding for our dogs.
Step 1: Get into Position
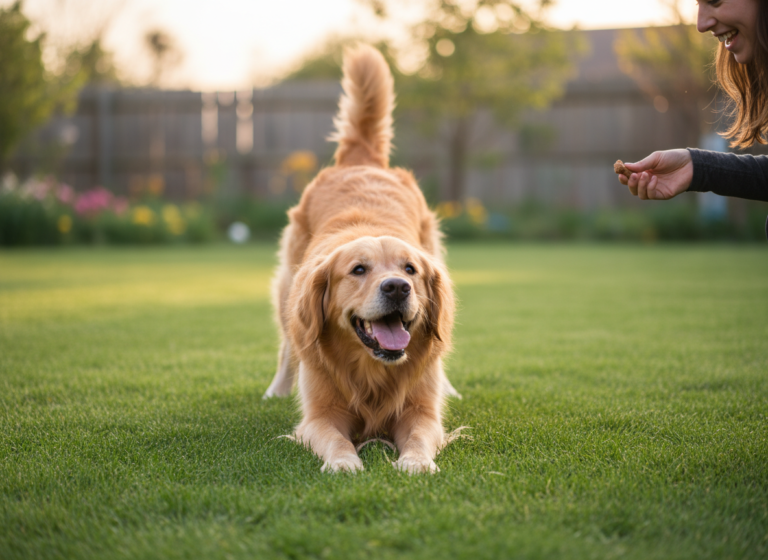
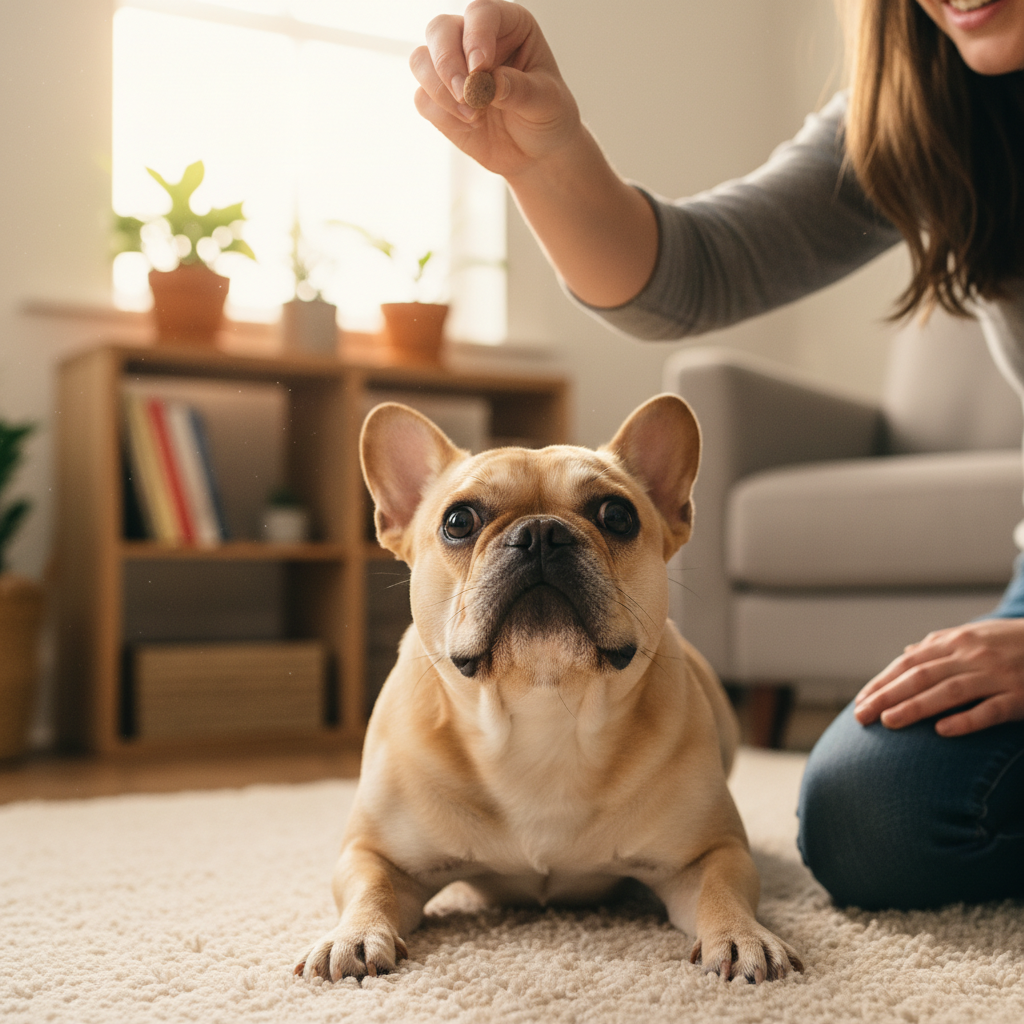
Ask your dog to lie down on your chosen comfortable surface. Position yourself directly in front of them, sitting or kneeling at their level. This makes you less intimidating and puts you in the perfect spot to lure them. Have your clicker in one hand and a tasty treat in the other.
Step 2: The Treat Lure
Now, take the treat and hold it right at your dog’s nose. Let them sniff it, but don’t let them have it just yet. Slowly, move the treat from their nose straight toward their chest, in between their front paws. The goal is to get them to shift their weight backward to follow the treat.
What you’re looking for is any backward motion, no matter how small. This could be:
- A slight shift of their weight to their back legs.
- Their head moving back and up.
- Their front paws sliding back even a centimeter.
Step 3: Mark and Reward!
The very instant you see that backward shift, CLICK (or say ‘Yes!’) and immediately give them the treat. Timing is everything here. You want to mark the exact moment they move backward. After they eat the treat, reset and try again. Repeat this process several times.
Troubleshooting Tip: If your dog keeps trying to stand up or sit up to get the treat, you might be holding the lure too high. Try to keep the treat low to the ground, moving it parallel to the floor. If they still pop up, simply reset them in the ‘down’ position calmly and try again. Don’t say ‘no’ or get discouraged; it’s part of the learning process!
What Success Looks Like in This Stage
In your first few sessions, a ‘win’ is just getting that initial backward weight shift consistently. Your dog will start to understand, ‘When I’m lying down and I move my head and shoulders back like this, I get a click and a treat!’ They are learning to offer the behavior. You might start to see them scooting their front paws back an inch or two. This is fantastic progress! Keep these sessions short and end on a high note. You’re successfully laying the groundwork for the full reverse crawl.
Putting It All Together: Your Step-by-Step Training Plan
Putting It All Together: Your Step-by-Step Training Plan
Now that your dog understands the basic ‘backward scoot,’ it’s time to shape that small movement into a full-fledged reverse crawl. This process is all about gradually asking for more while keeping your dog’s confidence high. We’ll do this in small, achievable steps. Patience is your superpower here!
-
Step 1: Extend the Backward Movement
Continue using the treat lure as you did in the previous stage. But now, instead of marking and rewarding the very first backward shift, wait for a slightly bigger movement. Wait for them to slide their front paws back an inch, then two inches. The key is to slowly ‘raise the criteria.’ As soon as they offer a slightly bigger scoot than before, click and reward enthusiastically! You’re communicating, ‘Yes, that’s what I want… just a little bit more of it!’
-
Step 2: Introduce the Verbal Cue
Once your dog is reliably scooting backward a few inches using the lure, it’s time to name the behavior. Right as you begin the luring motion and you know they are about to move backward, say your chosen cue word clearly. Good cues are short and distinct. Some ideas include ‘Back,’ ‘Reverse,’ ‘Scoot,’ or ‘Crawl back.’ Say the cue, lure the movement, then click and treat when they do it. After many repetitions, your dog will start to associate the word with the action.
Step 3: Fade the Hand Lure
Our eventual goal is for the dog to perform the trick on the verbal cue alone. To get there, we need to gradually fade the physical lure. Start making your hand motion smaller and more subtle. Instead of a full lure from their nose to their chest, maybe just point your finger toward their chest. Eventually, you can transition this into a flatter, open-palm hand signal that pushes toward them. Continue to use your verbal cue right before the hand signal. Reward any successful backward movement.
-
Step 4: Build Distance and Duration
As your dog gets better, start asking for more steps. At first, you might reward one backward ‘scoop.’ Then, wait for two scoops before you click and treat. Then three. This is how you build the distance of the crawl. Do this very gradually. If your dog gets stuck or confused, you’ve likely asked for too much too soon. Just go back to the previous step where they were successful and build up more slowly. This ensures the process stays fun and doesn’t become frustrating for your pup.
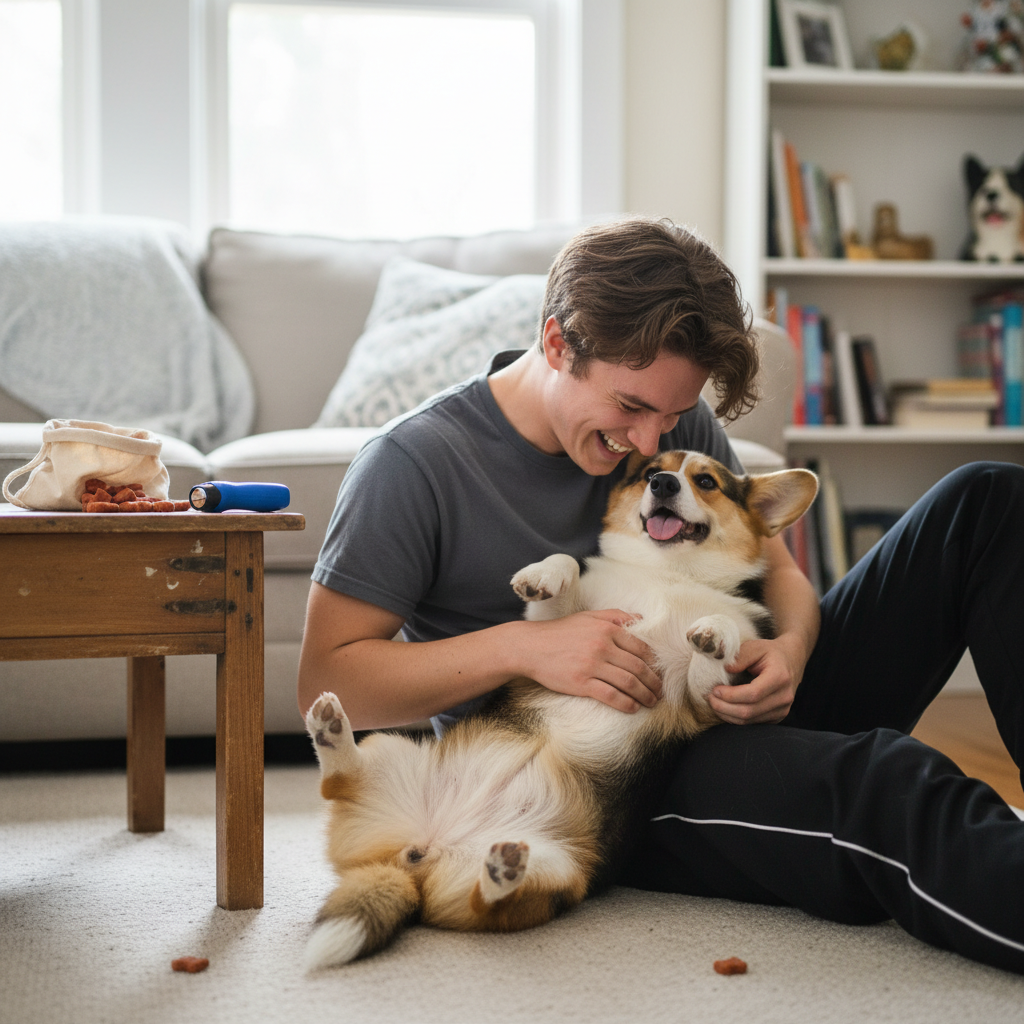
Expert Tip: Keep your energy high! When your dog finally strings together a few reverse crawl steps, give them a ‘jackpot’ reward – a handful of treats, lots of praise, and maybe a quick game of tug. This big celebration tells them they’ve just done something amazing and will make them eager to try it again.
Troubleshooting: Navigating the Common Sticking Points
Troubleshooting: Navigating the Common Sticking Points
Even with the best plan, you might hit a few bumps in the road. That’s completely normal in dog training! The key is to identify the problem and adjust your technique without getting frustrated. Here are solutions to some of the most common issues you might encounter when teaching the reverse crawl.
Problem: ‘My dog keeps standing or sitting up!’
This is probably the most common challenge. It usually means one of two things:
- The Lure is Too High: If you lift the treat even slightly as you lure, you’re encouraging your dog’s head (and therefore their body) to go up. Focus on keeping the treat low and moving it perfectly parallel to the floor, straight toward their chest.
- They’re Frustrated: If a dog doesn’t understand what you’re asking, they might offer other behaviors they know, like ‘sit.’ This is a good time to take a step back. Make the task easier. Go back to rewarding just the tiniest backward head movement or weight shift. End the session on that positive note and try again later. Shorter, more successful sessions are better than long, frustrating ones.
Problem: ‘My dog just won’t move backward at all.’
If your dog is planted like a rock, we need to figure out why. It could be motivation or a physical barrier.
- Up the Treat Value: Are the treats you’re using exciting enough? Try something extra special that they only get for this specific training. This can often be the push they need to try something new and weird.
- Check the Environment: Is the floor slippery? Is there something behind them making them nervous? Ensure the training space is comfortable and free of obstacles. You can also try using a physical barrier, like placing a soft pillow or your leg behind them. Sometimes, the sensation of backing into something soft can encourage that backward motion.
Problem: ‘My dog only moves one paw back and then stops.’
This is actually a great start! It means they’re trying to figure out the puzzle. The key here is shaping. Click and reward that one-paw movement! After a few repetitions, they may offer a bigger movement with that paw, or even move the other one. If they get stuck, go back to luring to help them along. You are essentially building the behavior piece by piece, and rewarding the effort is crucial.
Remember the Golden Rule: If your dog fails to perform the behavior three times in a row, make it easier. The goal is to keep them succeeding and wanting to play the training game with you. It’s your job as the trainer to adjust the difficulty to ensure they can win.
Pro Trainer Secrets: Common Mistakes to Avoid
Pro Trainer Secrets: Common Mistakes to Avoid
Teaching a complex trick like the reverse crawl is a journey, and it’s easy to make a few missteps along the way. Being aware of these common pitfalls can help you avoid them, keeping your training sessions productive, positive, and fun for both you and your dog. Here are some key mistakes to watch out for.
Mistake 1: Training Sessions Are Too Long
It can be tempting to keep going when you’re making progress, but a dog’s brain, especially when learning something complex, can get tired quickly. Long sessions can lead to frustration, loss of interest, and sloppy technique.
- The Fix: Keep your training sessions short and sweet. Aim for multiple 3-5 minute sessions throughout the day rather than one long 30-minute session. Always end on a positive note when your dog has just done something successfully. This leaves them feeling confident and eager for the next session.
Mistake 2: Using a Low-Value ‘Bribe’ Instead of a High-Value ‘Reward’
There’s a subtle but important difference. A bribe is showing the dog the treat to get them to do something, and it can lead to a dog who will only work when they see food. A reward is produced after the behavior is performed correctly.
- The Fix: While we use a treat as a lure initially, the goal is to fade it quickly. The click (or ‘Yes!’) marks the behavior, and the reward follows. Keep the treats interesting! If your dog loses motivation, it might be time to switch from their usual training treat to something more exciting like freeze-dried minnows or tiny bits of steak.
Mistake 3: Getting Frustrated or Saying ‘No’
Your dog isn’t being stubborn; they’re trying to solve a puzzle you’ve presented. If they’re not getting it, it’s a communication breakdown, not a behavioral issue. Using negative markers like ‘No,’ ‘Wrong,’ or showing frustration will only add stress and anxiety to the training, making your dog less willing to offer behaviors in the future.
- The Fix: Take a deep breath. If your dog does the ‘wrong’ thing (like standing up), simply don’t click or reward. Calmly reset them into position and try again. If it happens repeatedly, the task is too hard. Make it easier. Your calm and patient demeanor is crucial for building a trusting training partnership.
Mistake 4: Poisoning the Cue
A ‘poisoned cue’ happens when a dog starts to associate a verbal cue with frustration or failure. This often occurs when an owner repeats the cue over and over (‘Back. Back. C’mon, back!’) when the dog doesn’t understand.
- The Fix: Only say the cue once. If your dog doesn’t respond, that’s okay. Use your hand signal or lure to help them succeed, then reward. You want the cue to be a clear and positive predictor of the fun activity, not a source of pressure.
By avoiding these common mistakes, you’ll create a learning environment where your dog feels safe to experiment and confident to try new things. This positive foundation is the secret to teaching any trick successfully.
Conclusion
Congratulations! You now have all the tools and techniques to teach your dog the incredible reverse crawl. Remember that this is more than just a trick; it’s a journey of communication, patience, and partnership between you and your best friend. Every small backward scoot, every moment of understanding, is a victory worth celebrating. Don’t get discouraged by setbacks—they are a natural part of the learning process. The most important things are to keep it fun, stay positive, and cherish the time you spend working together.
By challenging your dog’s mind and body with fun tricks like this, you’re providing invaluable mental enrichment that can lead to a happier, more confident, and well-behaved companion. So enjoy the process, be proud of your dog’s efforts, and get ready to show off their amazing new skill!