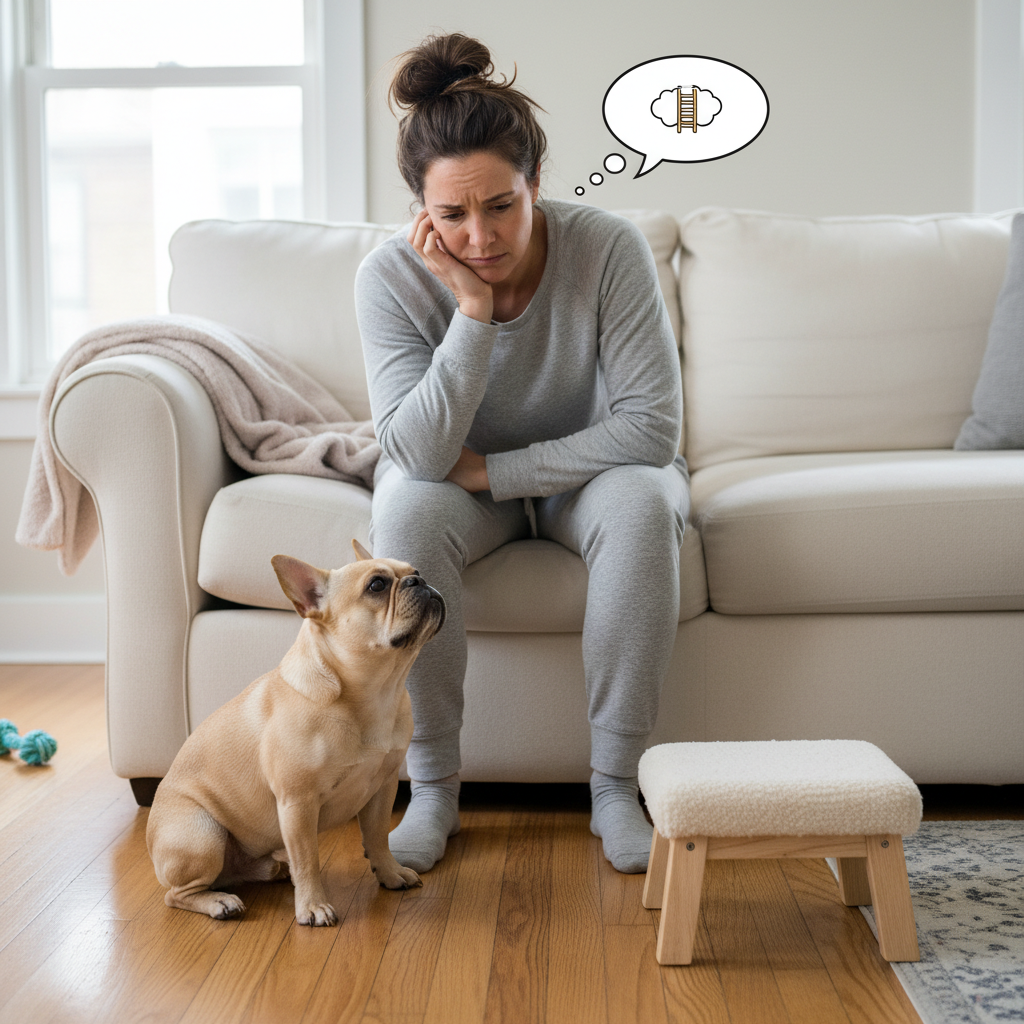
If you’re the proud parent of a small dog, you’ve probably witnessed ‘The Leap.’ It’s that heart-stopping moment when your tiny companion launches themselves with all their might to join you on the couch or bed. While their determination is adorable, the impact on their little bodies is anything but. For breeds prone to back and joint issues, like Dachshunds, Corgis, and French Bulldogs, every jump carries a risk of injury, from minor strains to serious conditions like Intervertebral Disc Disease (IVDD).
But what’s the alternative? Constantly lifting them up and down isn’t always practical. The answer is a simple, yet brilliant, solution: a pet step stool. This isn’t just a piece of furniture; it’s a tool for empowerment, safety, and long-term health. By giving your dog a safe and stable way to navigate heights, you’re protecting their physical well-being and boosting their confidence.
In this comprehensive guide, we’ll walk you through everything you need to know—from picking the perfect stool to a fun, positive, step-by-step training plan that will have your pup climbing like a pro in no time. Let’s get started on this upward journey to safety!
Choosing the Perfect Perch: Selecting the Right Step Stool
Before you can start training, you need the right equipment. Not all step stools are created equal, and choosing the wrong one can be just as dangerous as letting your dog jump. Your dog’s safety and willingness to use the stool depend on it being stable, comfortable, and the right size for them and your furniture.
Key Features to Look For:
- Stability is Non-Negotiable: Look for a stool with a wide, sturdy base that won’t tip or wobble when your dog steps on it. Rubber grips on the bottom are a must to prevent it from sliding on hardwood or tile floors. If it feels flimsy to you, it will feel terrifying to your dog.
- A Grippy Surface: The surface of each step must be non-slip. Paws can easily slide on smooth plastic or wood. Opt for steps covered in carpet, rubber, or a textured material that provides secure footing for your pup on their way up and down.
- The ‘Goldilocks’ Height and Depth: The total height of the stool should align with the furniture you want your dog to access. The individual steps, known as the ‘rise,’ should be short enough for your dog’s little legs to manage without straining. The ‘run,’ or depth of each step, should be deep enough for them to comfortably place all four paws if needed.
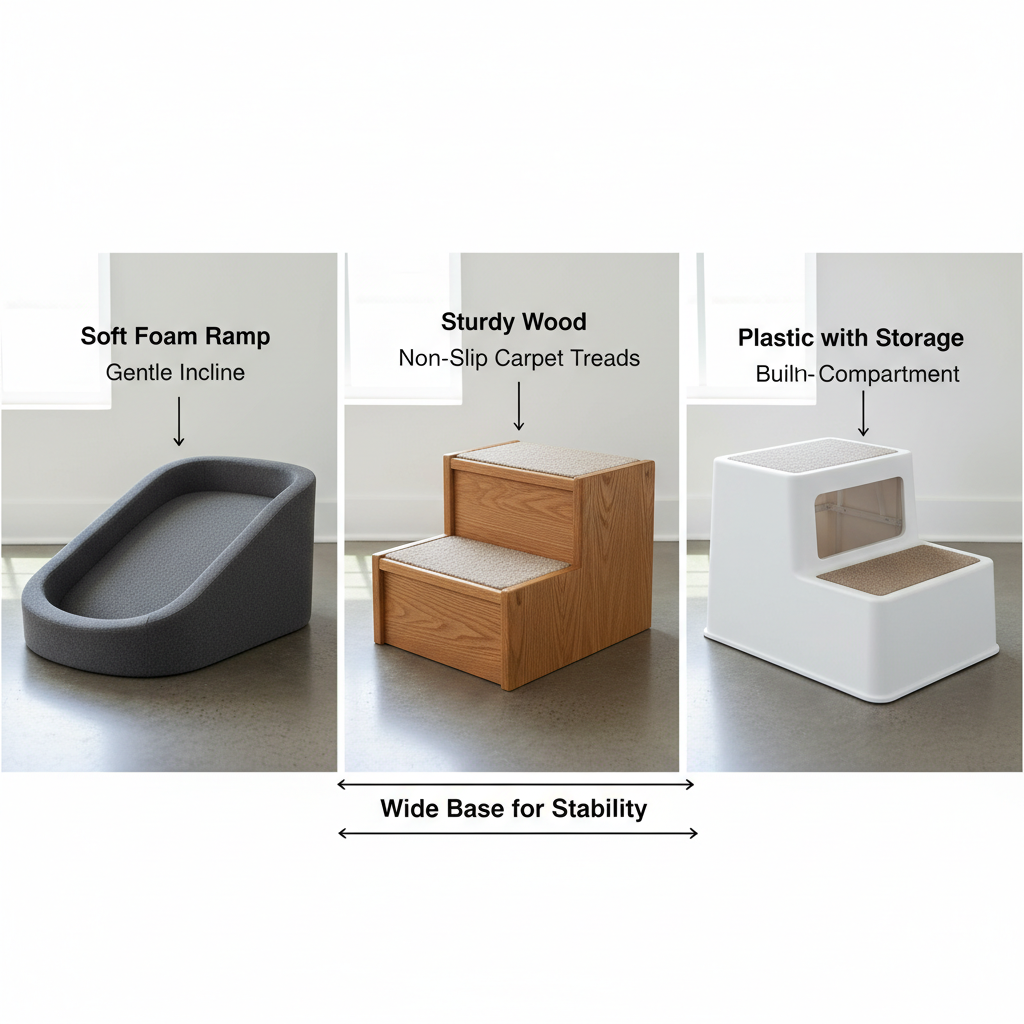
- Material Matters: Pet steps come in various materials, each with its pros and cons. High-density foam is lightweight and soft on the joints but may be less durable. Plastic is easy to clean and affordable but ensure it’s heavy-duty. Wood is often the most stable and aesthetically pleasing but can be heavy and slippery if not properly covered.
Expert Tip: When in doubt, go for stairs over ramps for able-bodied dogs. While ramps are great for seniors or dogs with mobility issues, stairs often feel more natural and secure for healthy dogs to learn, as each step provides a clear, flat landing spot.
| Stool Type | Pros | Cons | Best For |
|---|---|---|---|
| High-Density Foam | Lightweight, soft on joints, no sharp corners. | Can be less stable, may be chewed by some dogs. | Timid dogs, seniors, households where the stool is moved often. |
| Sturdy Plastic | Easy to clean, affordable, often has built-in storage. | Can be slippery if not textured, may look cheap. | Budget-conscious owners, messy pups. |
| Solid Wood | Very stable, durable, often matches home decor. | Heavy, can be expensive, slippery without carpet treads. | Larger small dogs, permanent placement, style-conscious homes. |
The Upward Climb: A Step-by-Step Training Guide
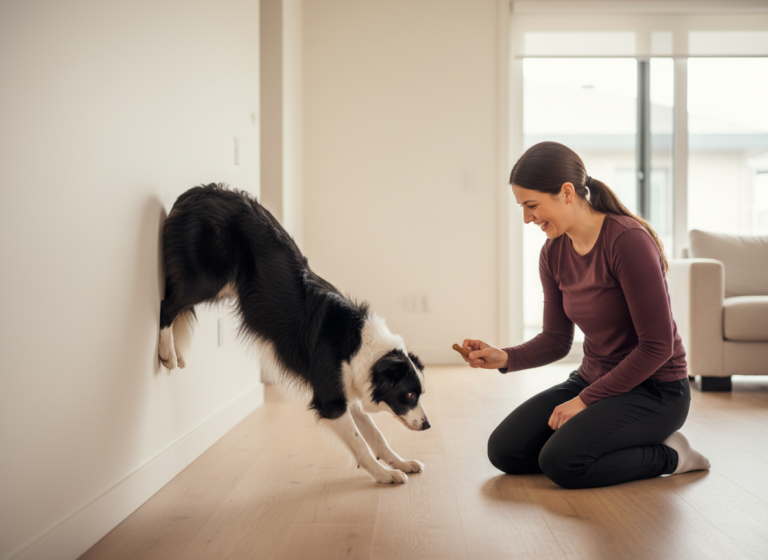
Now for the fun part! Training your dog to use their new steps should be a positive and rewarding experience for both of you. The key is to use positive reinforcement— rewarding the behaviors you want to see. Grab some high-value treats (small pieces of chicken, cheese, or their absolute favorite snack) and let’s begin. Remember to keep training sessions short, just 5-10 minutes at a time, to keep your dog engaged and excited.
Step 1: The Introduction
Place the new stool on the floor in a neutral area, not yet next to the furniture. Let your dog approach it on their own terms. Sniffing is great! Casually toss treats on and around the stool. Don’t ask your dog to do anything yet. The goal of this step is simple: create a positive association. Stool = Yummy Things Happen.
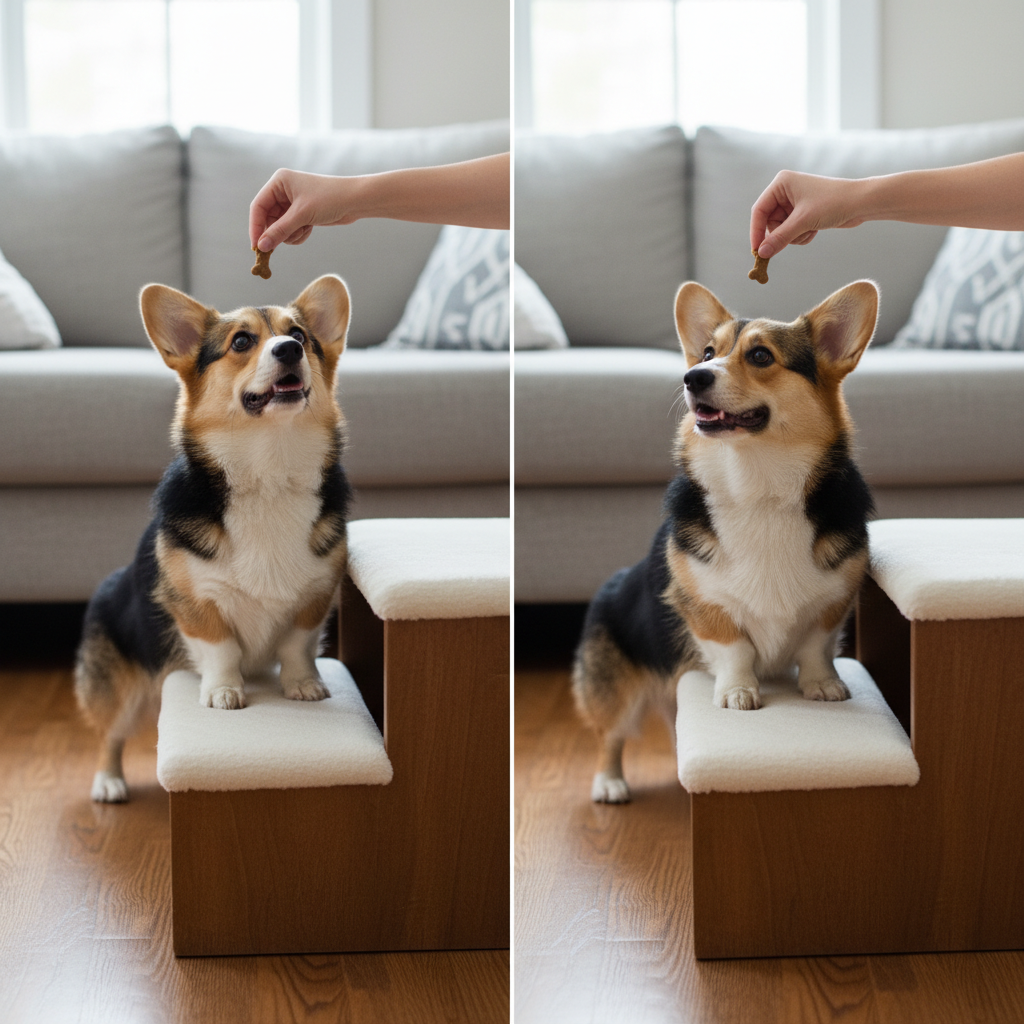
Step 2: Luring the First Paw
Once your dog is comfortable around the stool, it’s time for some interaction. Hold a tasty treat near their nose and slowly lure their head towards the first step. To get the treat, they’ll likely place a paw on the step. The moment they do, say “Yes!” or click your clicker, and give them the treat. Repeat this until they are confidently putting one or two paws on the first step.
Step 3: Conquering the Steps
Now, lure them from the first step to the second. As they move up, reward them for each successful step. Don’t rush! Let them get comfortable at each level. If your stool has three steps, you’ll reward on step one, then lure to step two and reward, then lure to step three and reward. Keep it a fun game of ‘follow the treat.’
Step 4: Reaching the Summit (The Furniture)
Move the stool to its final destination next to the couch or bed. Now, repeat the luring process, but this time, the final treat is placed on the furniture right at the top of the stool. When they successfully make it all the way up and onto the furniture, throw a mini party! Lots of praise, pets, and a jackpot of treats. This is the behavior you want to reinforce most heavily.
Step 5: Adding a Verbal Cue
Once your dog is reliably using the steps with the treat lure, you can add a verbal cue. Just before you begin to lure them, say your chosen word clearly, like “Steps!” or “Up-up!”. Over time, they will associate the word with the action. Eventually, you can fade the hand lure and they will respond to the verbal cue alone. Always reward success!
The Gentle Descent: Teaching Your Dog to Go Down Safely

Getting up is only half the battle! Teaching your dog to use the steps to get down is arguably even more important for preventing injury. For some dogs, going down can feel scarier than going up. It requires a different kind of body control and trust. Be patient and follow a similar, positive process.
- Start at the Top: Have your dog on the couch or bed with the steps in place.
- Lure to the First Step Down: With a treat in hand, lure your dog from the furniture onto the top step of the stool. Mark and reward as soon as their paws hit that step.
- Continue the Descent: Just like you did going up, lure them down one step at a time. Place the treat on the next step down to encourage them forward. It can be helpful to place the treat and then point to it, so they see where they need to go.
- Safe Landing: When they reach the floor, give them another jackpot of praise and treats. You want to reinforce that completing the entire journey down is a fantastic accomplishment.
- Add a ‘Down’ Cue: Once they are comfortable with the motion, you can add a verbal cue like “Off,” “Down,” or “Steps down.” Use it right before you start luring them off the furniture.
Troubleshooting Tip: If your dog hesitates to go down, never push or pull them. This will create fear. Instead, make the floor extra enticing. Place a favorite toy or a special LickiMat at the bottom of the steps to give them a really good reason to want to come down.
Troubleshooting Common Hurdles & Mistakes to Avoid
Sometimes, even with the best plan, you and your pup might hit a snag. Don’t worry, it’s completely normal! Here are some common challenges and how to overcome them, along with mistakes you’ll want to avoid to keep the training process positive and effective.
Common Hurdles & Solutions
- My Dog is Scared of the Stool: Fear is a powerful instinct. If the stool is new and strange, your dog might be wary. Go back to Step 1 and spend more time on positive association. Feed your dog their meals next to the stool. Play fun games around it. Don’t pressure them to interact with it until they are comfortable being near it. Also, double-check that the stool is 100% stable—any wobble will amplify their fear.
- My Dog Jumps Over the Steps: Old habits die hard! Your dog is used to jumping. Make the steps the easiest and most rewarding option. Temporarily block off other launching points with pillows or ottomans. Most importantly, every time they choose the steps, reward them lavishly. Make the correct choice feel like they just won the lottery.
- They Use it to Go Up, But Jump Down: Jumping down is often a quicker, more impulsive action. Be vigilant. When you see them preparing to jump down, interrupt them with a happy, “Wait!” and then cue them to use their steps. This requires consistency from everyone in the household.
Critical Mistakes to Avoid
- Forcing Your Dog: Never, ever push, pull, or physically place your dog on the steps. This will destroy their trust in you and create a negative association with the stool, making your job much harder. Training should always be their choice.
- Making Sessions Too Long: Dogs, especially puppies, have short attention spans. End each training session on a high note while they are still engaged and having fun. Five minutes of successful training is far better than fifteen minutes of frustrating repetition.
- Using an Unstable Stool: This is a safety issue and a training killer. If the stool moves or slips even once when they step on it, they may refuse to ever try again. Test the stability yourself before you even introduce it to your dog.
- Inconsistency: If you only encourage them to use the steps sometimes, they won’t understand that it’s the new rule. Everyone in the family needs to be on the same page, consistently redirecting jumps and rewarding the use of the steps.
Conclusion
Teaching your small dog to use a step stool is one of the most loving and proactive things you can do for their long-term health. It’s a small investment of time that pays huge dividends in protecting their delicate spine and joints from the daily strain of jumping. More than that, it’s an incredible bonding experience that builds trust and communication between you and your furry best friend.
Remember to be patient, stay positive, and celebrate every tiny step of progress. Before you know it, your dog will be navigating their world with newfound confidence and safety, and you’ll have the peace of mind that comes with knowing you’ve given them the best care possible. Happy climbing!