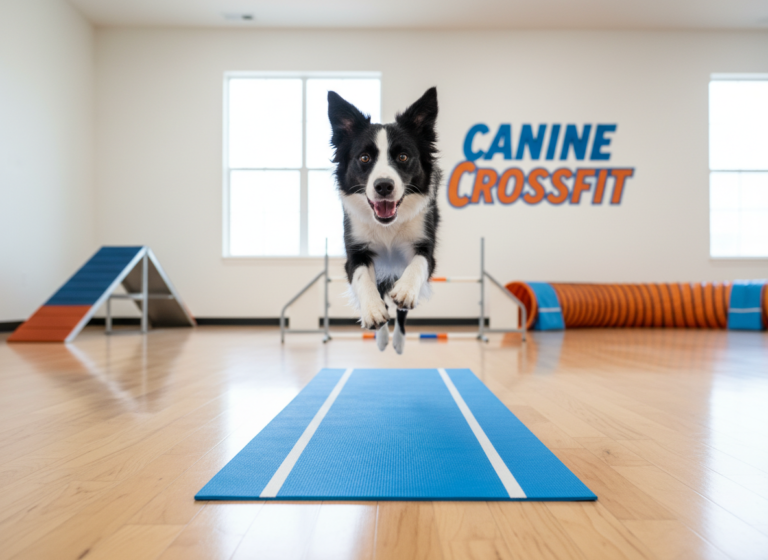
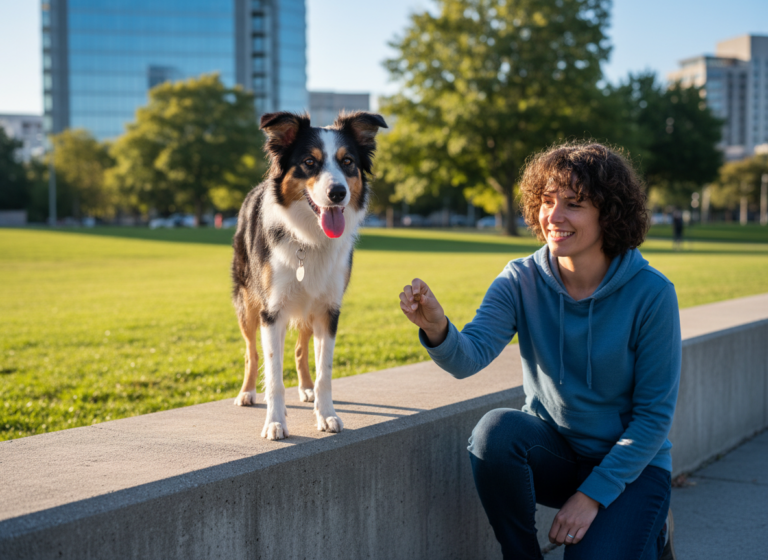
Hey there, fellow dog lovers! Are you looking for a new challenge that will not only impress your friends but also deepen the bond with your furry best friend? If your dog has mastered sit, stay, and roll over, you might be ready to level up your training game. We’re talking about something truly spectacular: the wall handstand!
Now, this isn’t just a silly trick. Teaching your dog complex skills like a handstand is a fantastic way to provide mental stimulation, improve their body awareness, and build incredible focus. It’s a team effort that requires trust, communication, and a whole lot of positive reinforcement. This guide will walk you through five clear, manageable steps to turn your talented pup into a four-legged acrobat. So grab your tastiest treats, find a clear wall, and let’s get started on this fun and rewarding training adventure!
Pre-Handstand Prep: Is Your Dog Ready for This Challenge?
Pre-Handstand Prep: Is Your Dog Ready for This Challenge?
Before you jump into the training, let’s pump the brakes for a second. The wall handstand is an advanced athletic maneuver. It’s not suitable for every dog, and safety should always be your number one priority. Think of this as the pre-flight check before takeoff.
Assessing Your Dog’s Physical Fitness
This trick puts a lot of pressure on a dog’s front legs, shoulders, and core. Therefore, it’s best suited for dogs that are:
- Healthy and Fit: Your dog should be at a healthy weight and have good muscle tone. Overweight dogs or those with a very sedentary lifestyle should build up their general fitness first.
- Fully Grown: Puppies whose growth plates haven’t closed should not attempt this trick. Generally, wait until your dog is at least 18-24 months old, especially for larger breeds.
- Free of Joint Issues: Dogs with a history of elbow or shoulder dysplasia, arthritis, or back problems are not candidates for this exercise. When in doubt, always consult your veterinarian. A quick check-up can give you peace of mind.
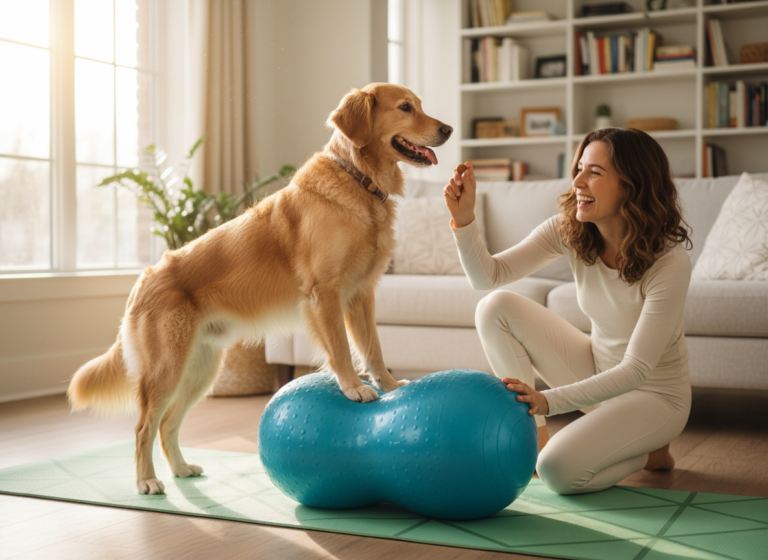
Expert Tip: A great way to build the foundational strength needed for a handstand is through canine fitness exercises like wobble boards, cavaletti poles, and controlled tug-of-war. These activities improve core strength and body awareness.
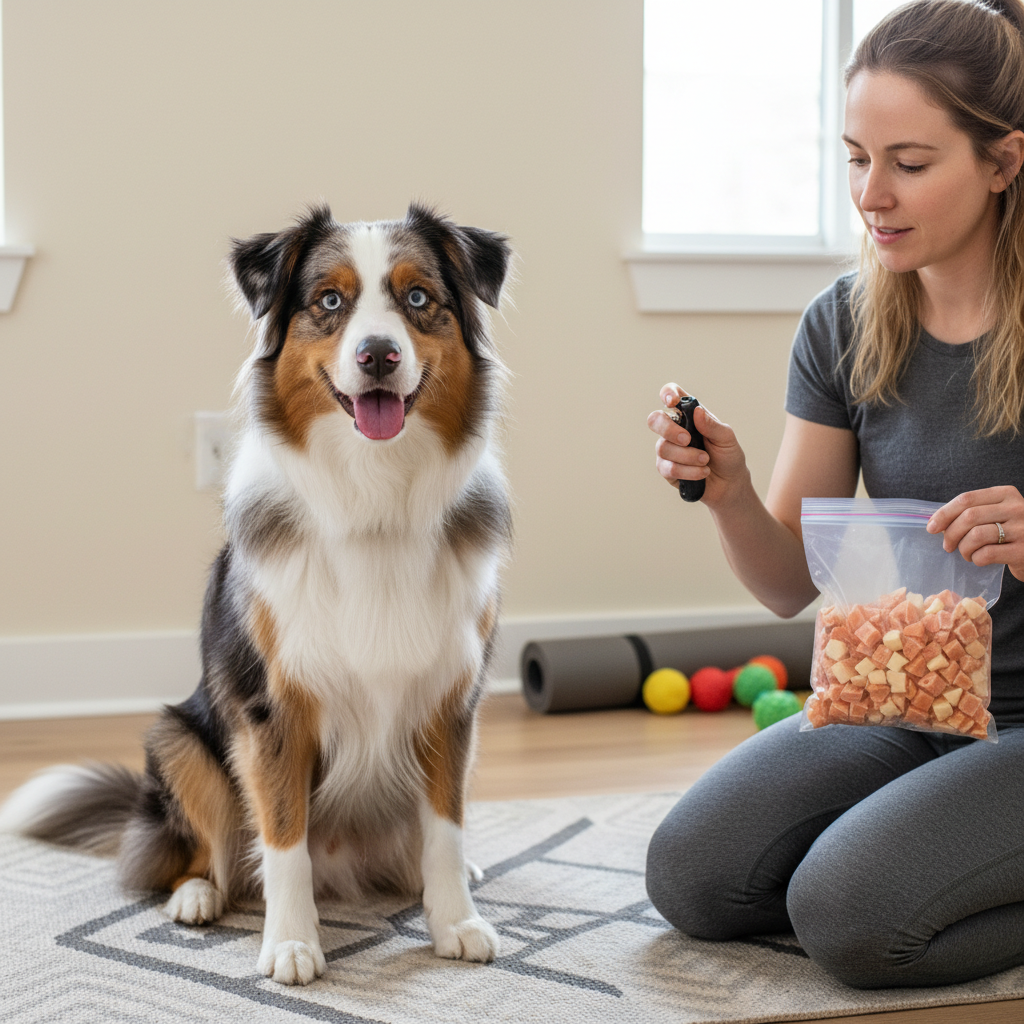
Gathering Your Training Toolkit
Having the right tools on hand makes the training process smoother and more effective. You don’t need much, but these items are essential:
- High-Value Treats: We’re talking about the good stuff! Small, soft, and extra-tasty treats like tiny pieces of chicken, cheese, or commercial training treats will keep your dog motivated.
- A Clicker (Optional but Recommended): A clicker is a fantastic tool for marking the exact moment your dog does something right. This precision helps your dog understand what you’re asking for much faster.
- A Clear Wall Space: Find a spot with plenty of room, free of furniture, decorations, or other obstacles.
- A Non-Slip Surface: This is non-negotiable for safety. A rug, yoga mat, or carpeted floor is crucial to prevent your dog’s paws from slipping out from under them. Never train this trick on hardwood, tile, or laminate floors.
The 5-Step Training Plan to a Perfect Wall Handstand
The 5-Step Training Plan to a Perfect Wall Handstand
Alright, preparation is complete! Now for the fun part. Remember to keep your training sessions short and sweet (5-10 minutes is plenty) to keep your dog engaged and prevent fatigue. Let’s break it down.
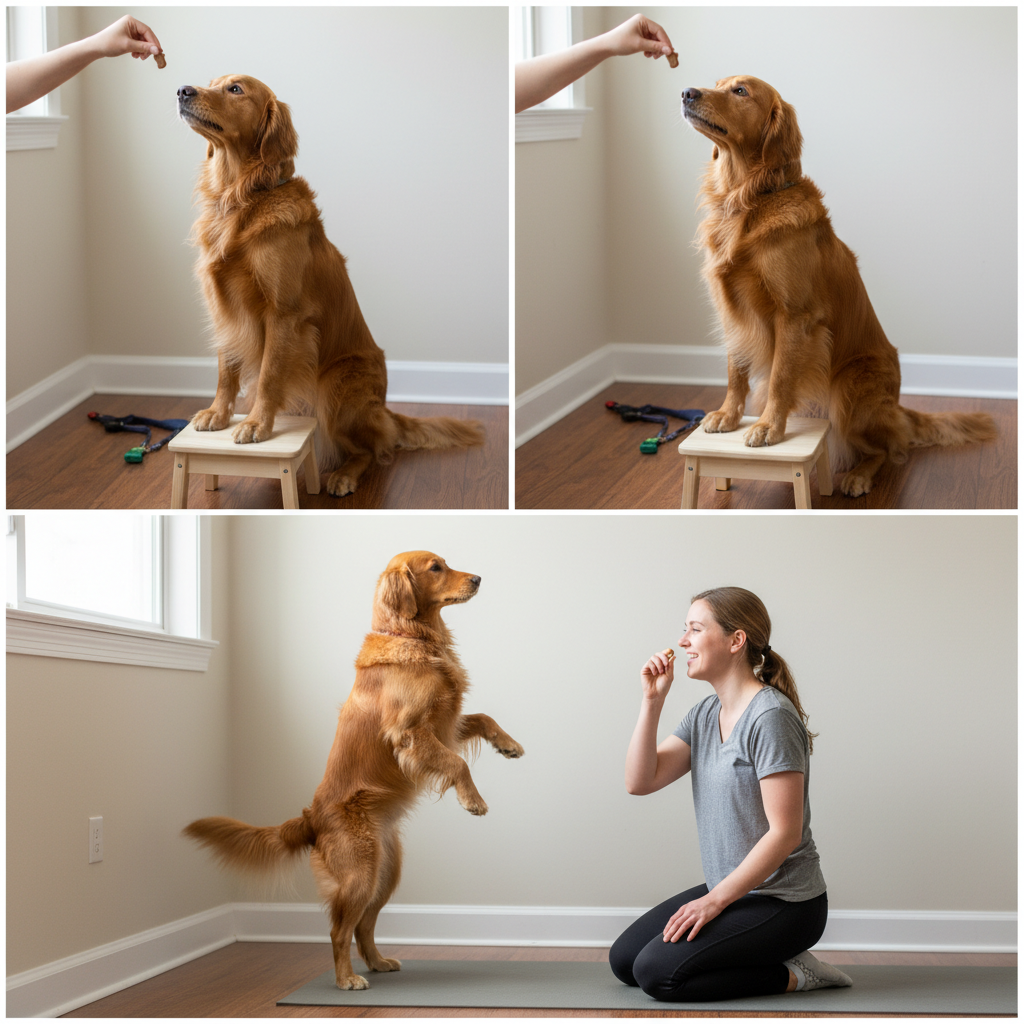
Step 1: Teach ‘Paws Up’ on a Target
Before we go vertical, we need to teach our dog to target an object with their front paws. This is the foundation of the handstand movement.
- Start with a low, stable object like a thick book or a small footstool.
- Lure your dog towards the object with a treat. The moment their front paws touch the object, click (or use a verbal marker like “Yes!”) and give them the treat.
- Repeat this process. As your dog starts to offer the behavior willingly, add a verbal cue like “Paws Up.”
- Practice until your dog will confidently place their front paws on the target on cue.
Step 2: Build Hind-End Awareness
Most dogs don’t think much about what their back legs are doing. This step helps them become more aware of their hind end, which is crucial for the ‘kick up’ motion.
- Have your dog stand in a narrow space, like a hallway or between two pieces of furniture.
- Encourage them to walk backward a few steps. You can do this by gently walking into their space, luring them backward with a treat.
- Click and treat for any backward movement. Start with just one step, then gradually ask for more.
- Another great exercise is to have them place their front paws on your leg or a low stool and then pivot their back legs around in a circle.
Step 3: Encourage the ‘Kick Up’
Now we combine the ‘Paws Up’ with a bit of hind-end action. We’ll start this away from the wall.
- Ask your dog to do their ‘Paws Up’ on the low target.
- Once their front paws are on the target, use a treat to lure their head down and back towards their chest. This motion naturally shifts their weight forward and causes their back end to lift slightly off the ground.
- Click and treat for any lift of the back paws, even if it’s just a tiny hop!
- Gradually raise the height of the target to encourage a higher lift from the back legs. You can use stacked books or a higher stool. The goal is to get them comfortable with the feeling of their weight being on their front paws.
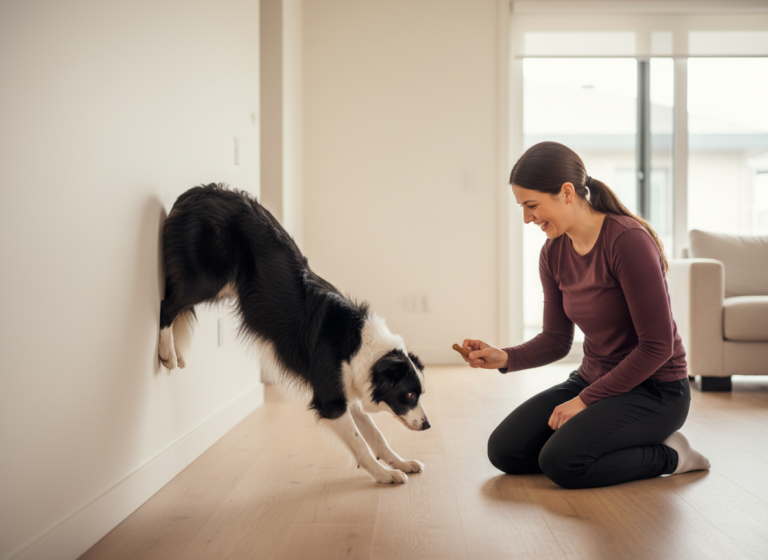
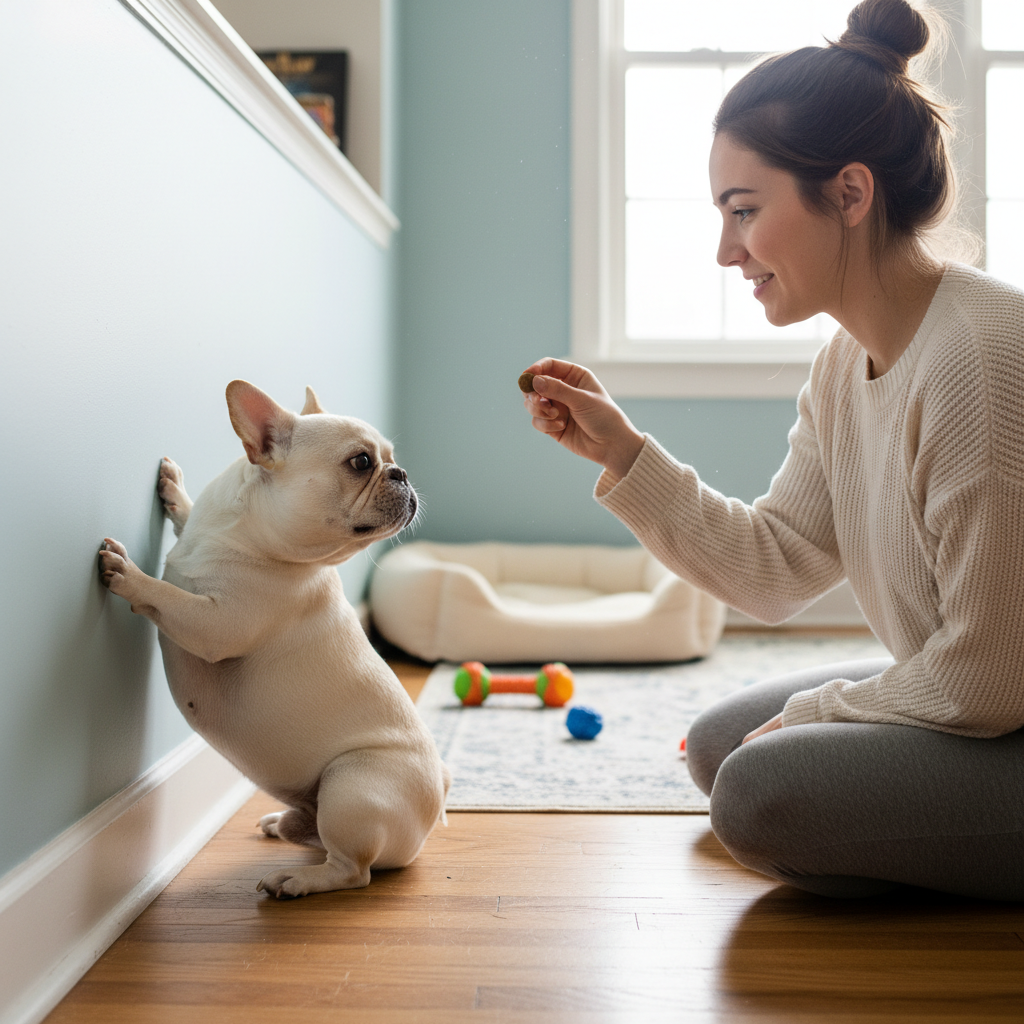
Step 4: Introduce the Wall & Hold the Position
It’s time to move to our designated training wall! This is where it all comes together.
- Instead of a stool, your new target is the wall itself, about 6-12 inches up from the floor. Lure your dog to place their paws on the wall.
- Once their paws are on the wall, use the same luring motion as in Step 3 (luring their head down and back) to encourage the kick up. Their back feet should now make contact with the wall.
- The moment their back feet touch the wall, click and give them a jackpot of treats! This is a huge milestone.
- Start working on duration. Ask them to hold the position for just a second before you click and treat. Slowly increase the time as they get stronger and more confident.
Step 5: Fade the Lure and Add a Final Cue
Our final step is to make the trick look effortless by removing the hand lure and putting it on a clear cue.
- Start making your luring hand motion smaller and smaller, until it’s just a subtle hand signal.
- Once your dog is reliably kicking up with the subtle hand signal, you can add a verbal cue. Say your new cue, like “Handstand!” or “Up!”, right before you give the hand signal.
- After several repetitions, your dog will associate the verbal cue with the action. You can then start to test it by giving only the verbal cue.
- Congratulations! You’ve faded the lure and now have a spectacular trick on cue!
Troubleshooting Common Handstand Hurdles
Troubleshooting Common Handstand Hurdles
Training doesn’t always go in a straight line, and that’s perfectly okay! Hitting a snag is a normal part of the process. Here are some common issues and how to work through them with patience and positivity.
My Dog is Afraid to Kick Up
Hesitation is common. The feeling of shifting all their weight forward can be strange for a dog. If your pup is reluctant:
- Go Back a Step: Revisit the ‘Paws Up’ on a lower, very stable surface. Build their confidence there first.
- Make it a Game: Use a favorite toy to lure them up. Tossing a treat on the floor for them to find after a successful rep can also keep the mood light.
- Check the Surface: Double-check that your training surface isn’t slippery. Any instability can cause a dog to lose confidence quickly. A yoga mat can provide excellent grip.
Their Back Legs Don’t Go High Enough
If your dog is doing more of a ‘bunny hop’ than a ‘kick up’, it’s usually an issue of commitment or understanding.
- Refine Your Lure: Make sure you are luring their head down and back between their front legs. This is the key to shifting their weight properly and getting their rear end to lift higher.
- Raise the Target: Before moving to the wall, try using a slightly higher target object (like a taller stool or a couch cushion). A higher starting point for their front paws often leads to a higher lift from the back paws.
They Keep Falling to One Side
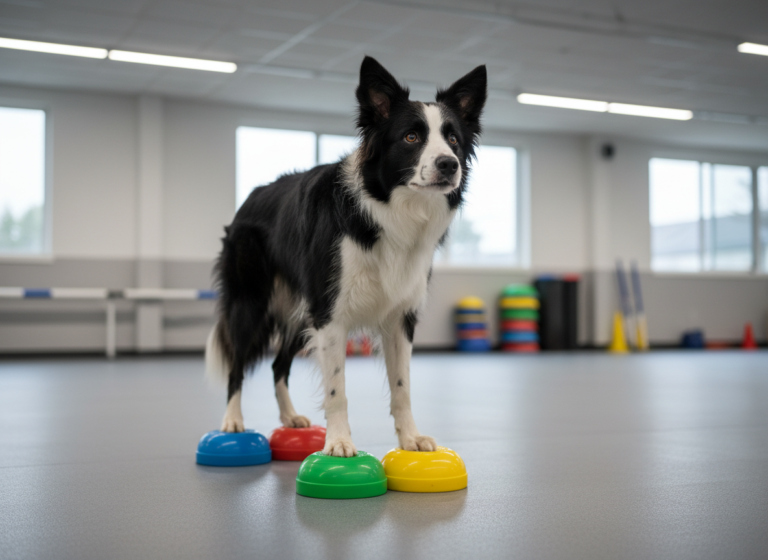
Balance is a huge component of this trick. If your dog is consistently tipping over, they may need to build more core strength.
- Work on Core Fitness: Incorporate other exercises into your routine. Things like ‘puppy push-ups’ (sit to down to sit), weaving through legs, and balancing on cushion discs are fantastic for building core stability.
- Shorten the Duration: Ask for only a split-second hold. Don’t push for duration until their balance improves. The goal is successful repetitions, no matter how short.
Remember: Every dog learns at a different pace. The most important thing is that you and your dog are having fun. If you feel frustrated, end the session on a positive note with an easy trick they know well, and try again tomorrow.
Safety First! Keeping Your Canine Acrobat Healthy
Safety First! Keeping Your Canine Acrobat Healthy
We’ve mentioned safety, but it’s so important it deserves its own section. A cool trick is never worth an injury. As your dog’s trainer and guardian, it’s your job to be their spotter and advocate. Here are the golden rules for safe handstand training.
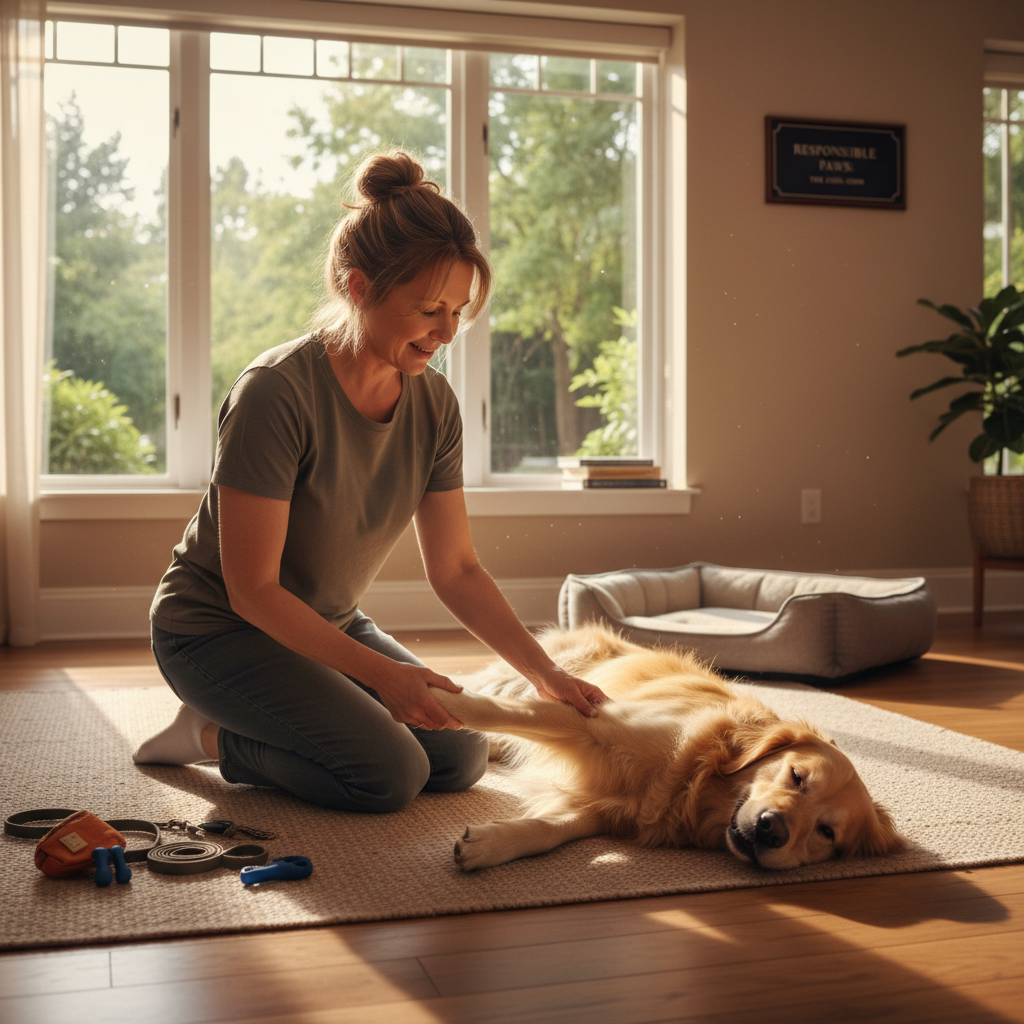
Warm-Ups and Cool-Downs are a Must
Just like any human athlete, your dog needs to prepare their body for exercise and cool down afterward. This helps prevent muscle strain and injury.
- Warm-Up (5 minutes): Before each session, engage in some light activity. A brisk walk, a few reps of simple tricks like sit/down, or a gentle game of fetch can get the blood flowing.
- Cool-Down (5 minutes): After training, a slow walk allows their heart rate to return to normal. Gentle stretching, like asking for a ‘bow’ or ‘spin’, can also help.
Know When to Stop
This is a physically demanding trick. It’s crucial to read your dog’s body language and end the session before they get too tired.
| Signs of Fatigue | What to Do |
|---|---|
| Excessive panting, lagging behind | End the session immediately with a cool-down walk. |
| Loss of interest, sniffing the ground | End on a positive note with an easy, successful trick and try again later. |
| Sloppy technique, repeatedly failing | Your dog’s muscles are likely tired. Stop for the day. |
Listen to Your Dog
Your dog communicates with you all the time through their body language. If they show signs of stress or discomfort—like lip licking, yawning out of context, or trying to avoid the training area—respect their feelings. The handstand might not be the right trick for them, and that’s okay! There are hundreds of other fun things you can do together. The goal is always to build your relationship, not to force a specific outcome.
Conclusion
And there you have it! You’re now equipped with the knowledge, steps, and safety precautions to teach your dog one of the most impressive tricks around. Remember that the journey of training a wall handstand is just as important as the final result. It’s about the moments of connection, the little breakthroughs, and the fun you have working together as a team.
Be patient, stay positive, and celebrate every small success along the way. Before you know it, your talented pup will be ready to show off their amazing acrobatic skills. Now go have some fun with your incredible canine partner!