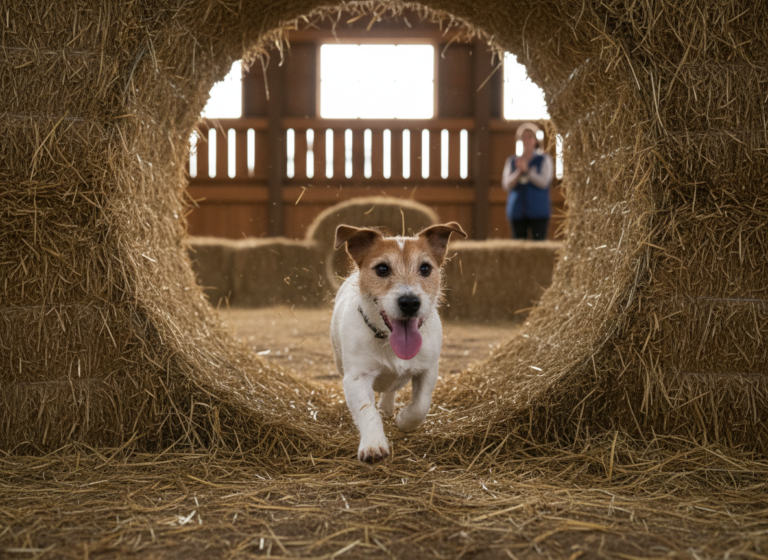
Have you ever watched dog agility competitions and thought, ‘Wow, I wish my dog and I could do that!’? The incredible connection, the joyful focus, the impressive athleticism—it’s inspiring! Well, guess what? You don’t need a fancy facility to start building that incredible bond and confidence with your dog. You can start right in your own backyard with one of the most foundational pieces of agility equipment: the teeter-totter.
The teeter-totter, or seesaw, might look intimidating, but it’s a powerhouse for building a dog’s self-assurance. It teaches them to be aware of their body, to trust their handler (that’s you!), and to overcome challenges with a can-do attitude. And the best part? You can build one yourself! This guide is your ultimate resource for everything from gathering materials to celebrating your dog’s first successful ‘tip.’ We’ll walk you through building a safe and sturdy teeter-totter and then dive into the fun, game-based training that will have your dog loving this new challenge. Let’s get ready to build, train, and watch your dog’s confidence soar!
The Teeter-Totter: More Than Just a Plank

Why This Obstacle is a Confidence-Building Powerhouse
Before we break out the power tools, let’s talk about why the teeter-totter is such a special piece of equipment. Unlike stationary obstacles like jumps or tunnels, the teeter-totter moves and makes noise. For many dogs, this is a huge mental hurdle. The world beneath their paws suddenly becomes unpredictable. Conquering it is a massive achievement that translates to other areas of their life.
Here’s what mastering the teeter-totter teaches your dog:
- Body Awareness: Your dog has to learn precisely where to place their paws to control the plank’s movement. They learn to shift their weight and find their balance, a skill known as proprioception.
- Problem-Solving Skills: The dog must figure out that moving forward past the pivot point is what makes the plank tip. This isn’t just physical; it’s a mental puzzle they solve.
- Trust in You: As their guide, you’ll be there every step of the way, making it safe and fun. Your dog learns that you will support them through scary new experiences, deepening your bond immensely.
- Overcoming Fear: The motion and the ‘bang’ when the teeter hits the ground can be spooky. Through gradual, positive training, your dog learns that these things aren’t threats. They learn to be brave, and that confidence spills over into handling other new situations, from a noisy vacuum cleaner to a bustling park.
Expert Tip: The goal isn’t speed; it’s confidence. Every step of this process should be a fun game. If your dog is ever worried, it just means you need to take a step back and make the game easier. Patience is your superpower!
Gearing Up: Your DIY Teeter-Totter Blueprint
Materials and Tools for Your Weekend Project
Ready to build? Don’t worry, you don’t need to be a master carpenter. This design is simple, safe, and effective. We’re aiming for a ‘competition-style’ teeter, which is typically 12 feet long, but you can adjust the length to 8 or 10 feet to better fit your backyard space and your dog’s size. Safety is paramount, so don’t skimp on sturdy materials!
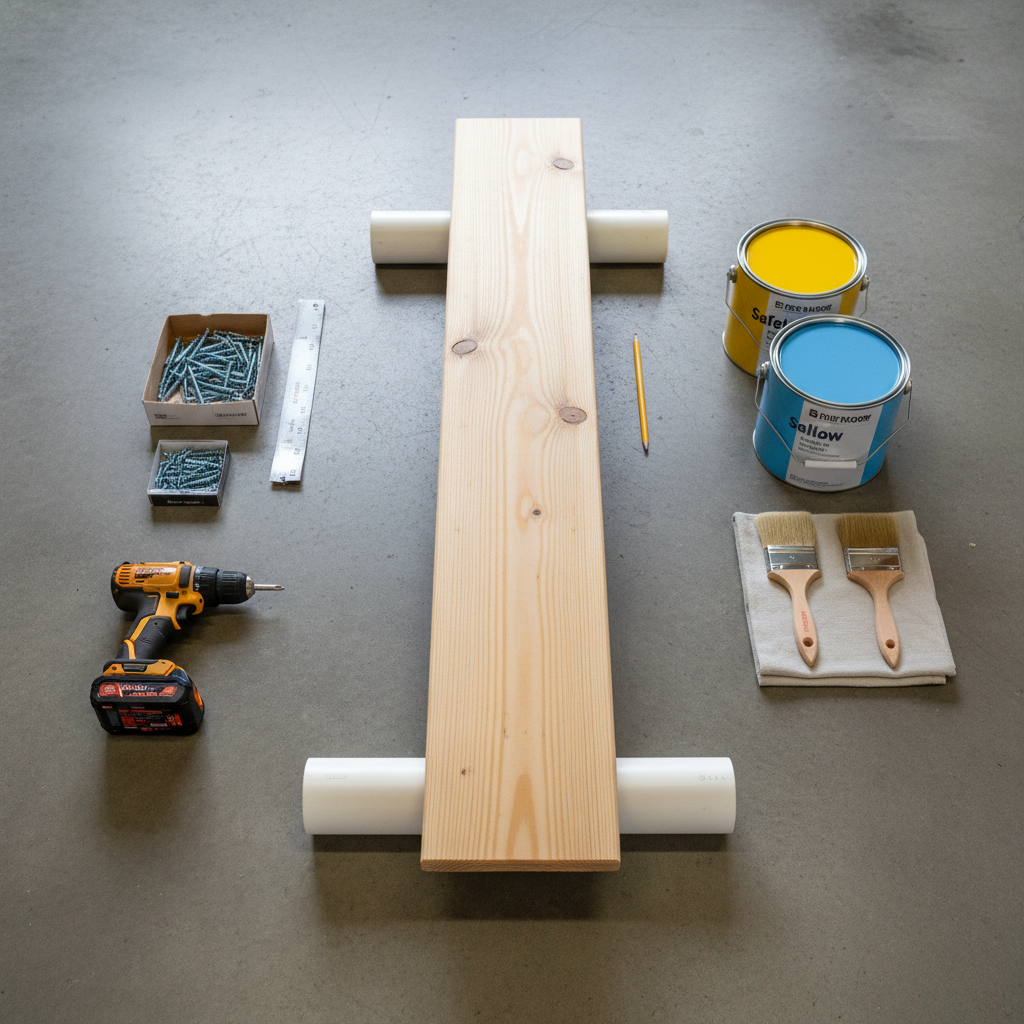
Shopping List:
- For the Plank: One (1) piece of 2″ x 12″ lumber, 8 to 12 feet long. Choose a straight board with no large knots or cracks.
- For the Base: One (1) 4″ diameter PVC pipe, about 10-11 inches long. This will be your pivot point. Alternatively, you can build a wooden A-frame base. The pipe is simpler for beginners.
- For Support: Two (2) 4″ PVC pipe caps and two (2) 4″ PVC pipe flanges.
- Hardware: A box of 1 1/4″ exterior wood screws.
- For the Surface: Outdoor-friendly primer, exterior paint (choose a fun, bright color!), and either play sand or anti-skid paint additive to mix into your topcoat for grip.
- For Contact Zones: A different color of exterior paint to mark the ‘contact zones’ (the last 36 inches on each end of the plank). Yellow is the traditional color.
Tools You’ll Need:
- Tape measure
- Pencil
- Power drill with assorted bits
- Saw (a circular saw or miter saw is best, but a hand saw works too)
- Paintbrushes and rollers
- Safety glasses
Before you begin, make sure your workspace is clear and you have your safety glasses on. Measure twice, cut once, and let’s get building!
Step-by-Step: Assembling Your Backyard Teeter-Totter
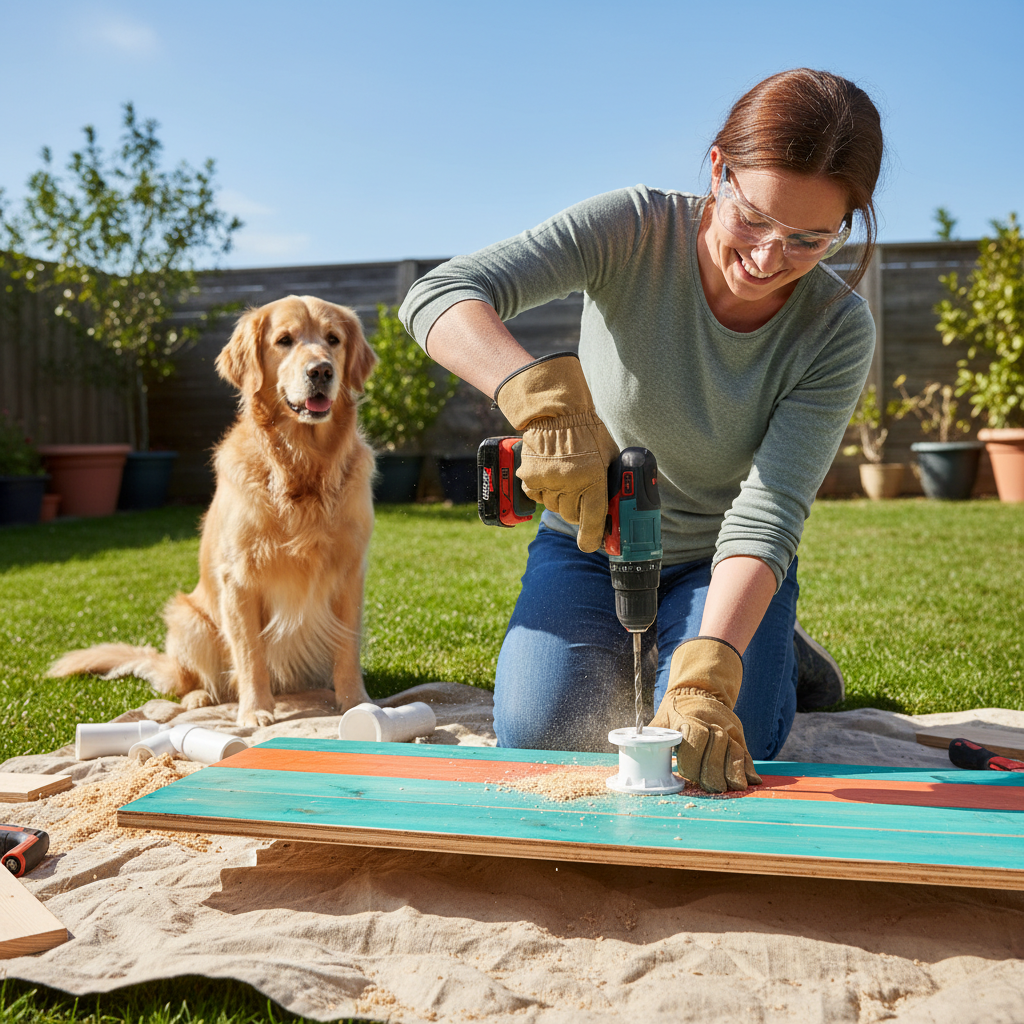
From Lumber to Agility Obstacle in an Afternoon
This is where the magic happens! Follow these steps carefully, and you’ll have a sturdy teeter-totter in no time. The process involves preparing the plank, building the base, and putting it all together.
- Prepare the Plank: Lightly sand the entire 2×12 board to remove any splinters or rough edges. Your dog’s paws will thank you!
- Prime and Paint: Apply a coat of exterior primer to all sides of the plank. Once dry, apply 2-3 coats of your main color of exterior paint. For the final coat, mix in your play sand or anti-skid additive according to the package directions. This creates a crucial non-slip surface for your dog.
- Mark and Paint Contact Zones: Once the main color is fully dry, measure 36 inches from each end of the plank. Use painter’s tape to create a clean line and paint these ‘contact zones’ with your contrasting color (e.g., yellow). These zones are important in agility for teaching the dog to touch the ends of the obstacle for safety.
- Assemble the Pivot Base: This is the fulcrum of your teeter-totter. Attach one PVC flange to each of the PVC pipe caps using short screws. Then, attach the other side of the flanges to the exact center of your plank, on the underside. They should be positioned so your 4″ PVC pipe can slide snugly between them. Wait to glue the pipe in place! For now, just ensure a good fit. This allows you to start with a lower, more stable pivot and move to a higher one later.
- Initial ‘Wobble Board’ Setup: For the very first training stages, you don’t even need the full base. You can start by simply placing a small, stable object like a brick or a rolled-up towel under the center of the plank to introduce a tiny bit of wobble.
- Final Assembly: Once your dog is ready for the full experience, place your 10-11 inch piece of 4″ PVC pipe under the center of the plank, nestled between the flanges you installed. The height of the pivot point should be about 6 inches (half the pipe’s diameter plus the flange height). This gives a gentle, predictable tip.
Safety Check: Before you introduce your dog, test the teeter yourself! Step on one end and let it gently tip to the ground. Does it feel stable? Is the motion smooth? Make any adjustments needed to ensure the base doesn’t rock and the plank is secure.
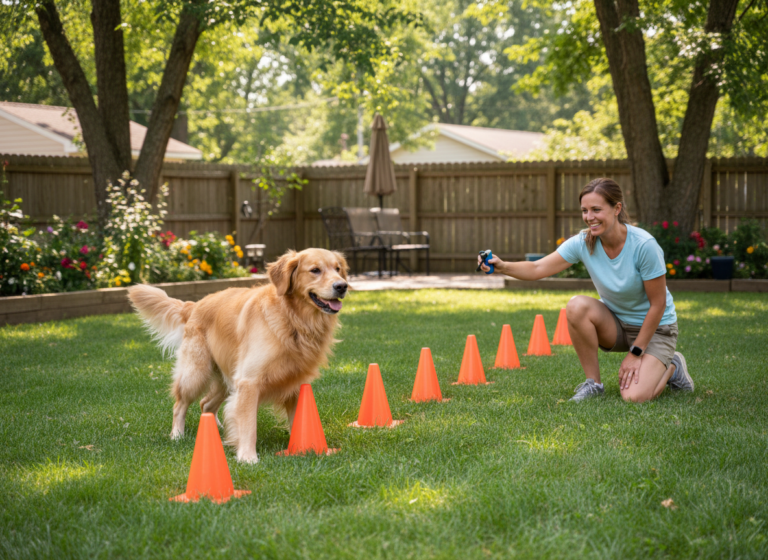
Let the Games Begin: Training Your Dog to Love the Teeter
Building Confidence One Paw at a Time
Now for the really fun part! Remember, this is a game. Keep your sessions short (5-10 minutes max), use super high-value treats (think cheese, chicken, or hot dogs), and end on a positive note. Never, ever force your dog onto the equipment.
Step 1: The Plank is a Bridge
Lay the teeter plank flat on the ground, without any pivot underneath it. Lure your dog to walk across it with treats. Praise them lavishly! Repeat this until they are happily trotting across the ‘bridge’ without a second thought. This teaches them that the plank itself is a wonderful, treat-filled place.
Step 2: Introduce a Tiny Wobble
Place a small, stable object like a rolled-up towel or a slim piece of 2×4 under the center of the plank. This will create a very slight, controlled movement when your dog steps on it. Lure them across. When the board moves a tiny bit, reward them enthusiastically the moment they feel the wobble. You’re teaching them: Movement earns me a treat!
Step 3: The ‘Bang’ Game
The sound of the teeter hitting the ground can be scary. We need to desensitize them to it. With your dog a few feet away, you operate the teeter. Gently press one end down so it makes a soft ‘thump.’ The second it makes the sound, toss your dog a treat. Repeat, gradually making the ‘bang’ a little louder. Your dog will start to associate the sound with a delicious reward. Soon, they’ll hear the ‘bang’ and look to you for their cookie!
Step 4: The First Full Tip
Now, set up the teeter with its full PVC pipe pivot. Stand near the pivot point. Lure your dog up the plank. As they pass the pivot point, their weight will cause it to start tipping. Use your hand to control the speed of the descent, so it lands softly. As soon as it touches down, shower your dog with praise and a jackpot of treats. You are their safety net!
Step 5: Fading Your Support & Adding ‘Wait’
As your dog gets more confident, gradually lessen how much you control the plank’s descent, letting them control it more with their own movement. Once they are confidently walking the plank from end to end, you can start adding a verbal cue like ‘Teeter!’ You can also start teaching a ‘2 on/2 off’ stop at the end, where they pause with their back feet on the yellow contact zone and front feet on the ground. This is a critical safety skill in agility.
Troubleshooting Common Teeter Troubles

Navigating the Bumps on the Road to Confidence
Training isn’t always a straight line. It’s totally normal to hit a few snags. The key is to stay patient and positive. Here are some common issues and how to solve them.
My dog is scared of the movement and won’t get on.
This is the most common challenge! It means you’ve moved a little too fast. Go back a step! Take the pivot away completely and just play games on the flat plank for a few days. Then, re-introduce the tiniest possible wobble (a folded towel is great for this). Your job is to convince your dog that they are in control and that the movement is no big deal. This might take days or even weeks, and that’s okay!
My dog jumps off the side halfway through.
This usually happens because they are trying to avoid the ‘tipping’ sensation. First, ensure you are standing close by to provide a physical ‘wall’ with your body, making it harder to bail. Second, go back to controlling the descent with your hand, making it land very softly so it’s less scary. Use a very high-value treat that you only use for the teeter to lure them all the way to the end.
My dog flies off the end without waiting!
Speed is exciting, but safety comes first! This is where training the ‘2 on/2 off’ contact behavior is crucial. Practice this on a curb or a single stair first. Teach them a ‘wait’ or ‘stop’ command where they pause with their back feet up and front feet down. Once they understand the command on a stationary object, you can transfer it to the end of the teeter. Reward them for that pause at the end of the plank, before releasing them to get a toy.
Remember: Every dog learns at a different pace. Celebrate the small victories and focus on making it a positive experience. Your dog’s confidence and trust in you are the real prizes!
Conclusion
Look at what you’ve accomplished! You’ve not only built a fantastic piece of agility equipment with your own hands, but you’ve also embarked on an incredible training journey with your best friend. The teeter-totter you built is more than just wood and paint; it’s a tool for communication, a stage for building bravery, and a source of endless fun. Every time your dog confidently trots up that plank and rides it down with a wagging tail, you’ll be reminded of the trust and teamwork you’ve cultivated together.
Remember to always keep it fun and safe. Continue to celebrate every small success, and don’t be afraid to take a step back if your dog ever feels unsure. The confidence they gain on this backyard obstacle will shine through in all aspects of their life. Now, get out there and enjoy the amazing results of your hard work!