Welcome, fellow dog lovers! We all know the joy of seeing our furry friends master a new skill. From the first successful ‘sit’ to a triumphant ‘stay,’ every little victory feels amazing. But what if you’re ready to add a little flair to your training sessions? If you’ve already mastered the ‘bow,’ it’s time to take a step further into the world of delightful dog tricks with the polite curtsy!
The curtsy is more than just an adorable party trick; it’s a fantastic exercise in body awareness, balance, and focus for your dog. It requires them to think about their back legs in a way they might not normally, which is incredible for their mental and physical enrichment. Plus, let’s be honest, it’s incredibly cute and guaranteed to bring a smile to everyone’s face. In this guide, we’ll walk you through everything you need to know, from the first lure to a polished performance. So grab your tastiest treats, find a comfy spot, and let’s get ready to teach your dog to curtsy like royalty!
Setting the Stage for a Pawsitively Perfect Curtsy
Getting Started: What You’ll Need and Why the Curtsy is Great!
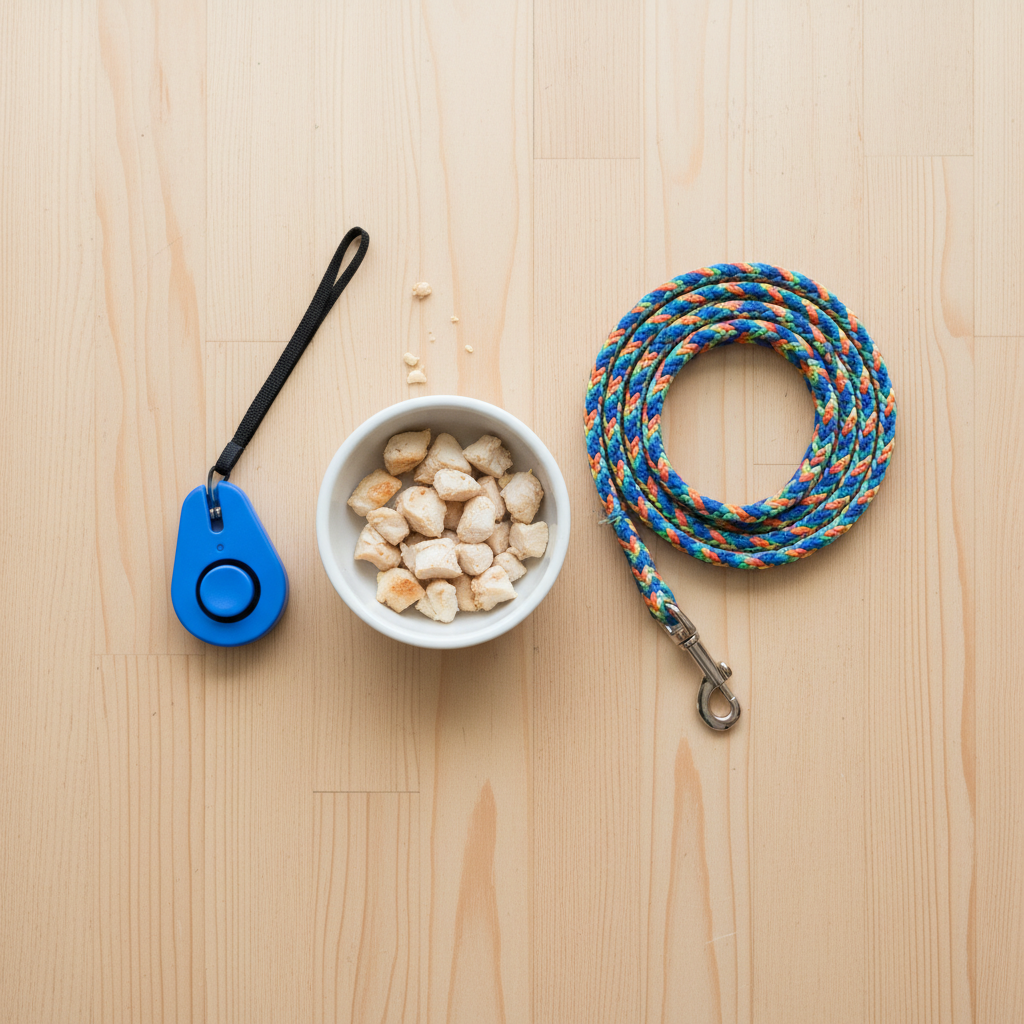
Before we dive into the steps, let’s get prepared. Success in dog training is all about setting you and your pup up for a win. A little preparation goes a long way in keeping the session fun, positive, and productive. You don’t need a lot of fancy equipment, just a few key items and the right mindset.
What You’ll Need:
- High-Value Treats: This is the star of the show! A curtsy is a complex movement, so you’ll want something more enticing than their regular kibble. Think small, soft, and super tasty morsels like tiny pieces of cooked chicken, cheese, or commercial training treats. The key is ‘small’ so you can reward frequently without filling them up too quickly.
- A Clicker (Optional): If you’re a fan of clicker training, this is a perfect trick for it. A clicker helps you mark the exact moment your dog does the correct movement, making your communication crystal clear. If you don’t use a clicker, a consistent verbal marker like a sharp “Yes!” works just as well.
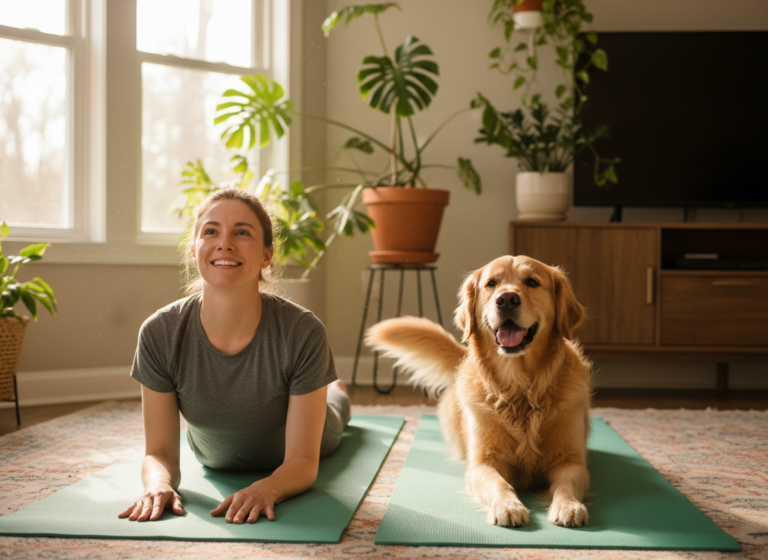
- A Comfortable, Distraction-Free Space: Start your training in a quiet area of your home where your dog feels comfortable. A non-slip surface like a rug or carpet is ideal to help your dog with their footing as they learn the new body position.
- A Positive Attitude: This is the most important tool of all! Remember to be patient, keep it fun, and celebrate the small successes. Your dog feeds off your energy, so if you’re having a good time, they will too.
Why Teach the Curtsy?
Beyond the ‘aww’ factor, teaching the curtsy has some real benefits for your canine companion:
- Builds Body Awareness: This trick encourages your dog to think about what their back legs are doing, improving their coordination and proprioception (their sense of where their body is in space).
- Increases Flexibility: The gentle stretching involved in a curtsy is great for maintaining your dog’s flexibility and range of motion.
- Strengthens Your Bond: Training sessions are quality time. Working together on a fun challenge like this builds trust and deepens the communication between you and your dog.
- Provides Mental Stimulation: Learning new behaviors keeps your dog’s mind sharp and engaged, which can help prevent boredom and related behavioral issues. It’s a puzzle for their brain!
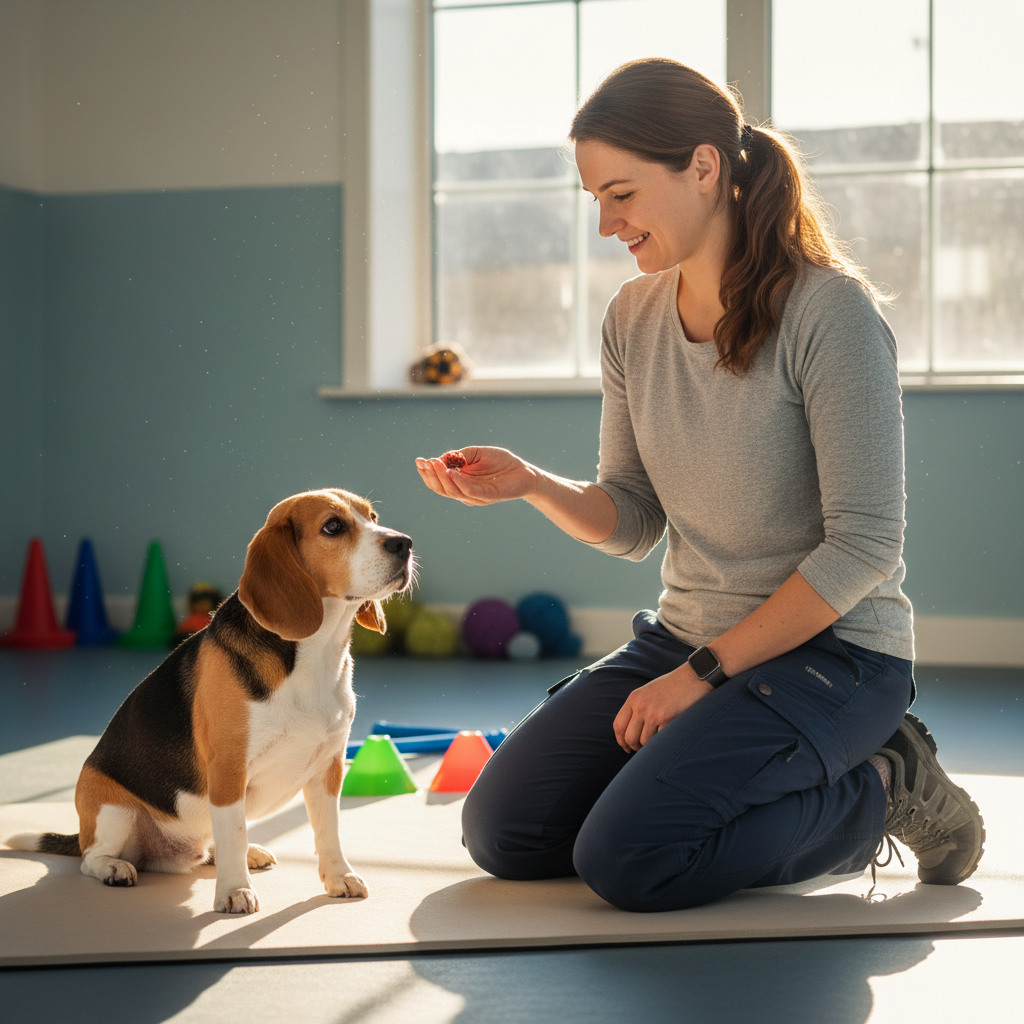
Expert Tip: Keep your initial training sessions short and sweet—just 5-10 minutes is perfect. It’s always better to end on a high note, leaving your dog eager for the next session, rather than pushing until they’re tired or frustrated.
The Curtsy in 5 Simple Steps: A Step-by-Step Guide
Step-by-Step to a Spectacular Curtsy
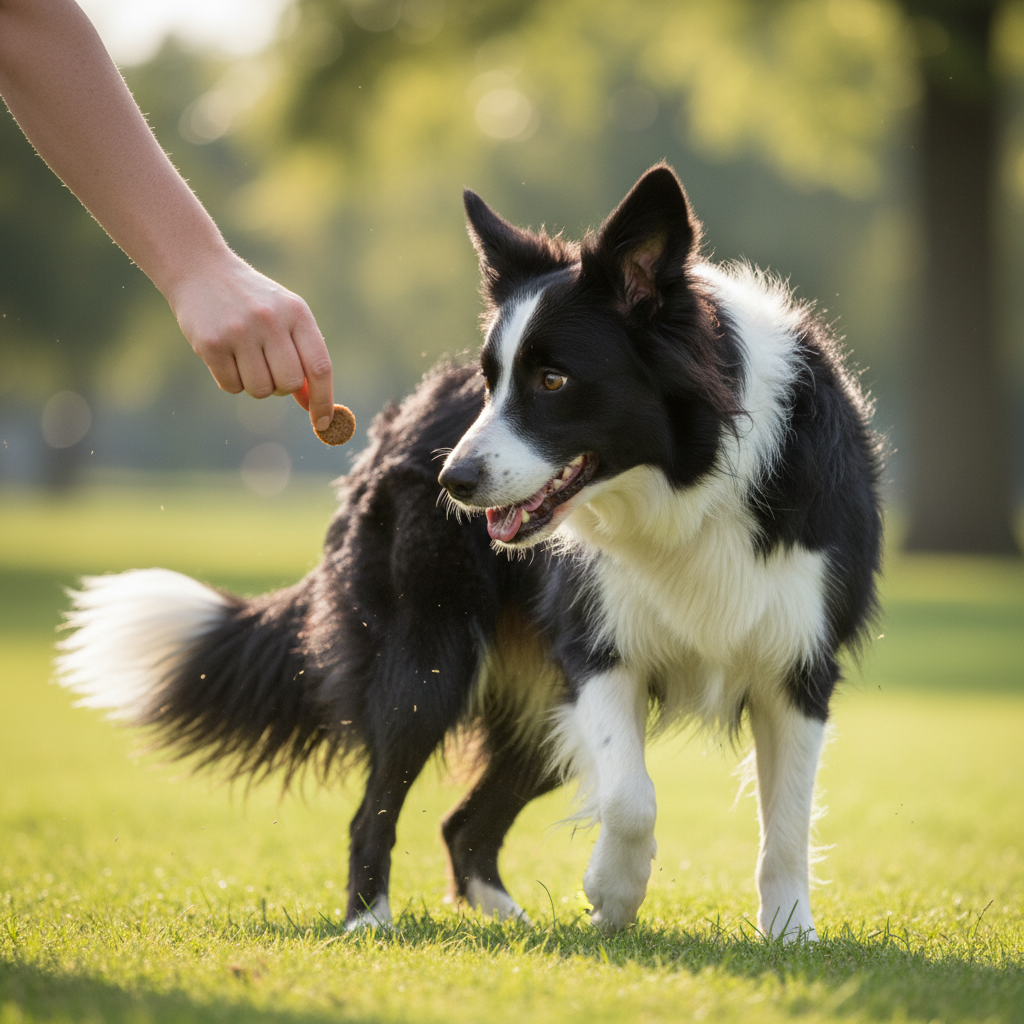
Alright, with your treats in hand and your pup’s attention, it’s time to begin! We’re going to use a technique called ‘luring,’ where we use a treat to guide the dog into the desired position. Remember to be patient and reward even the smallest tries in the right direction. Let’s break it down.
-
Start with a ‘Bow’
The curtsy is essentially a ‘bow’ with a leg crossed over. If your dog doesn’t already know how to bow, it’s a great starting point. To teach a bow, start with your dog in a standing position. Hold a treat near their nose and slowly lower it down between their front paws. Most dogs will follow the treat, lowering their front end while keeping their back end up. The moment their elbows touch the floor, mark the behavior (‘Yes!’ or click) and give them the treat. Practice this until they can do it reliably. Having a solid ‘bow’ gives you a great foundation for the curtsy.
-
Lure the Back Leg Across
Now for the magic. Ask your dog for a bow. As they are in the bow position, take another treat in your hand. From their nose, lure their head around towards their back hip on one side. The goal is to get them to shift their weight to one side, which will free up the opposite back leg. As you lure their head around, their back leg on the opposite side should lift and cross behind the other one. For example, if you lure their head to the right, their left back leg should be the one that crosses over.
-
Mark and Reward the Slightest Movement
This is the most critical part. The first few times you try this, your dog might just shift their weight, lift a paw slightly, or take a small step. Mark and reward any of these initial attempts! We are shaping the behavior, and you need to let them know they’re on the right track. If you wait for a perfect curtsy, you’ll both get frustrated. Celebrate the tiny steps! A slight weight shift? Yes! and treat. A tiny paw lift? Yes! and treat. You are building the behavior piece by piece.
-
Gradually Refine the Lure
Once your dog starts to understand the game and is consistently offering a little leg cross, you can start to get pickier. Wait for a more definite cross-over before you mark and reward. You can also make your hand lure smaller and more subtle. The goal is to transition from a big, obvious hand movement to a small, discreet signal. You want your dog to start thinking about the movement itself, not just following the treat.
-
Add the Verbal Cue
When your dog is reliably performing the curtsy with a small hand lure (about 80-90% of the time), you can start adding a verbal cue. Choose a simple, clear word like “Curtsy,” “Present,” or “Fancy.” Say your chosen cue just before you start the hand lure. After several repetitions, your dog will begin to associate the word with the action. Eventually, you can try saying the cue without any hand motion at all. If they do it, throw a jackpot of treats! If they hesitate, just give them the small hand signal to help them out. With practice, you’ll be able to fade the hand lure completely.
From Wobbly to Wonderful: Polishing Your Dog’s Curtsy
Polishing the Performance: From Clumsy to Classy
Your dog is now crossing one leg behind the other—hooray! That’s a huge accomplishment. Now, let’s take it from a wobbly attempt to a polished, elegant performance. This stage is all about refinement and building duration. The key is still patience and positive reinforcement.
Tips for a Fancier Curtsy:
- Aim for a Deeper Bend: To encourage a deeper, more pronounced curtsy, try lowering the treat lure slightly as they cross their leg. This will encourage them to dip down further into the position. Reward any attempts to go lower than before.
- Build Duration: Right now, your dog probably pops right back up after the curtsy. To teach them to hold the position, start delaying your click or verbal marker by just a split second. Once they hold it for that extra second, mark and reward. Gradually increase the time they hold the pose. You can introduce a release word like “Okay!” or “Free!” to let them know when they can get up.
- Work on Both Sides: Dogs, like humans, can have a dominant side. They might find it much easier to curtsy by crossing their left leg over their right, but struggle with the opposite. Make sure to practice on both sides! This is not only great for their brain but also ensures balanced muscle development and flexibility. You might have to go back a few steps when teaching the ‘harder’ side, and that’s perfectly normal.
- Fade the Lure to a Signal: The ultimate goal is to have your dog perform the curtsy on a verbal cue alone. But an elegant hand signal can also be a nice touch. Gradually shrink your lure motion into a smaller, more subtle gesture—perhaps a simple flourish of the hand or a slight point towards their hip.
Remember, this is the ‘polishing’ phase. Don’t expect perfection overnight. Each dog learns at their own pace. Keep sessions upbeat, and if you notice your dog’s performance starting to get sloppy, it’s probably a sign they’re getting tired. End the session with an easy win (like a simple ‘sit’) and try again later or the next day.
Oops! Common Sticking Points and How to Fix Them
Troubleshooting Common Curtsy Challenges
Even with the best instructions, you might hit a little bump in the road. Don’t worry, it happens to everyone! Dog training is about problem-solving. Here are some of the most common challenges you might face when teaching the curtsy and how to work through them.
| The Problem | The Solution |
|---|---|
| My dog just keeps bowing and won’t cross their leg. | This usually means the lure is in the wrong place. Make sure you are luring their head around towards their hip, not just down. The sideways motion is what encourages the weight shift and leg cross. Try making the arc of your lure wider and more exaggerated at first. |
| My dog lies down completely instead of bowing/curtsying. | This is a very common issue! It often means you’ve held the lure on the floor for too long. Keep the lure moving, and mark/reward the instant their elbows touch the ground for a bow, or the instant they cross a leg for the curtsy. You want to capture the action, not the final ‘down’ position. If they lie down, simply reset them into a standing position and try again with a quicker motion. |
| My dog gets frustrated and walks away. | Frustration is a sign that we’re asking for too much, too soon, or that the reward isn’t motivating enough. Take a step back. Are you rewarding the small tries? If not, start there. Are your sessions too long? Shorten them to just a few minutes. Is the treat exciting enough? Maybe it’s time to bring out the ‘extra special’ goodies. Always end on a positive note. |
| The leg cross is really clumsy or they just kick their leg out. | This is a coordination challenge. Go back to rewarding any tiny weight shift or paw lift. You can also try physically placing their paw in the correct spot (if your dog is comfortable with this), then marking and rewarding. This can help them understand the final position you’re looking for. This is about building muscle memory, so be patient. |
The golden rule of troubleshooting is to make it easier. If your dog is failing, the step is too hard. Break it down into even smaller, more achievable pieces. Every dog can learn this, we just need to be good teachers and find the right way to communicate what we want.
Beyond the Curtsy: What’s Next for Your Trick Star?
Taking it to the Next Level: Advanced Curtsy Combos
Congratulations, you and your pup have mastered the curtsy! This is a fantastic achievement that showcases your teamwork and dedication. But why stop there? The curtsy can be a building block for even more complex and impressive behaviors. Here are a few ideas to challenge your trick star.
Chaining Behaviors
Now that your dog knows ‘bow’ and ‘curtsy’ as separate commands, you can chain them together for a lovely little routine. Ask for a ‘bow,’ then immediately cue the ‘curtsy.’ With practice, you can make the transition seamless. What else can you add?
- Spin into a Curtsy: Teach your dog to spin in a circle and then go directly into their curtsy pose.
- Curtsy and Wave: After they perform the curtsy, ask them to lift a front paw for a ‘wave.’
- Weave and Curtsy: Have them weave through your legs and end with a flourish by performing a perfect curtsy.
Adding Distance and Distractions
Once the curtsy is solid in your quiet living room, it’s time to generalize the behavior. This means practicing in different environments and with distractions. Start in your backyard, then try it at a quiet park. The goal is to have your dog perform the trick reliably even when things are more exciting. You can also start adding distance, asking for the curtsy while you are a few steps away from them. This builds their focus and confidence.
Introduce Props
You can make the trick even more visually appealing by adding props. Teach your dog to curtsy on top of a small, stable platform or a cushion. You could even have them hold a lightweight object like a flower or a small basket in their mouth while they perform the trick (only if they are comfortable and have been taught a ‘hold’ command).
The possibilities are endless! Trick training is a creative and joyful journey. The skills you’ve built while teaching the curtsy—clear communication, timing, and positive reinforcement—are the foundation for teaching almost any other behavior. So get creative, see what other fun ideas you and your dog can come up with, and most importantly, continue to have fun together.
Conclusion
And there you have it! From the first tentative paw lift to a polished, elegant performance, you now have all the tools you need to teach your dog a polite and charming curtsy. We’ve covered everything from the initial setup and step-by-step instructions to troubleshooting common issues and taking the trick to the next level.
Remember that the true reward of this process isn’t just the final trick, as fun as it is to show off. It’s the moments of connection, the little breakthroughs, and the strengthening of the incredible bond you share with your dog. Every training session is a conversation, and by teaching tricks like the curtsy, you’re learning to speak your dog’s language more fluently through patience, positivity, and praise.
So be proud of what you’ve both accomplished. Celebrate every small success, laugh at the goofy attempts, and cherish the time spent learning together. Now go on, have some fun, and enjoy watching your clever canine take a well-deserved bow… and a curtsy!