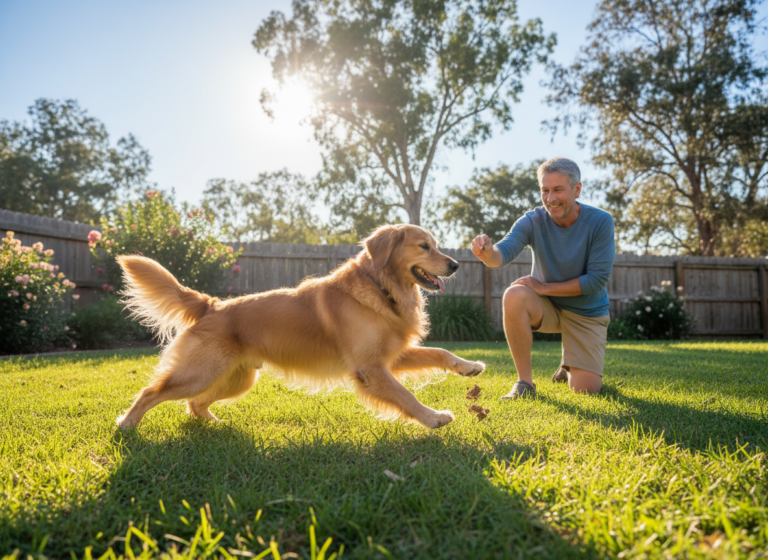
Have you ever watched a dog leap, climb, and balance through a city park with incredible grace and thought, ‘Wow, I wish my dog could do that!’? Well, good news—they probably can! Welcome to the exciting world of urban agility, a fun and accessible sport that turns everyday cityscapes into your dog’s personal playground. It’s not about high-flying stunts or dangerous leaps; it’s about using your environment to build your dog’s physical and mental skills in a safe, controlled way.
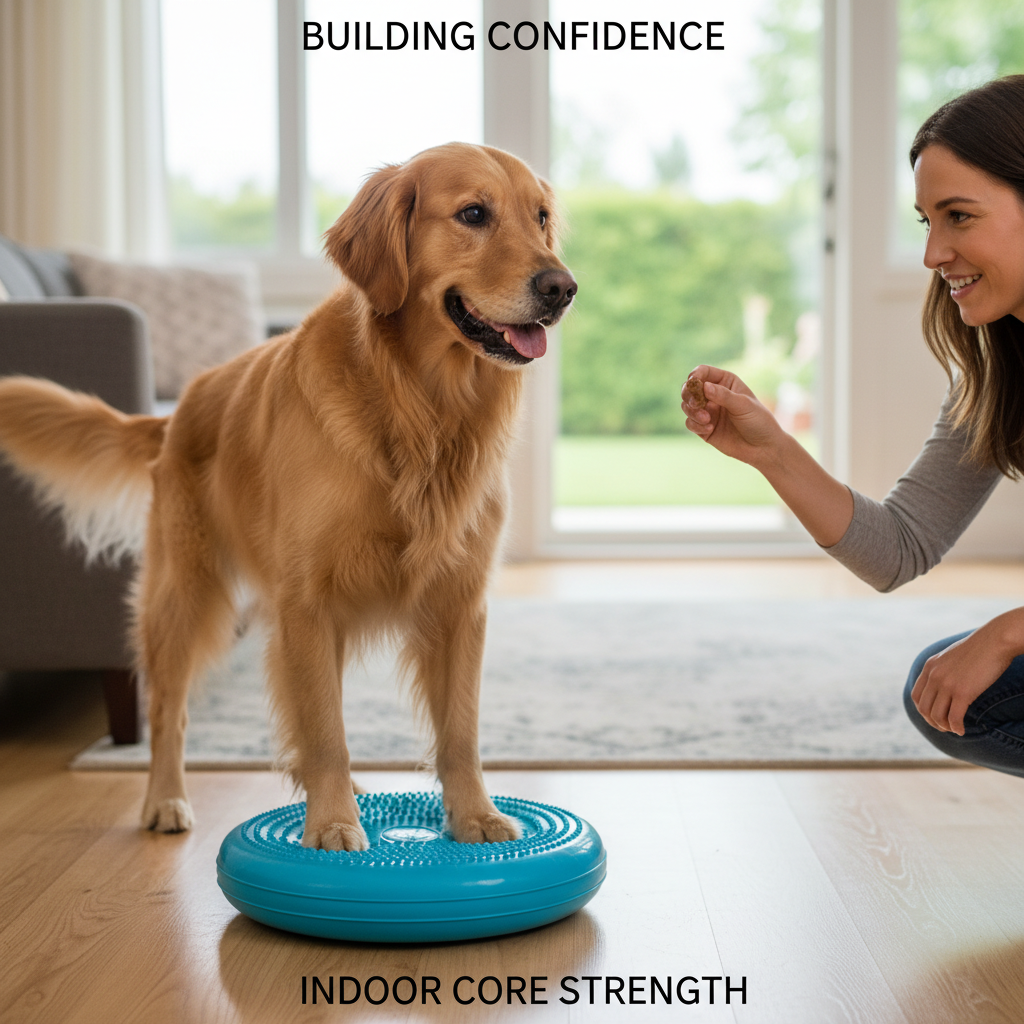
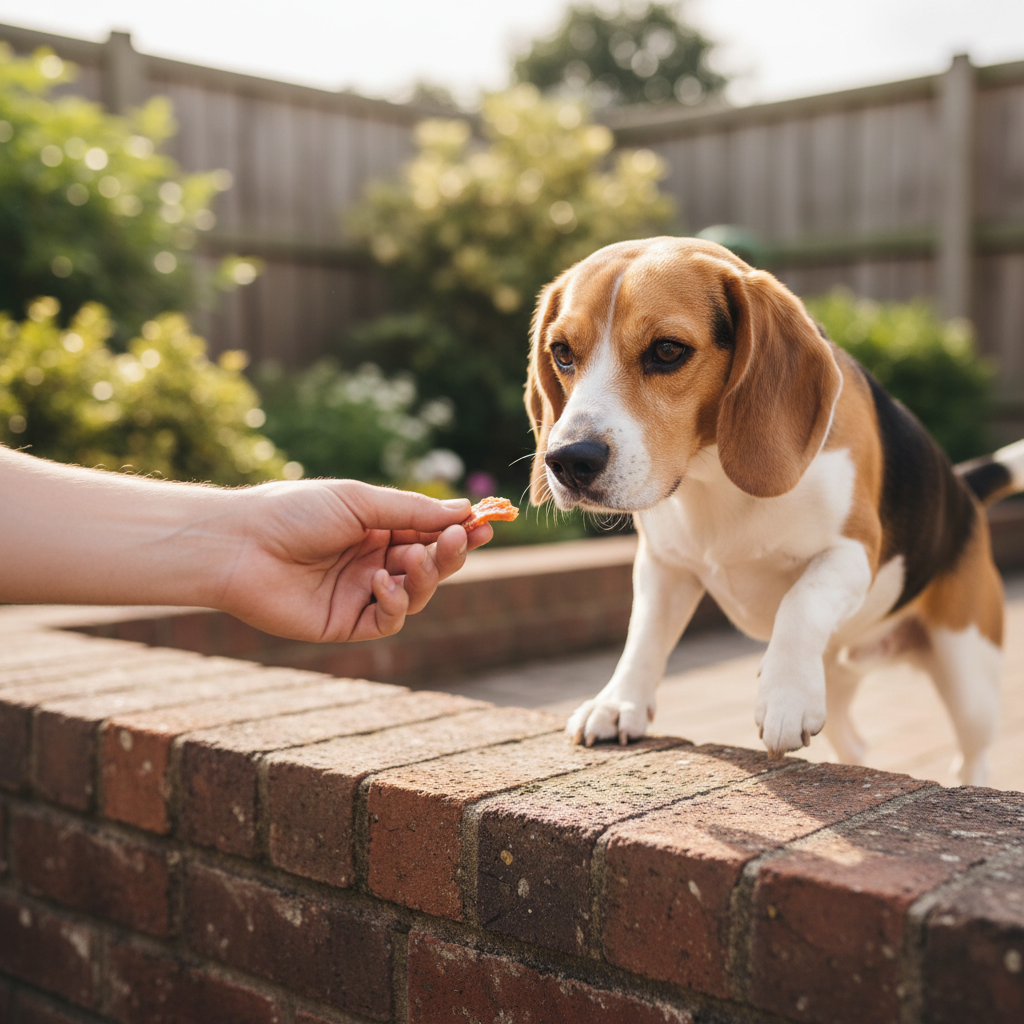
One of the most foundational and rewarding skills in urban agility is teaching your dog to balance on objects, like a low, wide retaining wall. This simple act is a powerhouse of benefits. It dramatically improves your dog’s body awareness, strengthens their core muscles, sharpens their focus, and builds incredible confidence that translates to all areas of their life. Plus, it’s an amazing bonding activity that deepens the trust and communication between you and your furry best friend.
In this guide, we’re going to break down the entire process, from pre-flight safety checks to that first triumphant walk across the wall. We’ll cover the essential groundwork, a clear step-by-step training plan, and how to troubleshoot any little wobbles along the way. Get ready to unlock a whole new level of fun on your daily walks!
Safety First! Prepping for Your Urban Agility Adventure
Safety First! Prepping for Your Urban Agility Adventure
Before you and your pup dash out the door, let’s pump the brakes and talk about the most important part of any training: safety. Urban agility is incredibly fun, but that fun depends on setting your dog up for success and preventing any tumbles or scares. A few minutes of preparation can make all the difference.
Is Your Dog a Good Candidate?
While many dogs can enjoy this activity, it’s not for everyone. Consider these points:
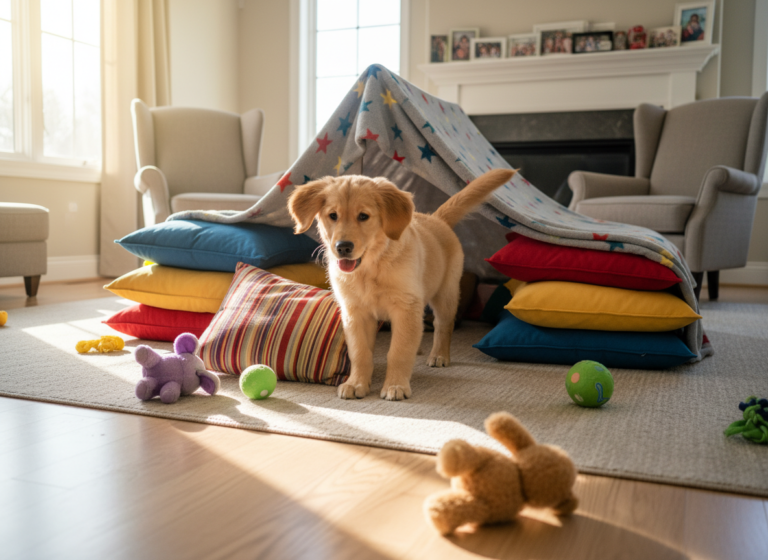
- Age: This activity is best for physically mature dogs, typically over a year old. Puppies’ growth plates are still developing, and the repetitive impact or a potential awkward landing could cause long-term damage. Wait until your vet gives you the green light for more strenuous activities.
- Health: A basic health check is a must. If your dog has any history of joint problems like hip or elbow dysplasia, arthritis, or back issues, consult your veterinarian first. This activity requires good joint stability and core strength.
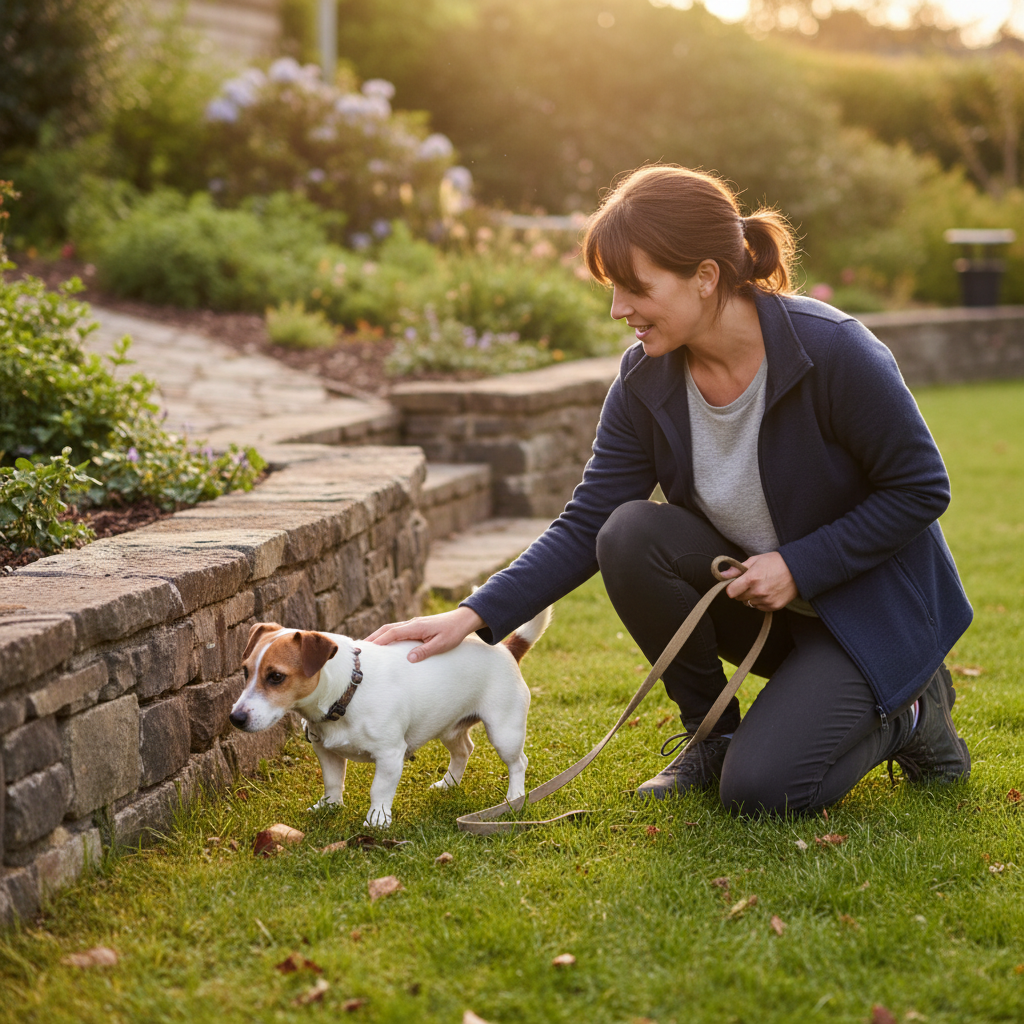
- Temperament: Is your dog generally confident or more on the anxious side? While this training can build confidence, a very fearful dog might be overwhelmed. We’ll be using positive reinforcement to make it a great experience, but it’s important to start with a dog that is at least open to trying new things.
Choosing Your ‘Training Arena’
Not all retaining walls are created equal! Your choice of location is critical for safety and effective training.
Look for these features in a good starter wall:
- Low Height: Start with a wall that is no higher than your dog’s elbow or knee height. They should be able to easily hop on and off without any real jumping.
- Wide Surface: The wider, the better! Look for a surface that is at least twice the width of your dog’s stance. This provides a generous margin for error and builds confidence quickly.
- Non-Slip Texture: Run your hand (and foot) over the surface. Is it smooth, polished concrete that gets slick when damp? Avoid it. Look for brushed concrete, sturdy brick, or stone that offers some grip.
- Safe Surroundings: What’s on either side of the wall? The landing zones should be soft grass or dirt, free of rocks, holes, or debris. Avoid walls that border busy sidewalks, roads, or have a significant drop on one side.
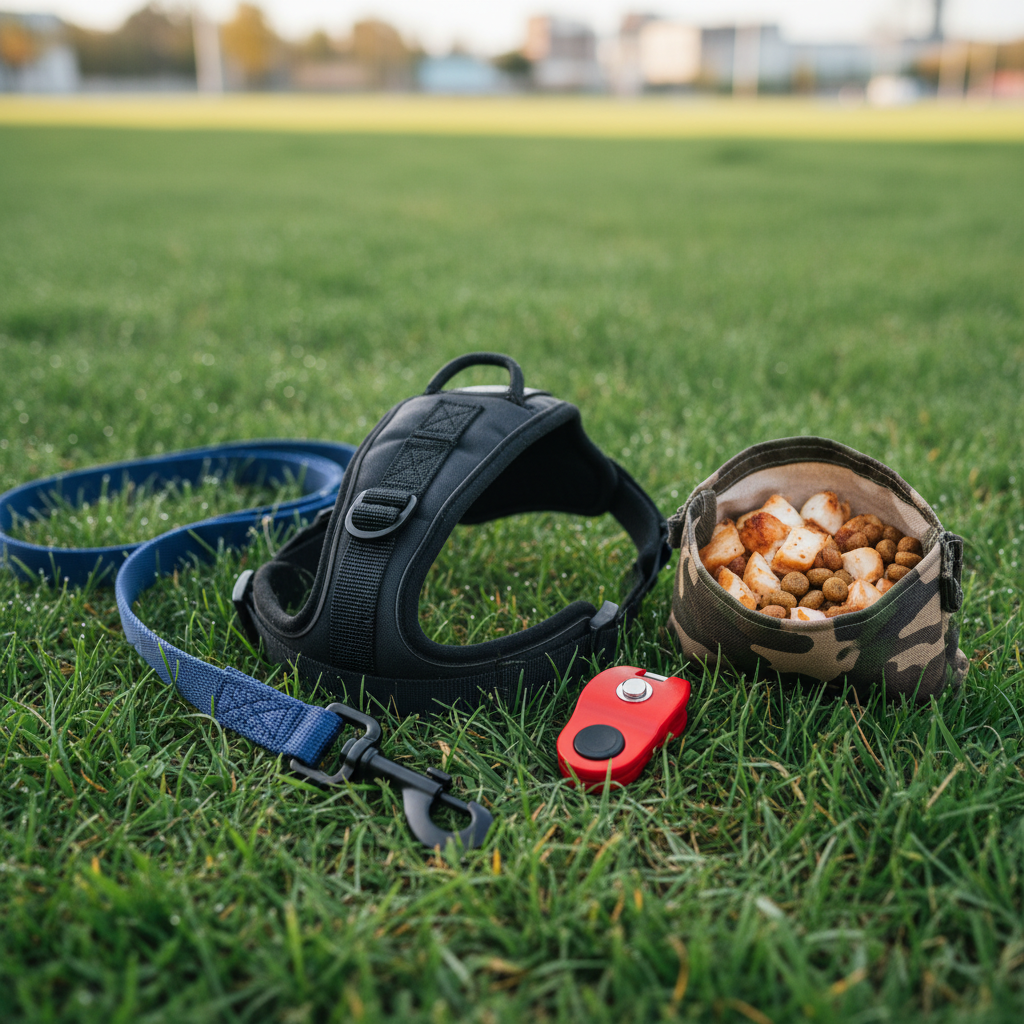
Gear Up for Success
You don’t need a lot of fancy equipment, but having the right gear makes training safer and more effective.
- A Well-Fitting Harness: Please, no collars for this activity! A harness, particularly a Y-front style that doesn’t restrict shoulder movement, is essential. It distributes pressure evenly and gives you a safe handle to steady your dog if they lose their balance, without putting any strain on their neck.
- A Standard Leash: A 4 to 6-foot non-retractable leash is perfect. It gives you control without being too restrictive. You want to keep the leash loose (we call it a ‘happy loop’) but be ready to provide support if needed.
- High-Value Treats: Your dog’s regular kibble probably won’t cut it. You need something extra special to motivate them. Think small, soft, smelly treats like tiny pieces of cheese, boiled chicken, or commercial training treats. The goal is a quick, delicious reward that doesn’t require a lot of chewing.
- A Clicker (Optional but Recommended): If you’re familiar with clicker training, this is a fantastic tool for marking the exact moment your dog does something right—like placing a paw on the wall.
- Water: Learning is thirsty work! Always bring water for your canine companion.
The Foundation: Building Balance and Confidence on the Ground
The Foundation: Building Balance and Confidence on the Ground
You wouldn’t try to run a marathon without jogging a few miles first, right? The same principle applies here. Before we even approach the wall, we need to build a solid foundation of skills on the ground. These exercises teach your dog how to be more aware of their body, especially their rear feet—something most dogs don’t think about much!—and builds their confidence with new textures and surfaces.
Paw Awareness 101
These simple exercises ‘wake up’ the nerves in your dog’s feet and brain, improving their proprioception (their sense of where their body is in space).
- The Ladder Game: Lay a ladder flat on the ground. Using treats, lure your dog to walk through the rungs slowly. They will have to consciously think about where to place each foot. No ladder? No problem! You can use a row of sticks, PVC pipes, or even shoes to create a similar obstacle.
- Texture Tour: On your walks, actively encourage your dog to walk over different surfaces: grass, dirt, pavement, a metal grate (if they aren’t scared), a wooden plank. Reward them for confidently exploring new textures with their paws.
- Rear-End Awareness: Teach your dog to pivot on a small, stable object like a sturdy book or a small stool. Lure them to place their front paws on the object, and then use a treat to lure their back end around in a circle. This forces them to move their back feet independently.
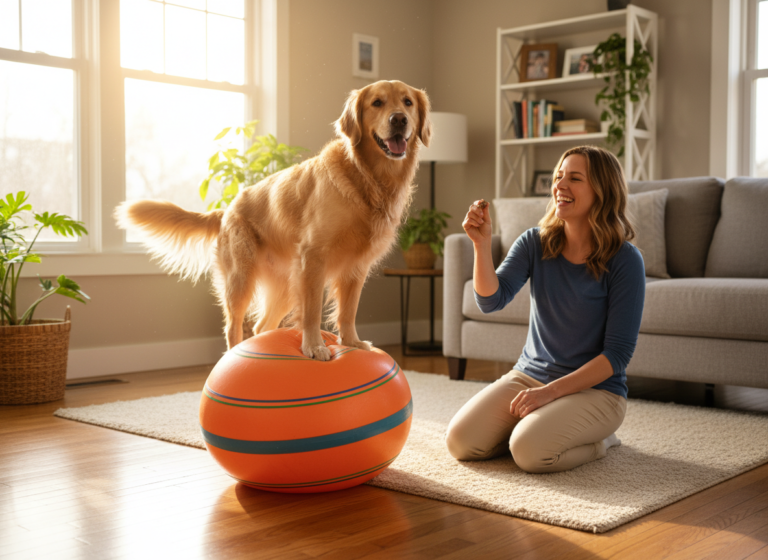
Introduction to Unstable Surfaces
Balancing on a narrow wall requires constant micro-adjustments. You can prepare your dog for this at home by introducing slightly unstable surfaces.
Remember to keep these sessions short and super positive. We’re building confidence, not creating fear. If your dog is hesitant, just reward them for sniffing or touching the object initially.
- Cushion Challenge: Toss a couch cushion or a folded blanket on the floor and lure your dog to walk across it. Reward them for standing on it.
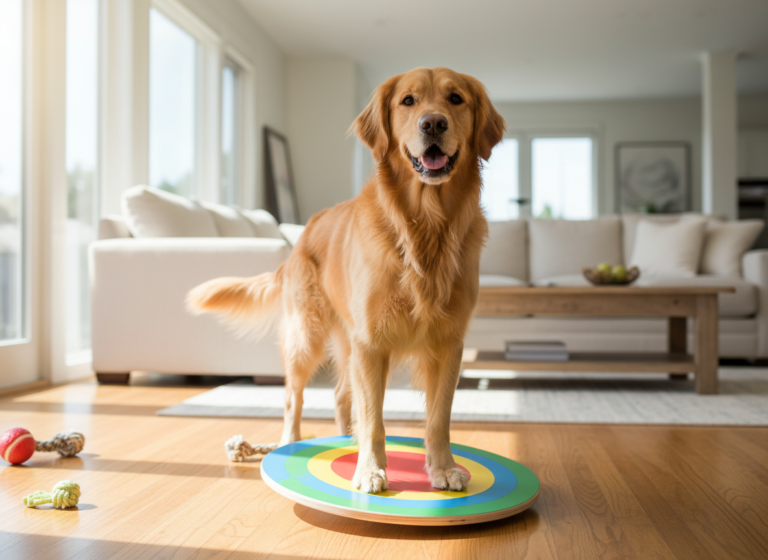
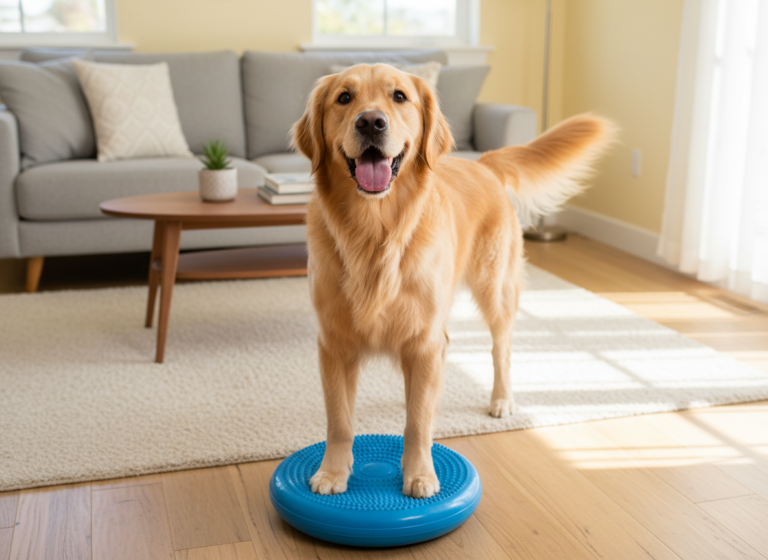
- Wobble Board or Balance Disc: If you’re serious about canine fitness, investing in a canine-specific wobble board or balance disc is fantastic. Start by just having your dog put two paws on it, then eventually all four, for just a second or two. This is an amazing core workout!
The ‘Touch’ Command: Your Secret Weapon
Teaching a targeting command is one of the most useful things you can do. It gives you a way to direct your dog’s movement without pushing or pulling them. We’ll use this to get them onto the wall.
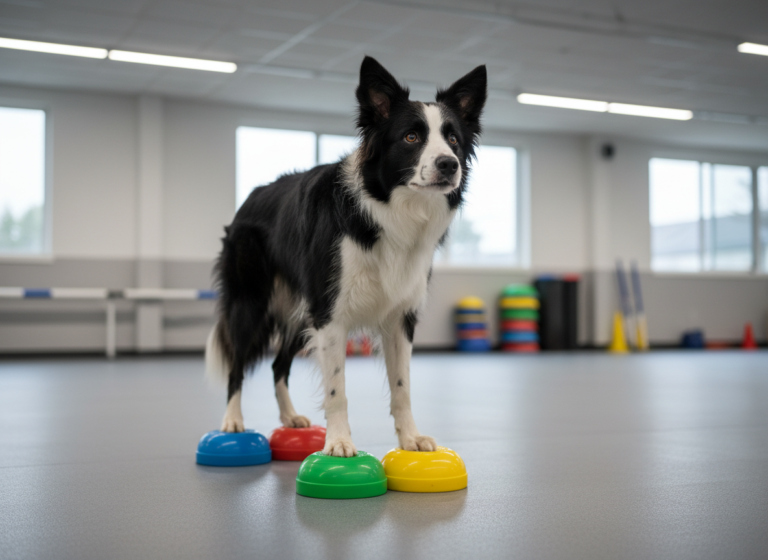
- Hand Target: Hold your hand out, palm open. The moment your dog’s nose touches your hand, say ‘Yes!’ (or click) and give them a treat. Repeat until your dog is eagerly booping your hand whenever you present it.
- Object Target: Once they have the hand target down, you can transfer this to an object. Place a sticky note or a small plastic lid on the ground. When your dog touches it with their nose, ‘Yes!’ and treat. You can now use this to ask your dog to target things from a distance.
Spending a week or two on these foundational games will make the transition to the retaining wall incredibly smooth and easy for your dog.
Step-by-Step Guide: Conquering the Retaining Wall
Step-by-Step Guide: Conquering the Retaining Wall
Alright, you’ve done your safety checks and practiced your foundation skills. Now for the main event! The key to this process is to break it down into tiny, achievable steps. We want your dog to feel like a superstar at every stage. Keep your training sessions short (5-10 minutes is plenty) and always end on a positive, successful note.
-
Step 1: Make the Wall a Great Place to Be
Your first goal is simply to create a positive association with the wall. Walk up to your chosen low, wide wall and just hang out. Let your dog sniff it and explore it at their own pace. Drop a few high-value treats on the ground right next to the wall. Do this for a few minutes and then walk away. No pressure, no requests. The wall is just the magical place where cheese appears.
-
Step 2: Paws Up!
Now, let’s ask for a little interaction. Stand next to the wall and hold a treat near it. When your dog moves towards it, reward them. Next, hold the treat directly on top of the wall. To get it, your dog will likely have to place one or both front paws on the wall. The very second their paws touch the wall, mark the moment with a ‘Yes!’ or a click, and give them the treat. Repeat this 5-10 times until your dog is confidently offering to put their paws up to get the reward.
-
Step 3: All Four On
Once ‘Paws Up’ is easy, it’s time to encourage them to get all four feet on the wall. Hold the treat a little further back on the wall so they have to stretch to reach it. This will naturally encourage them to hop up with their back feet. Again, the moment all four paws land on the wall, have a mini-party! Give them a ‘jackpot’—a few treats in a row—and lots of praise. Let them hop off, and then repeat. The goal is for them to learn that getting all four paws on the wall is an awesome, rewarding thing to do.
-
Step 4: The First Step
With your dog standing comfortably on the wall, it’s time to ask for movement. Hold a treat right in front of their nose and move it forward just an inch or two, just enough to make them shift their weight and take a single step. The moment they take that step, ‘Yes!’ and treat. Don’t ask for a second step yet! Just practice ‘one step, one treat’ over and over. This builds focus and teaches them to move slowly and deliberately.
-
Step 5: Walking the Line
This is where it all comes together. Once your dog can reliably take one step for a treat, try asking for two steps before you reward. Then three. Gradually build up the distance. Keep your leash loose but ready. Walk alongside your dog, not in front of them, so you’re not pulling them forward. Let them set the pace. Your job is to be the cheerleader and the treat dispenser. If they hop off, no problem! Don’t make a big deal out of it. Just lure them back up and try for a slightly shorter distance so you can end with a successful repetition.
Expert Tip: Your energy is everything! Stay calm, patient, and positive. If you get frustrated, your dog will feel it. Celebrate the small victories, and remember that this is a game. The point is to have fun together!
Advanced Moves & Keeping It Fun

Advanced Moves & Keeping It Fun
Once your dog has mastered walking a straight line on a low, wide wall, you can start to add some fun variations to keep them challenged and engaged. This is where you can get creative! Remember to introduce new challenges gradually, just like you did with the initial training.
Adding Duration and Distance
The most straightforward way to level up is to simply increase the length of the walk. Find longer retaining walls in your park or neighborhood. Can your dog walk 10 feet? 20 feet? The length of a city block? Make it a game to see how far they can go while maintaining their focus and balance. This builds incredible stamina and focus.
Introducing Turns and Curves
Life isn’t always a straight line! Find walls that have curves or corners. This requires your dog to adjust their body and foot placement in a more complex way.
- Gentle Curves: Start with wide, sweeping curves. Lure them around the bend with a treat, rewarding them for successfully navigating the turn.
- 90-Degree Corners: For a harder challenge, work on outside corners. You will need to slow down and lure them carefully to pivot their body around the corner.
- The Turn-Around: On a wide section of the wall, see if you can lure your dog into a 180-degree turn. This is a big challenge for their rear-end awareness and a great core exercise!
Varying the Surfaces
Once your dog is a balancing pro on a simple concrete wall, you can start to introduce new, safe surfaces to build their confidence. Always check for stability and safety first!
- Wider Wooden Beams: Think of the low wooden borders around playgrounds or garden beds.
- Large, Stable Boulders: A series of low, flat-topped boulders can be a fun ‘follow the leader’ game.
- Park Benches: A park bench (when permitted and clean) can be a great place to practice a ‘sit’ or ‘down’ on an elevated surface.
Adding Simple Behaviors
Incorporate some of your dog’s known obedience cues for an extra mental workout. On a wide, stable part of the wall, ask for:
- A Sit: This requires your dog to collect their body and balance.
- A Down: This is even more challenging and requires significant core control.
- A Spin: For the true balancing masters, a slow, lured spin is the ultimate show of skill and confidence.
By mixing things up, you keep the game fresh and exciting. Your dog will start to see the urban environment not as a boring stretch of concrete, but as a world of possibilities and fun challenges to tackle with their favorite person—you!
Troubleshooting Common Wobbles and Worries
Troubleshooting Common Wobbles and Worries
Even with the best training plan, you might hit a snag or two. That’s completely normal! Dog training is never a straight line. Here’s a look at some common issues and how to work through them with patience and positivity.
‘My dog is too scared to even put their paws on the wall!’
This is all about fear of the new object. The solution is to change your dog’s emotional response from ‘that’s scary’ to ‘that’s where the best things happen!’
- Go Back to Step 1: Spend more time just creating a positive association. Don’t ask for any interaction. Simply go to the wall and feed your dog their entire meal, one handful at a time, right beside it. Do this for several days.
- Reward for Looking: Use your clicker or a ‘Yes!’ to mark and reward your dog for simply looking at the wall. Then for sniffing it. Then for touching it with their nose. Break it down into the tiniest possible steps.
- Check the Surface: Is the wall cold, wet, or have a weird texture? Try a different wall on a warmer, sunnier day and see if that makes a difference.
‘They get their front paws up, but won’t put their back paws on.’
This is a very common sticking point. It’s a big trust exercise for a dog to put their entire body onto something new.
- Make it Easier: Find a spot where the ground slopes up to meet the wall, creating a smaller step-up. This can make the transition less intimidating.
- Use a Better Lure: Make sure your treat is positioned far enough back on the wall that they have to get their back feet up to reach it. You can also try tossing a treat onto the wall for them to get.
- Celebrate the Effort: If your dog even shifts their weight or lifts a back paw, reward that! You’re rewarding the ‘try’ and building momentum towards the full behavior.
‘They keep jumping off halfway through a walk!’
This usually comes down to one of three things: they’re losing focus, they’re getting nervous, or you’re moving too fast.
- Shorten the Distance: Go back to a distance where they were 100% successful. If they can walk three steps but jump off at four, then for the next session, only practice one or two steps. End on a high note before they have a chance to fail.
- Increase Your Rate of Reinforcement: Give them treats more frequently. Instead of one treat at the end of five steps, give a treat for every single step. This keeps their focus locked on you.
- Slow Down: Are they rushing? Use a treat that encourages licking, like a bit of cream cheese on a wooden spoon, to force them to move more slowly and deliberately. Rushing often leads to a loss of balance and confidence.
Remember, every dog learns at a different pace. The goal isn’t to be perfect overnight. It’s about celebrating the small successes, building your dog’s confidence, and strengthening your partnership every step of the way.
Conclusion
You’ve done it! From those first tentative paw placements to confident strolls along the wall, you and your dog have embarked on an incredible urban agility journey together. What might have started as a fun trick to teach your pup has likely blossomed into so much more. You haven’t just taught your dog to balance; you’ve taught them to be more confident, to trust you, to problem-solve, and to see their world in a whole new, exciting way.
Remember that urban agility is a mindset. It’s about finding opportunities for engagement and enrichment in the everyday. A park bench is no longer just a bench; it’s a platform for a ‘paws up.’ A low wall is a balance beam. A tree stump is a podium. As you continue to practice and play, you’ll notice your dog’s focus on you grow stronger and their confidence soar.
Always prioritize safety, listen to your dog’s body language, and keep it fun. The ultimate goal isn’t to create a parkour champion, but to spend quality, engaging time with your best friend. So get out there, explore your neighborhood with fresh eyes, and celebrate every single step of your shared adventure.