Ah, the joys of outdoor adventures with our four-legged friends! The long walks, the games of fetch in the tall grass, the happy panting… and the inevitable post-adventure tick check. If the mere thought of this makes you sigh, you’re not alone. For many pet owners, trying to inspect a squirming, impatient dog feels more like a wrestling match than a safety check. What if there was a way to turn this stressful ordeal into a calm, cooperative moment?
Enter the ‘Freeze’ command. This isn’t just another party trick; it’s a vital safety and handling tool that can revolutionize how you care for your dog. By teaching your pup to stand calmly and willingly for an inspection, you not only make tick checks more thorough and effective but also reduce anxiety for both of you. It’s a command built on trust and positive reinforcement that strengthens your bond.
In this guide, we’ll walk you through everything you need to know, from the essential supplies to a detailed, step-by-step training plan. We’ll even cover common roadblocks and how to overcome them. Get ready to say goodbye to the wiggles and hello to peaceful, productive tick checks!
Why a ‘Freeze’ Command is a Game-Changer for Tick Season
Before we dive into the ‘how,’ let’s talk about the ‘why.’ The ‘freeze’ command is more than just a convenience; it’s a cornerstone of proactive pet health. Ticks are tiny arachnids, but they can carry significant health risks for our dogs, including diseases like Lyme disease, Ehrlichiosis, and Anaplasmosis. A thorough check after every outdoor excursion is one of our best lines of defense.
When a dog is wiggling, anxious, or trying to bolt, it’s nearly impossible to perform a meticulous inspection. You might miss a well-hidden tick nestled deep in their fur, between their toes, or inside an ear. This is where ‘freeze’ becomes invaluable:
- It Ensures Thoroughness: A still dog allows you to systematically part the fur and examine every nook and cranny where ticks love to hide. You can be confident you haven’t missed a spot.
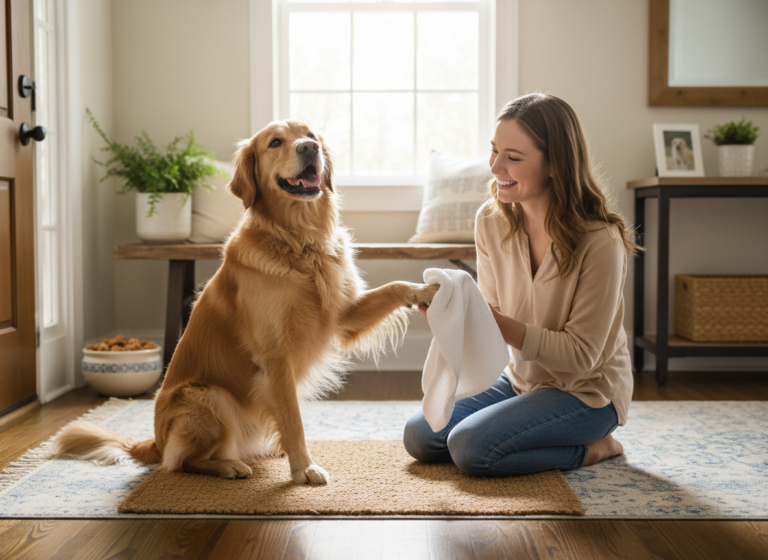
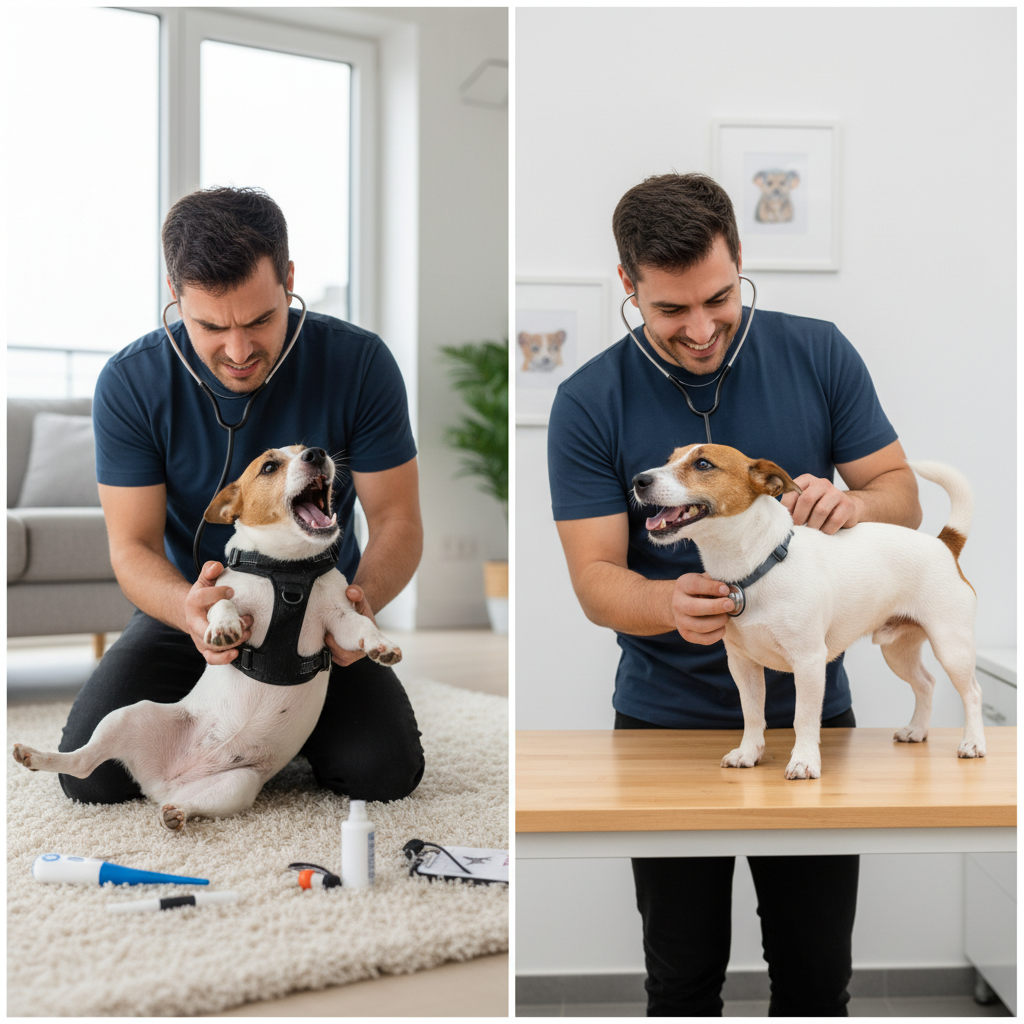
- It Reduces Stress (for Everyone!): When your dog understands what’s expected and knows a reward is coming, the experience shifts from something scary to a predictable, positive routine. Your stress levels will plummet, and your dog’s anxiety will ease, knowing they are safe and in control.
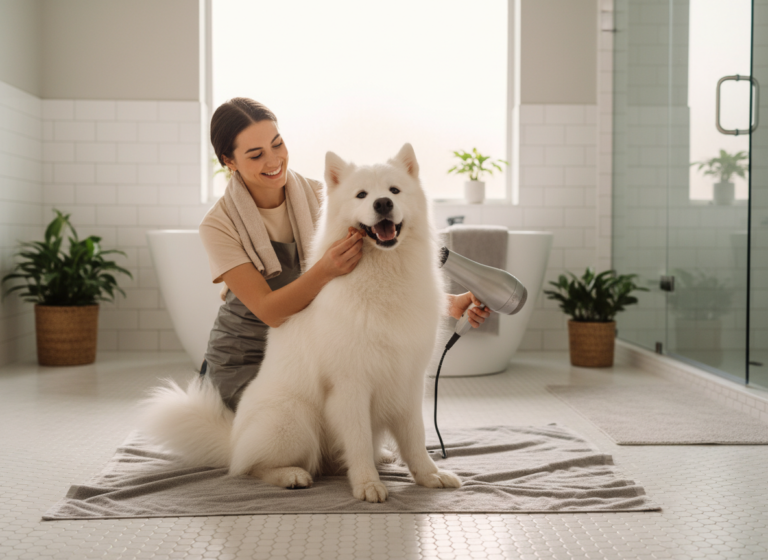
- It Builds Trust and Confidence: Training this command using positive methods teaches your dog to trust being handled. This confidence extends beyond tick checks to other essential grooming and veterinary procedures, like nail trims, ear cleaning, temperature checks, and examinations.
- It Prioritizes Safety: A calm, stationary dog is a safe dog. There’s less risk of you accidentally pinching their skin with a tick tool or of your dog panicking and nipping out of fear or discomfort.
Ultimately, investing the time to teach ‘freeze’ is an investment in your dog’s long-term health and well-being. It transforms a necessary chore into a cooperative partnership.
Gearing Up for Success: What You’ll Need

Great training starts with great preparation! You don’t need a lot of fancy equipment, but having the right tools on hand will make the process smoother and more effective. Think of it as setting you and your pup up for a win. Here’s your checklist:
- High-Value Treats: This is the most important tool in your arsenal! We’re not talking about their regular kibble. High-value means something your dog absolutely loves and doesn’t get all the time. Think tiny pieces of cooked chicken, cheese, hot dogs, or soft, smelly training treats. They should be small (pea-sized is perfect) so you can give many rewards without filling your dog up too quickly.
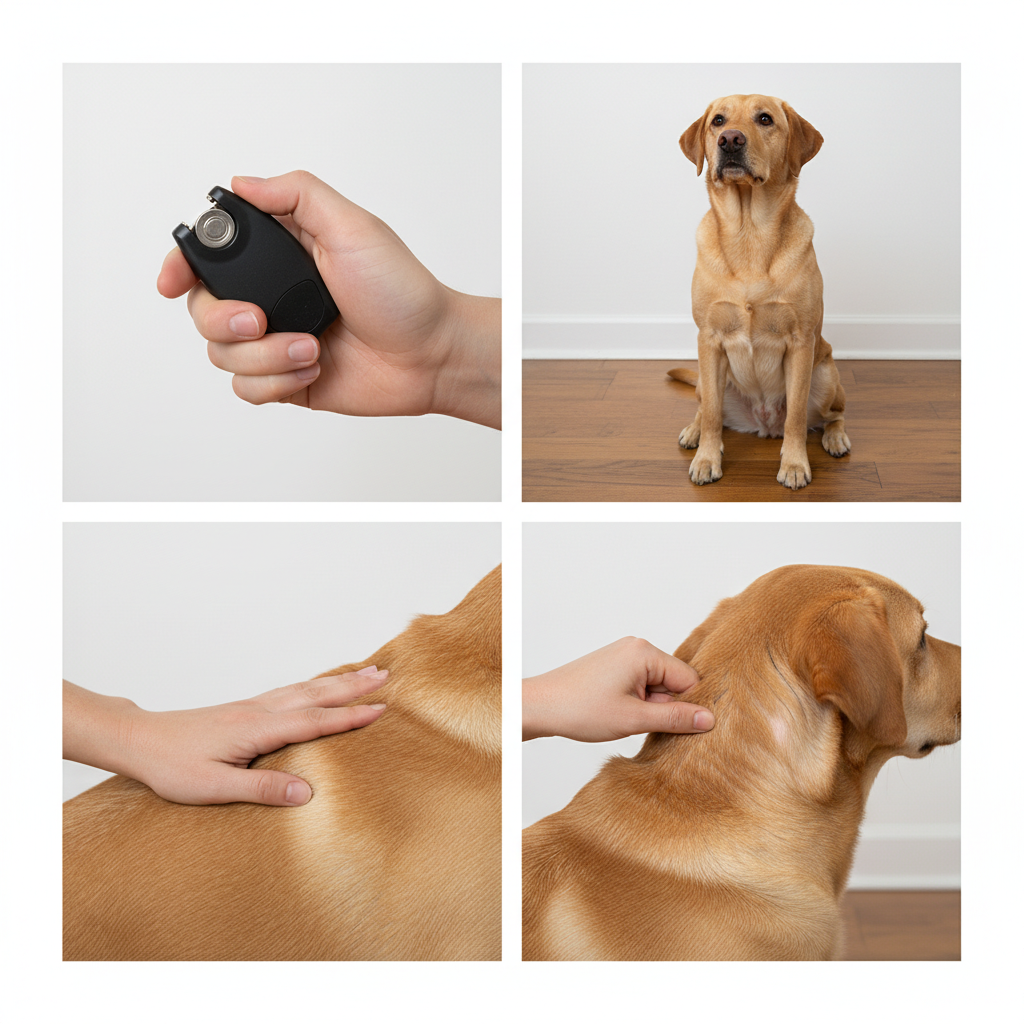
- A Clicker (Optional but Recommended): A clicker is a small device that makes a distinct ‘click’ sound. It’s used as a ‘marker’ to tell your dog the exact moment they did something right. This precision speeds up learning significantly. If you’d rather not use a clicker, you can use a consistent verbal marker, like a sharp “Yes!”.
- A Quiet, Distraction-Free Space: Start your training sessions in a calm area of your home where your dog feels comfortable and won’t be distracted by other pets, people, or squirrels outside the window. A living room or kitchen during a quiet time of day is ideal.
- Patience and a Positive Attitude: Your dog feeds off your energy. Training should always be fun! Keep your sessions short (5-10 minutes is plenty to start), stay upbeat, and remember to celebrate the small victories. If you feel frustrated, it’s better to end the session on a good note and try again later.
That’s it! With your treats ready and your positive mindset in place, you’re ready to start building this incredibly useful skill with your best friend.
The Step-by-Step Guide to Teaching ‘Freeze’
Alright, it’s training time! Remember, the key here is to break the behavior down into tiny, achievable pieces. We’ll build up from a simple pause to a full, reliable ‘freeze’ for handling. Keep it fun, and don’t rush the process. Every dog learns at a different pace.
Step 1: Charge Your Marker
Before you can use your clicker or verbal marker (“Yes!”) to train, your dog needs to understand what it means. It’s simple: Click, then immediately give a treat. Repeat this 10-15 times. Click, treat. Click, treat. You’re building an association: that sound means a reward is coming! You’ll know it’s working when your dog’s ears perk up and they look at you expectantly when they hear the click.
Step 2: Capture Stillness
Now, we’ll ‘capture’ the behavior we want. Simply stand in front of your dog in your quiet space and wait. The moment your dog pauses or stands still, even for a split second, click and toss a treat a short distance away. Tossing the treat resets the dog, so they have to move back towards you, giving you another opportunity to capture stillness. Repeat this many times. At this stage, you are not saying anything; you are just clicking and treating for any pause in movement.
Step 3: Introduce the Verbal Cue
Once your dog is reliably offering you moments of stillness, it’s time to name the behavior. Just as your dog is about to stop, say your cue, “Freeze!” in a calm, clear voice. Then, click the moment they become still and give them a treat. The sequence is: Cue -> Behavior -> Marker -> Reward. Practice this until your dog begins to stop moving when they hear the word “Freeze!”.
Step 4: Build Duration
Now we want to teach them to hold the position. Ask for a “Freeze!”. Once they are still, wait just one second before you click and treat. In the next repetition, try for two seconds. Gradually and slowly increase the duration they must remain still before the click/treat. If they move before you click, that’s okay! Just reset by tossing a treat and try again with a shorter duration. Don’t push for too much, too soon.
Step 5: Add Gentle Touch
This is a critical step. While your dog is holding their ‘freeze,’ gently touch them on their back or shoulder for less than a second, then immediately click and treat. Your touch should be light and brief. The goal is to teach them that being still while being touched earns them a big reward. As they get comfortable, you can gradually increase the duration of your touch and start touching other areas, like their neck, legs, and sides, always following with a click and a high-value treat.
Step 6: Simulate a Real Tick Check
This is where it all comes together. With your dog in a solid ‘freeze,’ begin to mimic the actions of a tick check. Gently part the fur on their neck for a second, then click and treat. Run your hand under their collar, click and treat. Gently lift an ear flap, look inside, click and treat. Pick up a paw and look between their toes, click and treat. Keep these sessions short and overwhelmingly positive. If your dog seems uncomfortable with a certain spot, go back to just a simple, light touch in that area and work your way up again slowly.
Troubleshooting Common Hurdles

Training is never a perfectly straight line; there will be bumps along the way. Don’t worry, it’s completely normal! Here are some common challenges and how to navigate them with a cool head and a pocket full of treats.
“My dog won’t stand still for even a second!”
This is common with high-energy dogs! First, make sure you’re using treats that are truly exciting to them. Second, shorten your sessions to just a minute or two. Third, try a quick play session before training to burn off some excess energy. Finally, go back to basics: reward even the tiniest pause, like a momentary weight shift before they take a step. You have to start where your dog is at, not where you want them to be.
“My dog gets up the instant I touch them.”
This usually means we’ve moved too fast. The touch itself has become a cue that the exercise is over. Go back a step. Make your touch incredibly light and brief—softer than a feather—and immediately click/treat. We need to rebuild the idea that touch + stillness = reward. Also, ensure you are not leaning over your dog in an intimidating way. Try kneeling beside them instead.
Expert Tip: Vary the reward placement. Sometimes give the treat right to their mouth while they hold the freeze, and other times toss it to reset them. This keeps them guessing and helps prevent them from breaking the position in anticipation of the treat toss.
“My dog seems bored or stressed.”
These are clear signals to stop. Always end your training session on a high note, even if it means ending after a single successful repetition. If your dog is yawning, excessively licking their lips, or avoiding eye contact, they’re telling you they need a break. End with an easy win, give them lots of praise, and try again later or the next day. The goal is for them to love the ‘freeze’ game, not dread it.
Putting It All Together: Making Tick Checks a Breeze
You’ve put in the work, and now it’s time to enjoy the payoff: a calm, cooperative partner for health checks. Integrating the ‘freeze’ command into your routine will solidify the training and make it a normal part of your dog’s life.
When you come inside from a walk or playtime, cue your dog to “Freeze!” in a well-lit area. Have your tick removal tool and a few treats ready. Use a happy, relaxed tone of voice as you begin your inspection. Move with gentle, predictable motions. As you check each area, praise your dog for their amazing stillness. Give them a small treat intermittently throughout the check, not just at the very end, to keep them engaged and happy.
Make sure to be systematic in your check. Ticks have favorite hiding spots. Be sure to carefully inspect:
- In and around the ears
- Under the collar
- Between the toes and paw pads
- Around the eyelids
- In the ‘armpits’ and groin area
- Around the base of the tail
Once you’re finished, give your dog a final, high-value ‘jackpot’ reward and release them with a cheerful “All done!”. Follow up the check with something your dog loves, like a fun game of tug or a good belly rub. This ensures they always associate the entire process with positive things. Before you know it, your dog will be offering you a ‘freeze’ as soon as you walk in the door, ready for their check-up and treats!
Conclusion
Congratulations! You now have the blueprint to teach one of the most practical and important commands your dog can learn. The ‘freeze’ command is about so much more than just finding ticks; it’s about building a foundation of trust, communication, and cooperative care that will benefit you and your dog for a lifetime. It transforms a potentially stressful task into a positive bonding experience.
Remember that patience, consistency, and positive reinforcement are your best friends on this training journey. Celebrate every small step forward, and enjoy the process of learning together. With a reliable ‘freeze’ in your toolkit, you can face tick season—and any other grooming or health need—with confidence and peace of mind.