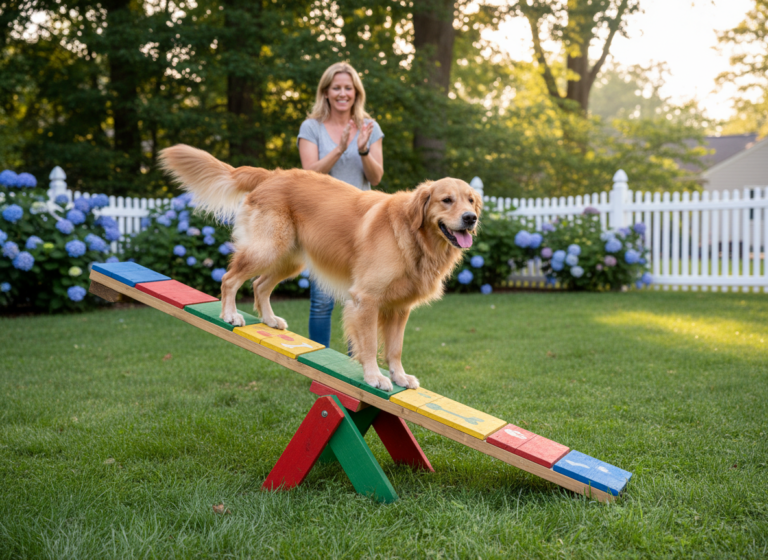
Hey there, fellow dog lover! Are you looking for a fun, engaging way to boost your dog’s physical fitness that goes beyond the daily walk? Let’s talk about a fantastic tool that might sound fancy but is incredibly simple: cavaletti. You might have seen these little poles used with horses, but they are an absolute game-changer for our canine companions, too!
Think of cavaletti as a low-impact gym for your dog. These simple exercises are designed to make your dog more aware of their body, improve their balance, and, most importantly, build a rock-solid core. A strong core is the foundation of a healthy, active dog. It supports their spine, helps prevent injuries, and improves their overall posture and movement. Whether you have a young pup just learning about their paws, a canine athlete, or a senior dog needing to maintain muscle mass, cavaletti can be adapted for everyone.
In this guide, we’re going to walk you through everything you need to know to get started. We’ll cover what you need (hint: it’s super simple to DIY), how to set it up safely, and of course, some easy exercises to turn your dog into a core-strengthened superstar. Let’s get ready to have some fun and build some muscle!
What Exactly is Cavaletti and Why is it a Game-Changer?

So, what’s all the buzz about? At its simplest, cavaletti (Italian for “little horse”) involves a series of low poles or rails that a dog is asked to walk over. It’s not about jumping; it’s about thoughtful, deliberate stepping. The magic happens in that simple action of lifting each paw a little higher and placing it with intention.
The Core of the Matter: Building Strength from the Inside Out
When your dog walks over the poles, they have to engage their abdominal and back muscles to maintain balance and lift their limbs. This repetitive, controlled movement is like doing doggy sit-ups! A strong core provides numerous benefits:
- Injury Prevention: A stable core protects the spine and joints from strain during everyday activities like running, jumping, and playing.
- Improved Balance and Coordination: Cavaletti training enhances proprioception—your dog’s awareness of where their body is in space. This makes them less clumsy and more agile.
- Enhanced Performance: For dogs involved in sports like agility, flyball, or dock diving, a strong core is the powerhouse behind their speed and precision.
- Better Posture: Just like in humans, good posture reduces wear and tear on the body. A strong core helps your dog stand and move more efficiently.
- Rehabilitation: Veterinarians and physical therapists often use cavaletti to help dogs recover from injuries or surgery, as it provides a safe way to rebuild muscle and coordination.
Expert Tip: Think of each pole as a gentle reminder for your dog to ‘think’ about where they are putting their feet. This mental engagement is just as important as the physical workout!
Ultimately, cavaletti is more than just an exercise; it’s a bonding activity that builds your dog’s confidence as they successfully navigate the poles. It’s a low-impact, high-reward workout that pays dividends for their long-term health and happiness.
Gearing Up: What You’ll Need for Your Cavaletti Course
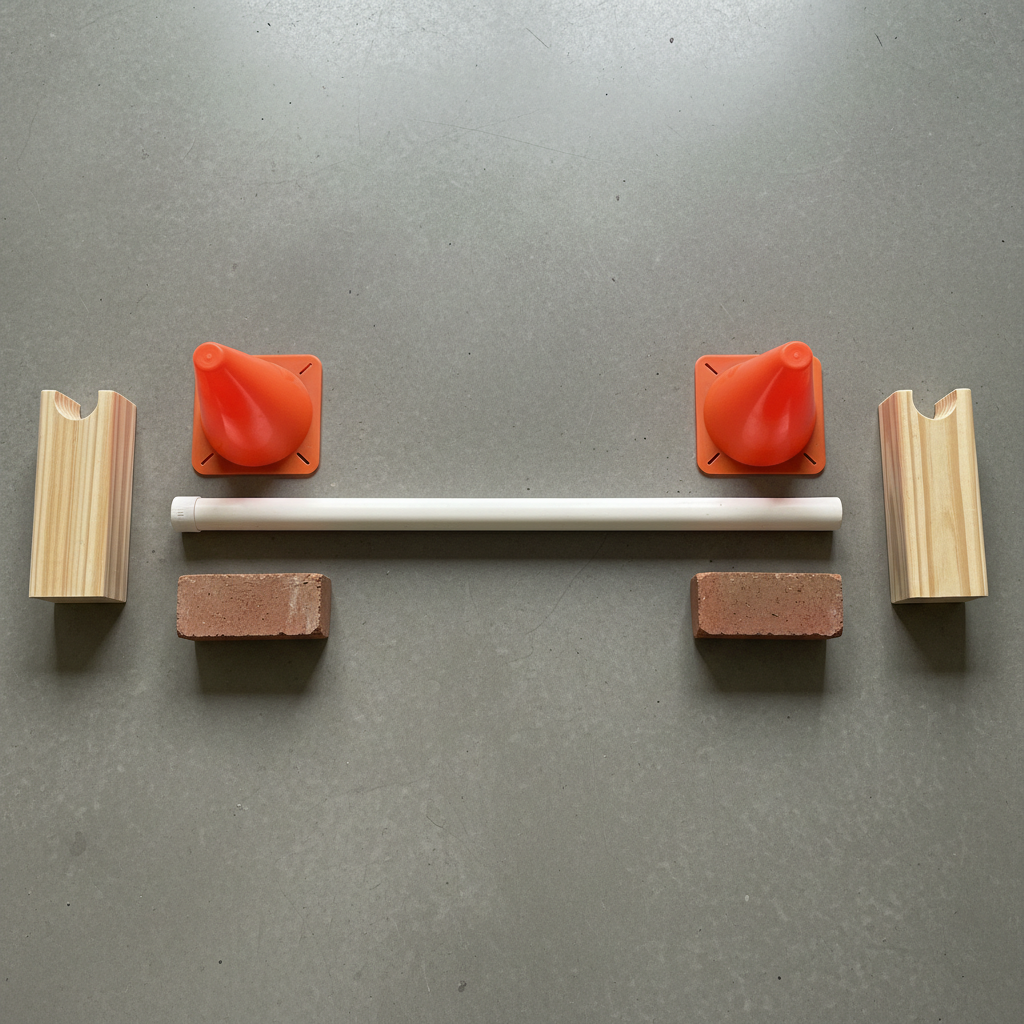
One of the best things about starting with cavaletti is that you don’t need expensive, professional equipment. You can get started with items you might already have around the house or can easily acquire. The goal is to create stable poles that won’t roll away or collapse if your dog bumps them.
The Poles
The poles themselves should be lightweight and visible. You’ll want them to be between 3-5 feet long, depending on the size of your dog. Here are some great options:
- PVC Pipes: The most popular DIY choice! 1-inch or 1.5-inch diameter PVC pipes are perfect. They are cheap, lightweight, and easy to find at any hardware store.
- Broomsticks or Mop Handles: Have some old cleaning tools? Repurpose the handles!
- Garden Stakes: Bamboo or plastic garden stakes can also work well.
What to avoid: Heavy metal bars or anything with sharp edges.
The Risers
You need something to elevate the poles slightly off the ground. For beginners, the pole should be no higher than your dog’s wrist (carpus). For many small dogs, laying the poles flat on the ground is enough to start!
- Training Cones: Small sports cones with notches cut into them are a fantastic, stable option.
- Bricks or Pavers: Two bricks on their lowest height can hold a pole perfectly.
- DIY Wood Blocks: You can easily create simple risers by cutting a notch into small blocks of 2×4 wood.
- Books: A stack of old, sturdy books you don’t mind getting dirty can work in a pinch for indoor sessions.
| Equipment Type | Pros | Cons |
|---|---|---|
| PVC Pipes & Cones | Lightweight, inexpensive, easy to assemble, safe if knocked over. | May need to purchase; cones can be bulky to store. |
| Broomsticks & Bricks | Often free (using what you have), very stable. | Bricks can be heavy; broomsticks might roll if not secured. |
| DIY Wood Blocks | Customizable height, very cheap to make. | Requires some tools and effort to create. |
Remember, the setup doesn’t have to be pretty, it just has to be safe! Ensure your poles are secure and won’t trip your dog or roll unexpectedly. Start simple, and you can always upgrade your setup later.
Setting the Stage: Proper Setup and Safety First
Before you and your pup get to stepping, let’s talk about the two most important things: spacing and safety. A proper setup ensures the exercise is effective and, more importantly, keeps your dog from getting tangled up or discouraged.
Finding the Perfect Spacing
The distance between the poles is crucial. If they’re too close, your dog may be forced to take short, mincing steps or hop over them. If they’re too far apart, they might take an extra step in between. The goal is one step, and one step only, between each pole.
A good starting point for spacing is roughly your dog’s height at the withers (the top of their shoulders). This is just a guideline, so be prepared to adjust!
- Small Dogs (e.g., Dachshund, Chihuahua): Start with about 8-12 inches between poles.
- Medium Dogs (e.g., Beagle, Cocker Spaniel): Try 12-18 inches.
- Large Dogs (e.g., Labrador, German Shepherd): Begin with 18-24 inches or more.
Watch your dog walk over the poles. Do they look comfortable? Are they placing one front paw and the corresponding hind paw in each space? Adjust the spacing by an inch or two at a time until you find that sweet spot where their gait is natural and rhythmic.
Safety is Non-Negotiable
Keep these safety rules in mind every time you practice:
- Warm-Up and Cool-Down: Just like us, dogs need to warm up. A 5-minute brisk walk before you start is perfect. Afterward, a gentle cool-down walk helps their muscles relax.
- Keep Sessions Short: Cavaletti is mentally and physically tiring. Start with just 1-2 minutes per session. You can do a few short sessions a day, but don’t overdo it. Quality over quantity!
- Work on a Non-Slip Surface: Practice on grass, a rug, or a rubber mat. Avoid slippery surfaces like tile, laminate, or hardwood floors to prevent falls.
- Keep it Low: For core-strengthening purposes, the poles should be low. The goal is for your dog to step, not jump. The height should never be above your dog’s elbow. For beginners, wrist-height is ideal.
- Go Straight On: Always guide your dog to approach the cavaletti in a straight line. Coming in at an angle can cause them to twist their body awkwardly.
Remember: This should be fun! If your dog seems stressed, tired, or frustrated, end the session on a positive note with a treat and some praise, and try again another day with an easier setup.
The Core Workout: 3 Simple Cavaletti Exercises to Start With
Alright, your course is set up and your pup is warmed up. Let’s get to the fun part! Here are three foundational exercises to begin your cavaletti journey. Remember to use lots of positive reinforcement—treats, praise, and toys are your best friends here!
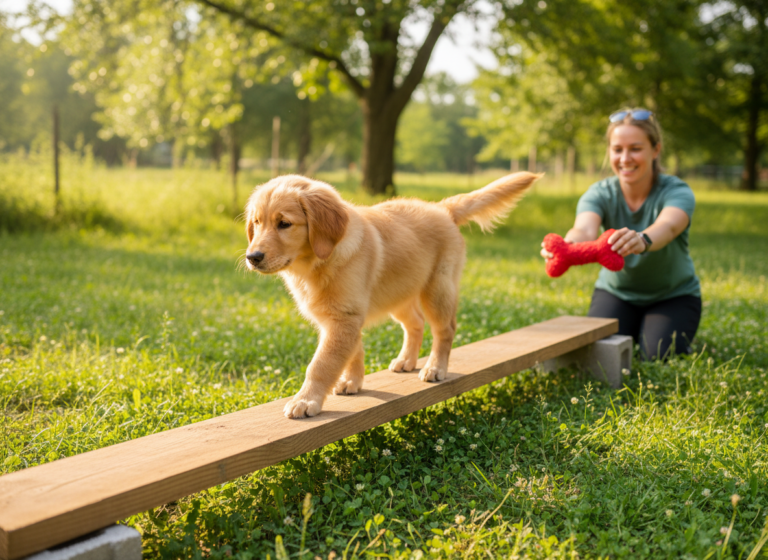
Exercise 1: The Straight Line Walk
This is the foundation of all cavaletti work. It teaches your dog the basic concept of lifting their feet and thinking about their steps.
- Setup: Arrange 4-6 poles in a straight line on the ground or on very low risers. Use the spacing you determined earlier.
- Execution: Leash your dog to keep them at a steady walking pace. Hold a high-value treat in front of their nose to keep their head up and their spine straight.
- Guidance: Slowly walk your dog over the center of the poles. Let them take their time. Praise them enthusiastically as they go.
- Repeat: Walk them around in a wide loop and approach the line again. Do this 3-5 times and then end the session.
Exercise 2: The Gentle Curve (The Fan)
Once your dog has mastered the straight line, you can introduce a gentle curve. This challenges them to adjust their body and engage their core muscles in a different way, as they have to bend and flex their spine.
- Setup: Arrange your 4-6 poles in a slight fan or arc shape. The inside of the curve will have slightly shorter spacing, and the outside will be slightly wider.
- Execution: Guide your dog through the curve, first along the outside (wider steps) and then along the inside (shorter steps). This teaches them to lengthen and shorten their stride.
- Focus: Keep the pace slow and controlled. The goal is for them to bend their body to follow the curve, not to cut across the poles.
- Repeat: Go through the fan 2-3 times in each direction.
Exercise 3: The Raised Pole Walk
After your dog is confident with poles on the ground, you can add a little height to increase the challenge. This encourages more joint flexion and muscle engagement.
- Setup: Use your straight-line setup, but this time, raise all the poles to a consistent height. Remember the rule: never higher than your dog’s wrist (carpus) to start.
- Execution: The process is the same as the straight-line walk. Guide them over slowly and deliberately. You will notice they have to lift their legs significantly higher.
- Observation: Pay close attention to their movement. They should be lifting their legs cleanly. If they are tripping or knocking poles frequently, the poles may be too high or the spacing might need a slight adjustment.
- Progression: Over many sessions, you can gradually increase the height, but for general fitness, you never need to go higher than their elbow.
These three simple exercises are more than enough to build a fantastic foundation for core strength. Master these before moving on to more complex patterns.
Pro Tips and Common Mistakes to Avoid

As you get into the swing of things, a few tips and tricks can make your sessions more effective and help you avoid common pitfalls. The goal is to build confidence and strength, not create frustration.
Pro Tips for Success
- Use a Lure: Holding a treat or a favorite toy at your dog’s nose level encourages them to keep their head up and their spine in a neutral position, which is optimal for core engagement.
- Vary the Pattern: Once your dog is a pro, occasionally change the spacing or the pattern to keep their brain engaged. Don’t let them get so used to it that they do it mindlessly.
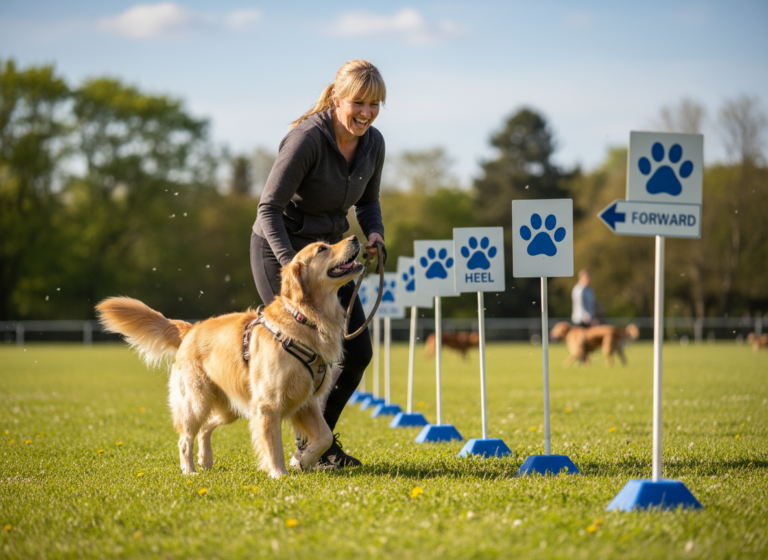
- Incorporate it into Training: Use a cavaletti grid as a ‘reward’ for a good ‘stay’ or ‘come’. It makes the work part of a fun training game.
- Film Your Dog: Taking a slow-motion video on your phone can help you see exactly how your dog is moving. Are their feet landing cleanly? Is their back straight? It’s a great way to check their form.
Common Mistakes and How to Fix Them
Final Thought: Listen to your dog. Their body language will tell you everything. If they are hesitant, yawning (a sign of stress), or avoiding the poles, take a break. Your patience and positivity are the most important tools you have.
Conclusion
And there you have it! You’re now equipped with the knowledge to introduce the wonderful world of cavaletti to your furry best friend. It’s amazing how a few simple poles can do so much to improve your dog’s strength, body awareness, and overall confidence. You’re not just building muscle; you’re strengthening the bond you share through a fun and focused activity.
Remember to start slow, keep it positive, and celebrate the small victories. Every clean step over a pole is a win! Pay attention to your dog, adjust as needed, and most importantly, have fun together. Integrating these simple exercises into your routine a few times a week can make a huge difference in your dog’s long-term health and mobility. Happy training!