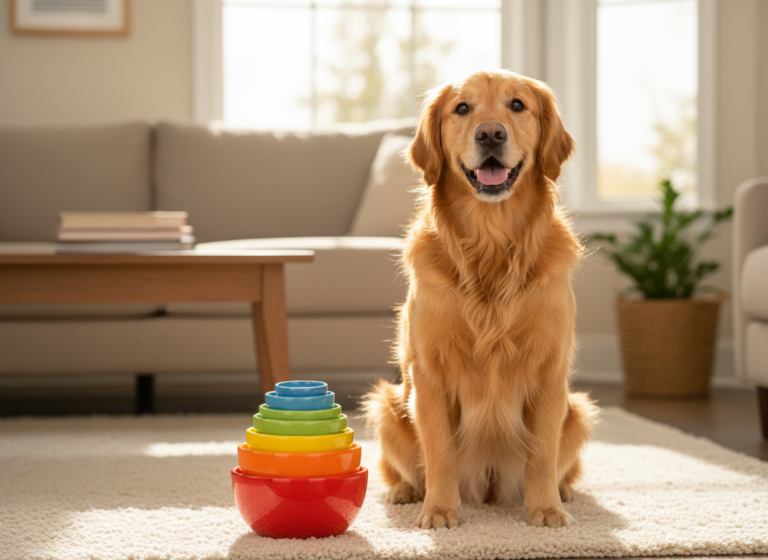
Ever watch a toddler meticulously place colorful rings on a post and think, ‘My dog is definitely smart enough to do that’? Well, you’re probably right! Teaching your dog to stack rings isn’t just an adorable party trick; it’s a fantastic brain game that provides incredible mental stimulation, builds confidence, and deepens the bond you share.
This type of complex trick training, known as ‘shaping,’ is all about rewarding the small steps toward a final goal. It encourages your dog to think creatively and problem-solve. Forget boring obedience drills—this is where the real fun begins! In this guide, we’ll walk you through seven simple, positive-reinforcement-based steps to turn your clever canine into a ring-stacking champion. All it takes is a little patience, a handful of tasty treats, and a playful attitude. So, are you ready to unlock your dog’s inner genius? Let’s get stacking!
Setting Up for Success: Gathering Your Canine Classroom Supplies
Before you and your furry student can begin, you’ll need to gather a few essential tools. Having everything ready beforehand will make your training sessions smooth, efficient, and much more fun for both of you. Think of it as setting up your dog’s very own learning station!
What You’ll Need:
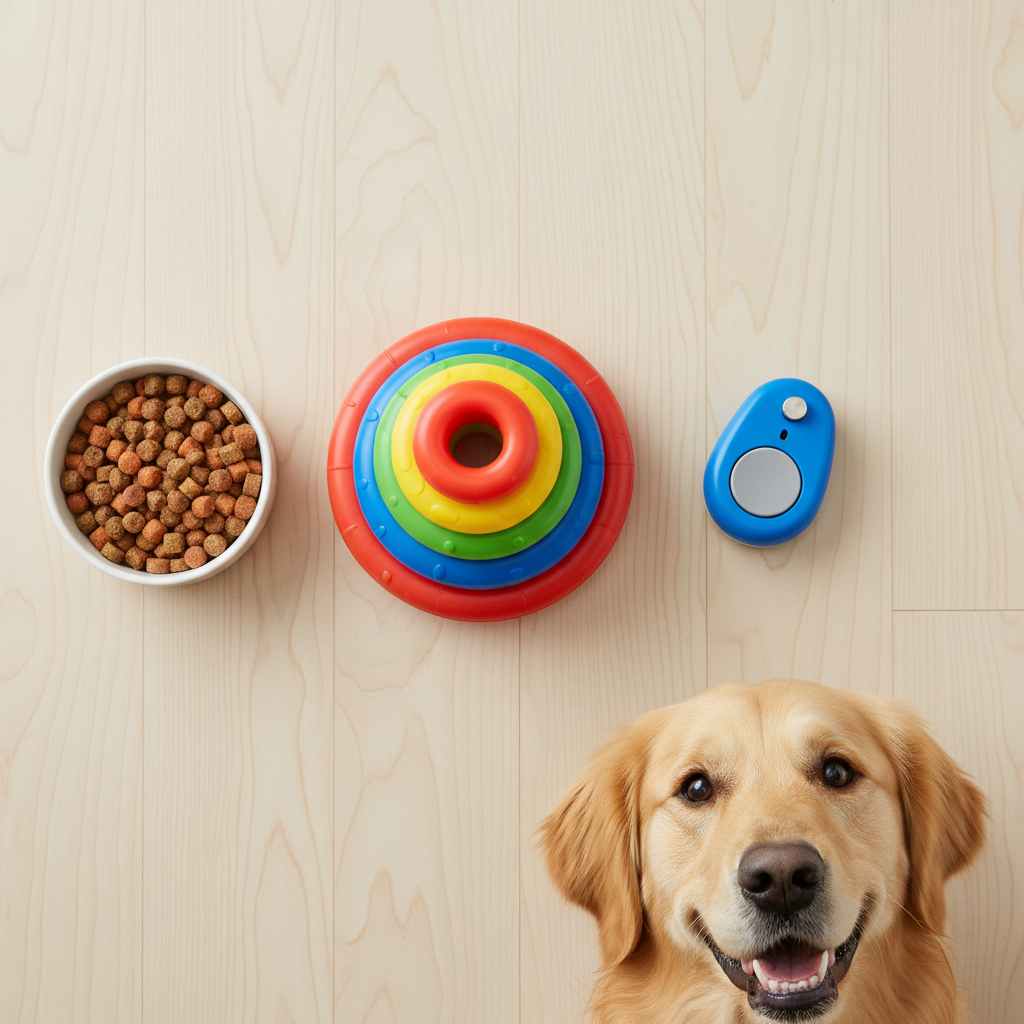
- Dog-Safe Stacking Toy: This is the star of the show! Look for a toddler’s ring stacking toy made from durable, non-toxic plastic. Ensure the rings are large enough that your dog cannot swallow them. Avoid wooden sets, as they can splinter if chewed.
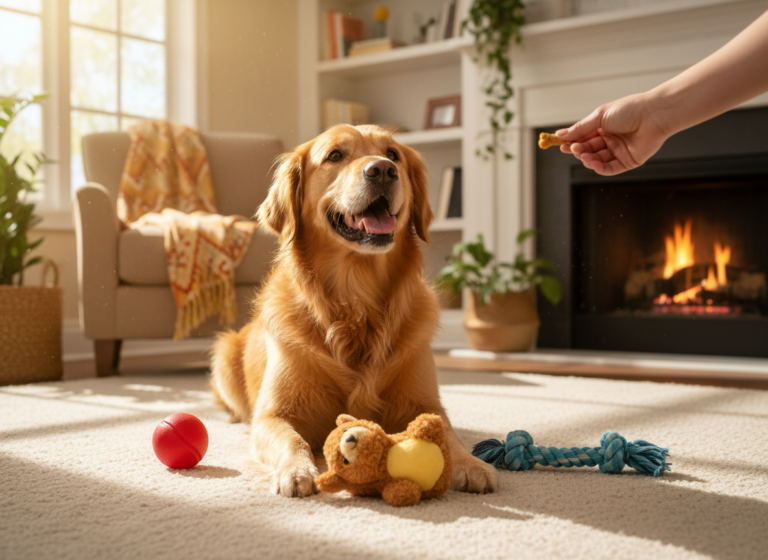
- High-Value Treats: These are the ‘paycheck’ for your dog’s hard work. Use small, soft, extra-tasty treats that your dog absolutely loves and can swallow quickly. Think tiny pieces of chicken, cheese, or commercial training treats. You’ll be using a lot, so keep them pea-sized.
- A Clicker (Optional but Recommended): A clicker is a powerful tool for marking the exact moment your dog does something right. This precise communication speeds up learning immensely. If you’re not using a clicker, you can use a consistent verbal marker like a sharp “Yes!”.
- A Quiet Training Space: Choose a room with minimal distractions. Turn off the TV, put your phone on silent, and make sure other pets or family members won’t interrupt your session. A calm environment helps your dog focus on the task at hand.
Expert Tip: When choosing a stacking toy, pick one with a wide, stable base. A wobbly post will only add unnecessary frustration to the learning process. We want to set our dogs up for a win!
The 7 Steps to Stacking Success: From Introduction to ‘Ta-Da!’

This is where the magic happens! Remember, the key to success is patience and breaking the behavior down into tiny, achievable pieces. Keep your training sessions short (5-10 minutes max) and always end on a positive note. Let’s get started!
Step 1: Make the Rings Fun
First, we need to build a positive association with the training objects. Place one ring on the floor. The moment your dog shows any interest—sniffing it, touching it with their nose, or nudging it—click (or say “Yes!”) and give them a treat. Don’t ask for anything specific; just reward their curiosity. This teaches them that interacting with the ring makes good things happen.
Step 2: Teach ‘Take It’ or ‘Hold’
Now, we want the dog to pick up and hold the ring. Hold a ring out to your dog. When they put their mouth on it, click and treat. Gradually, start waiting for them to hold it for a split second before you click and treat. Slowly extend the duration. The goal is for them to comfortably hold the ring in their mouth for a few seconds without chewing it.
Step 3: Introduce the Post
Set the rings aside and bring out just the base with the post. Just like with the rings, click and treat your dog for any interaction with the post: sniffing it, touching it, or just looking at it. We want them to understand that this new object is also part of the fun game.
Step 4: Combine the Ring and the Post (Shaping)
This is the most important step! Ask your dog to ‘take’ a ring. Now, with the ring in their mouth, reward any movement they make toward the post. At first, you might click just for them turning their head in the post’s direction. Then, only for taking a step towards it. Then, for getting their head (and the ring) close to the post. You are ‘shaping’ their behavior by rewarding successive approximations of the final goal.
Step 5: Master the ‘Drop It’ Over the Post
Once your dog is reliably holding the ring directly over the top of the post, it’s time for the drop. Use your ‘drop it’ cue. The very first time the ring accidentally falls onto the post, throw a jackpot party! Give them lots of treats, praise, and pets. This is a huge breakthrough moment and you want to make it memorable.
Step 6: Add More Rings
After your dog can successfully place one ring on the post, see if they can generalize the skill. Place a second ring nearby and cue them. Since they now understand the basic concept, this step is often much faster. Continue practicing until they can stack all the rings one after the other.
Step 7: Fade the Lure and Add a Verbal Cue
Up until now, you’ve likely been guiding your dog with your hands or body position. Start to fade these physical prompts. Let the dog problem-solve on their own. Once they are performing the full sequence reliably, you can add a verbal cue like “Stack it!” or “Rings!” Say the cue right as they are about to begin the action. Soon, they will associate the word with the entire behavior chain.
Oops! Troubleshooting Common Stacking Snags
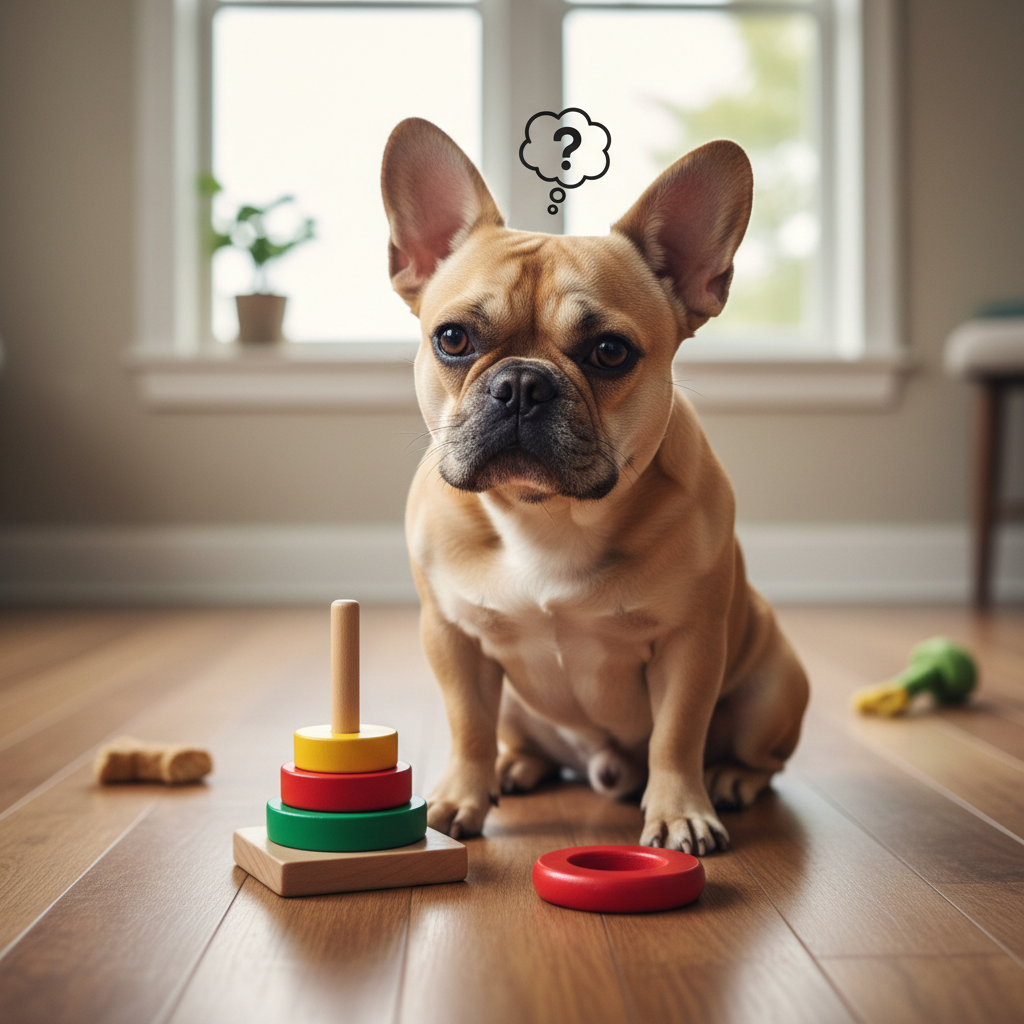
Even the smartest pups can hit a roadblock. Don’t worry, it’s a normal part of the training process! If you find yourself stuck, take a deep breath, and remember to keep it fun. Here are some solutions to common problems you might encounter.
‘My dog just wants to chew the rings!’
This is very common! If your dog is more interested in chewing than carrying, your ‘hold’ isn’t solid yet. Go back to Step 2 and practice very short-duration holds with a high rate of reward. You can also try trading them for the ring with a super high-value treat by saying ‘drop it’. This teaches them that giving up the ring is more rewarding than chewing it.
‘My dog gets frustrated and quits.’
Frustration is a sign that we’re asking for too much, too soon. This is your cue to make the game easier. Go back to the last step where your dog was successful and practice that for a bit. Always end your training sessions on a high note with something your dog can do easily. Remember, shorter, more frequent sessions are better than long, frustrating ones.
‘He drops the ring next to the post, but not on it.’
This is a classic shaping challenge! It means you may have accidentally rewarded a few ‘near misses.’ To fix this, become more precise with your click. Only click for the behavior you truly want—the ring being directly over the post’s opening. You can even hold the post at a slight angle initially to make the ‘target’ bigger and easier to hit, gradually making it upright as they succeed.
A Golden Rule of Dog Training: If your dog isn’t getting it, don’t blame the dog. Re-evaluate your technique. Are your steps too big? Is your timing off? Are the treats rewarding enough? Adjust your method, not your expectations of your pup.
Advanced Stacking: Taking the Trick to the Next Level
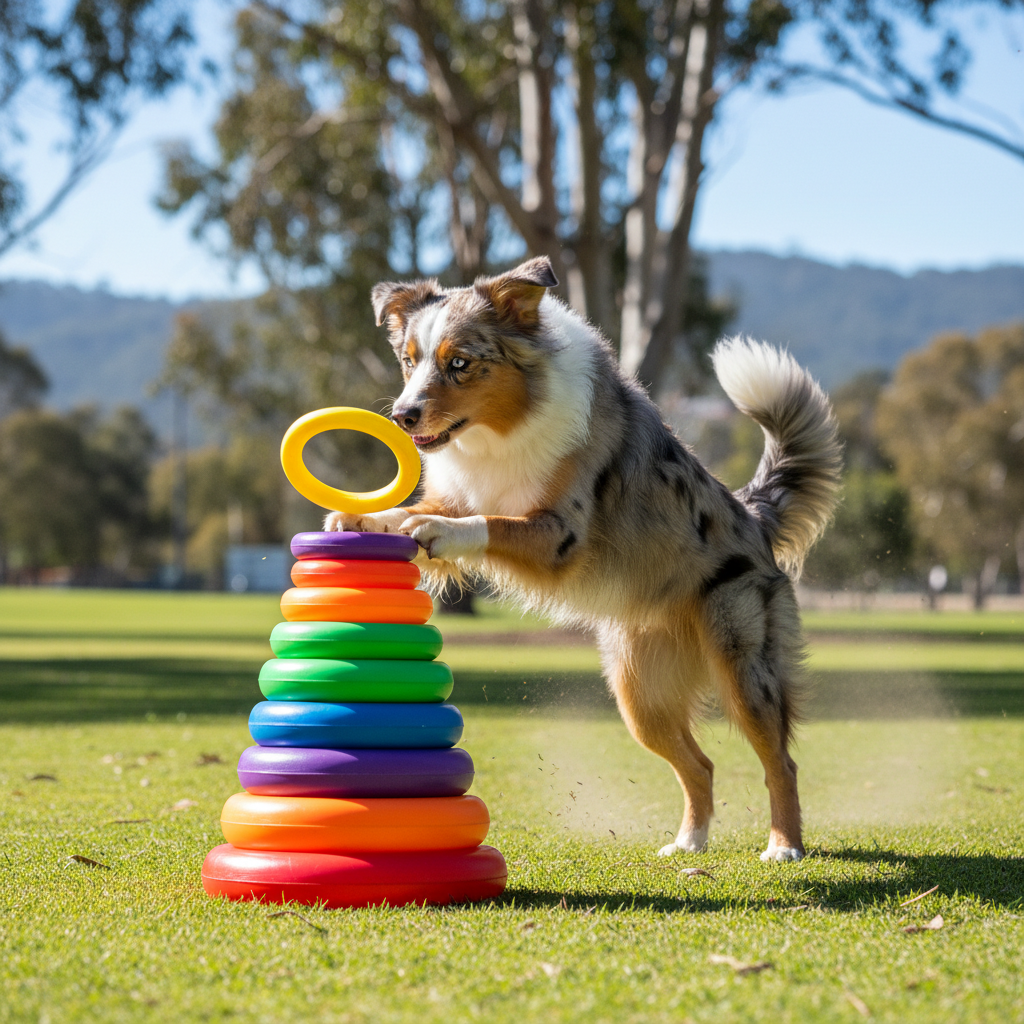
Once your dog has mastered the basic stack, why stop there? This trick has so much potential for added complexity and flair. Taking it to the next level will keep your smart dog’s mind engaged and continue to build on their amazing problem-solving skills. Here are a few ideas to level up your dog’s stacking game.
Challenge 1: Stacking in Order
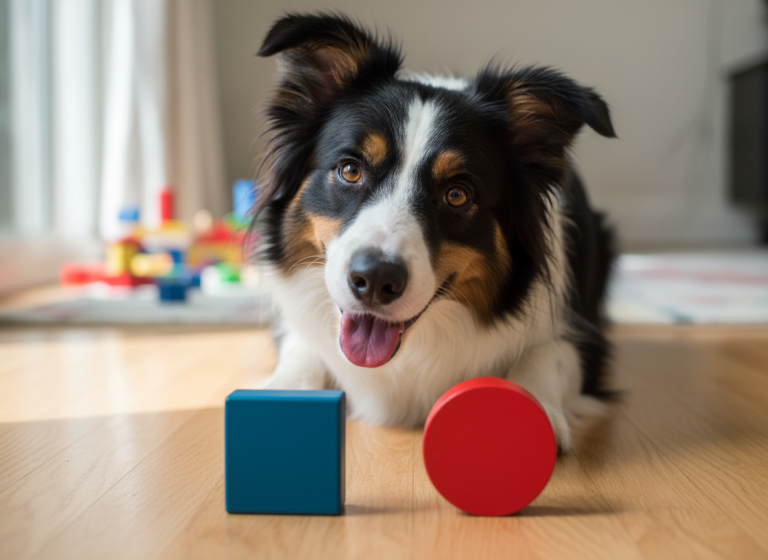
Can your dog learn to stack by size or color? This is a serious challenge that involves discrimination skills. Start by presenting just two rings (e.g., the largest and the smallest). Only reward your dog for picking up the correct one (e.g., the largest one first). This requires a lot of patience and very clear criteria, but the payoff is an incredibly impressive display of your dog’s intelligence.
Challenge 2: Distance and Direction
Increase the difficulty by increasing the distance. Place the rings on the other side of the room and ask your dog to fetch them and bring them back to the post. You can also place the post in different locations, teaching your dog to find it before they can stack the ring.
Challenge 3: Building a Behavior Chain
Incorporate ring stacking into a sequence of other tricks. For example, you could ask your dog to ‘roll over,’ then ‘fetch’ a ring, and then ‘stack it.’ Chaining behaviors together is a fantastic way to test your dog’s focus and memory. You can build elaborate routines that are amazing to watch!
By adding these advanced layers, you’re not just teaching a trick; you’re teaching your dog how to learn, focus, and engage with you in complex ways. The possibilities are only limited by your imagination and your dog’s enthusiasm!
Conclusion
Congratulations! You’ve just learned the framework for teaching one of the most engaging and impressive tricks around. Whether your dog masters it in a week or it becomes a fun, ongoing project, the real prize is the quality time you spend together, communicating and problem-solving as a team. Remember the core principles: keep it positive, celebrate the small victories (like a simple nose touch!), and know when to call it a day.
The patience and communication skills you both learn from teaching a complex trick like ring stacking will translate into all other areas of your life together. You’ve done more than just teach a trick; you’ve stimulated your dog’s mind, built their confidence, and strengthened your incredible bond. Now, go grab those rings and treats, and have some fun with your four-legged genius!