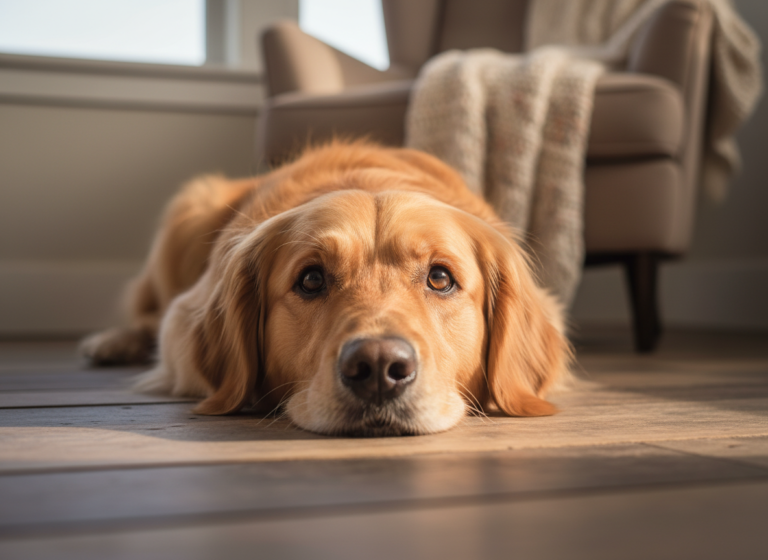
Have you ever seen a dog sitting with its paws delicately crossed and thought, ‘Wow, that is one classy pup!’? That little touch of elegance isn’t just for the canine aristocracy; it’s a fun and surprisingly easy trick you can teach your own furry friend. Teaching your dog to cross their paws is more than just a cute party trick. It’s a fantastic brain game that provides mental stimulation, strengthens your bond, and improves your dog’s body awareness.
In this guide, we’re going to break down three distinct, positive, and fun methods to get your dog crossing their paws like they’re waiting for afternoon tea. Whether your dog is a quick learner who loves being the center of attention or a more laid-back observer, there’s a technique here that will work for you. So grab your tastiest treats, find a comfy spot, and get ready to unlock your dog’s inner royal!
Getting Started: The Paw-fect Prep Work
Before you and your pup curtsy into your first training session, a little preparation goes a long way. Setting the stage for success ensures that training is fun, effective, and frustration-free for both of you. Think of this as gathering your royal decree and scepter before addressing the court!
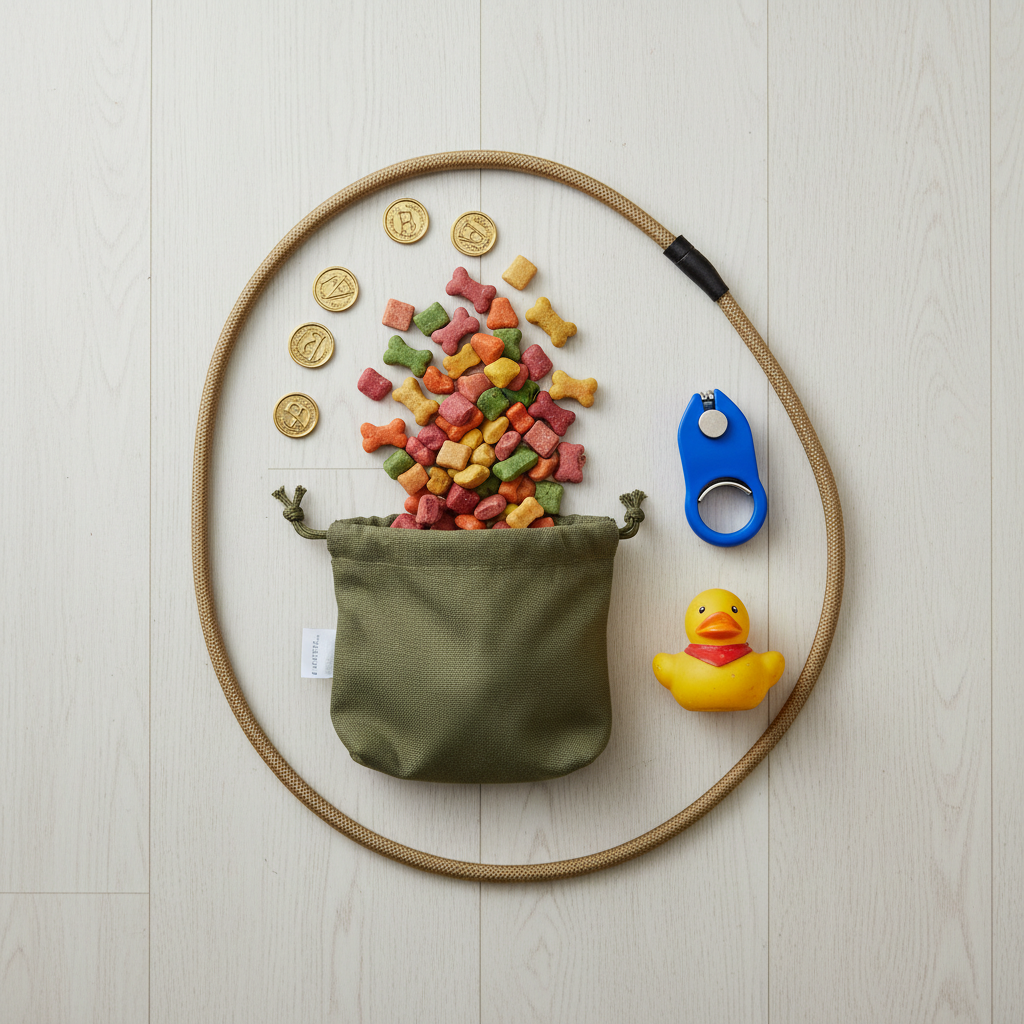
What You’ll Need
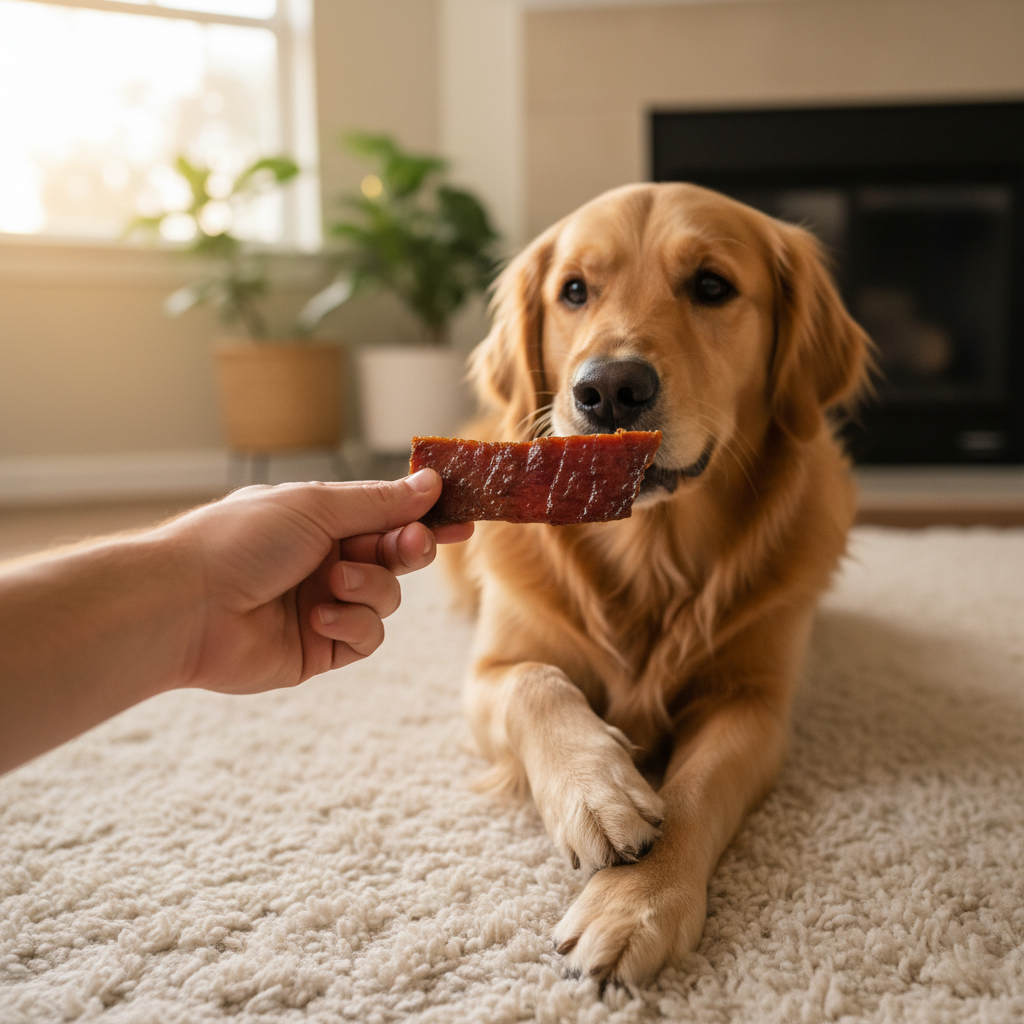
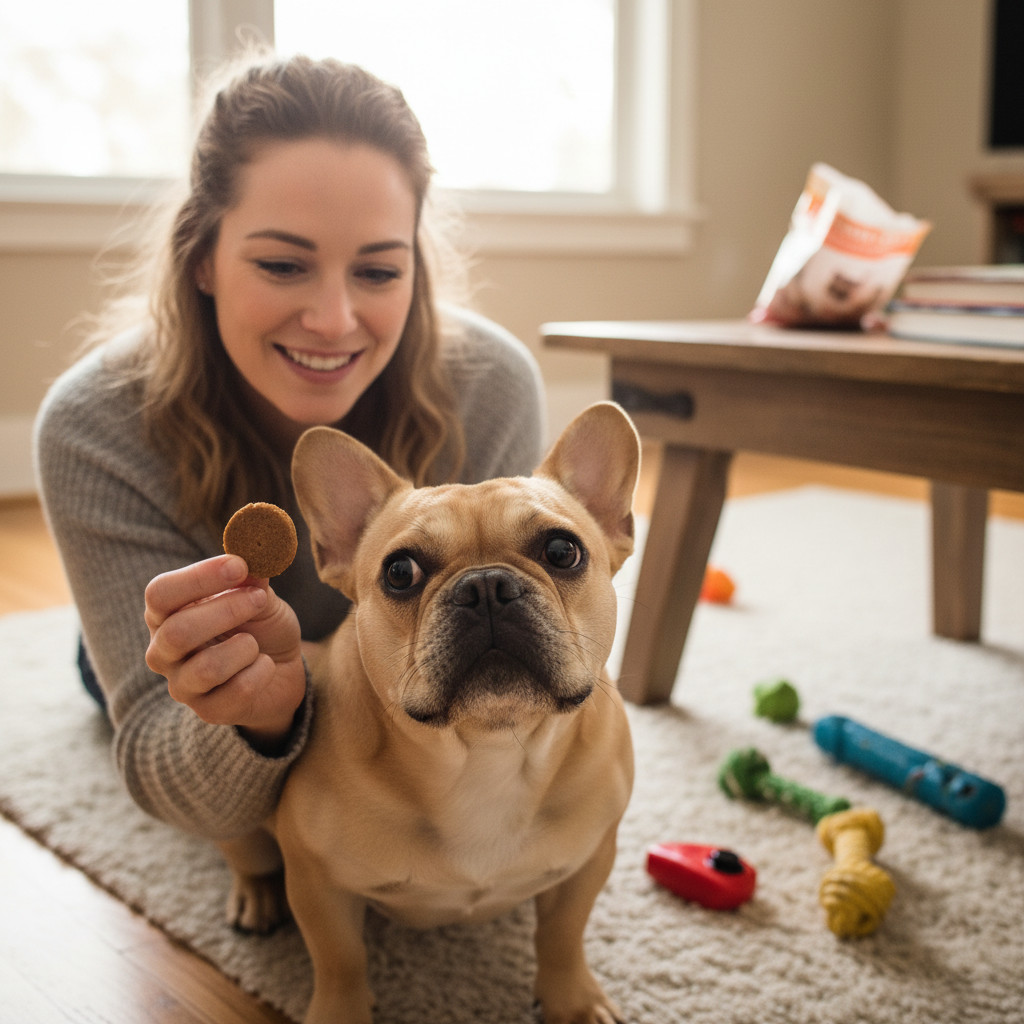
- High-Value Treats: We’re not talking about their everyday kibble. For a fancy trick like this, you need to break out the good stuff! Think small, soft, smelly treats like tiny pieces of chicken, cheese, or high-quality training treats. The goal is to make the reward so irresistible that your dog is highly motivated to work for it.
- A Quiet Training Space: Choose a comfortable, distraction-free area. Your living room floor when the TV is off and the kids are busy is perfect. You want your dog’s full attention on you and the task at hand.
- A Clicker (Optional but Recommended): A clicker is a fantastic tool for marking the exact moment your dog does the right thing. This precise communication can speed up the learning process significantly. If you’re not using a clicker, choose a consistent verbal marker like a sharp “Yes!”.
- Patience and a Positive Attitude: This is the most important tool in your kit! Remember, this is a game. Keep it light, fun, and positive. Your dog feeds off your energy, so if you’re having a good time, they will too.
The Golden Rules of Training
Keep these principles in mind before you begin:
- Short and Sweet Sessions: Aim for multiple short sessions of 3-5 minutes throughout the day rather than one long, grueling practice. This keeps your dog engaged and prevents them from getting bored or frustrated.
- Start with a ‘Down’: This trick is built upon a solid ‘down’ or ‘settle’ position. Make sure your dog can lie down comfortably on command and stay there for at least a few seconds before you start.
- End on a High Note: Always finish your training session with a successful repetition or a trick your dog knows and loves. This builds confidence and makes them eager for the next session.
Method 1: The Luring Technique (The Easiest Start)
Luring is often the fastest way to introduce a new physical movement to a dog. It involves using a treat to guide your dog’s body into the desired position. It’s like leading your dance partner through a new step. This method is fantastic for dogs who are highly food-motivated and focused.
Step-by-Step Guide to Luring a Paw Cross:
- Get into Position: Ask your dog to lie down. Settle in on the floor in front of them, at their level, with your treats ready in one hand.
- Present the Lure: Let your dog sniff the treat in your closed fist to get them interested. Position your treat hand near their nose, right between their eyes.
- The Magic Movement: Slowly move the treat from their nose towards their opposite shoulder. For example, if you want them to cross their right paw over their left, you’ll move the treat from their nose towards their left shoulder. This movement will cause them to turn their head and shift their weight off their right paw.
- Lift and Guide: As their weight shifts, their right paw should naturally lighten or lift off the ground. As soon as it does, continue the arc of your hand to guide their head, which in turn will guide their paw across their body and over their stationary left paw.
- Mark and Reward!: The instant their paw makes contact and crosses over the other one, use your marker word (“Yes!”) or click your clicker and immediately give them the treat. Timing is everything here!
- Practice and Repeat: Do this several times in a row. At first, you might be rewarding a slight leg lift or a paw that just barely touches the other leg. That’s okay! Gradually, you will ask for more of a deliberate cross before you reward.
- Fade the Lure and Add a Cue: Once your dog is reliably following the hand lure to cross their paws, start making the hand motion smaller and smaller. Eventually, you’ll just be using a subtle hand signal. When they understand the motion, you can start adding your verbal cue, such as “Paws Cross” or “Fancy Feet,” right before you begin the hand motion. With practice, the verbal cue alone will be enough to elicit the behavior.
Expert Tip: If your dog keeps getting up, your lure might be too high or too fast. Keep the treat low to the ground and move slowly and smoothly to encourage them to stay in their ‘down’ position.
Method 2: Capturing the Behavior (The Patient Observer)
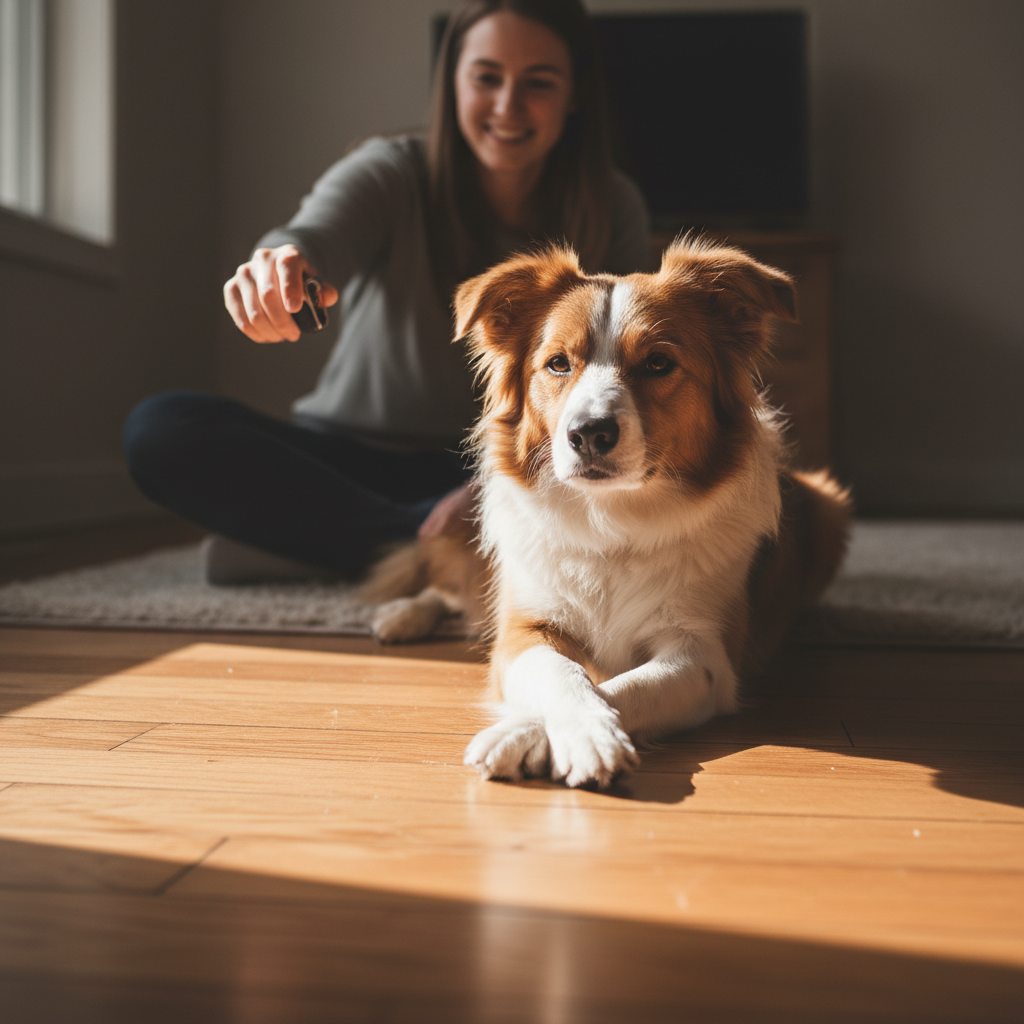
Does your dog naturally relax with their paws crossed? If so, you’re in luck! The ‘capturing’ method is all about being a keen observer and rewarding a behavior your dog already does on their own. This technique is perfect for more independent-thinking dogs and helps them become an active participant in the training process. It requires patience, but the results are often very strong and reliable.
Step-by-Step Guide to Capturing a Paw Cross:
- Arm Yourself with Rewards: Keep your clicker (or marker word) and a pot of treats handy whenever you’re relaxing with your dog. You need to be ready to act at a moment’s notice.
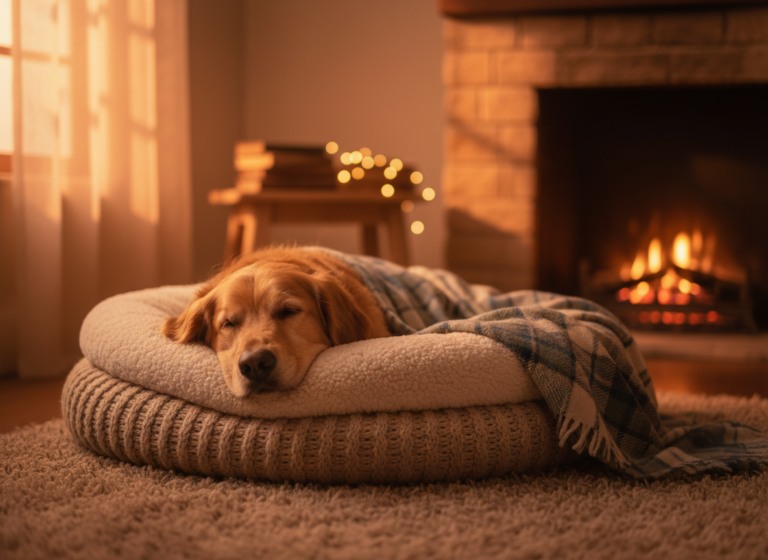
- The Waiting Game: Settle down and just hang out with your dog while they are in a ‘down’ or ‘settle’ position. Don’t prompt them or ask them for anything. Just watch. This is an excellent excuse to watch a movie with your pup!
- Seize the Moment: The very second you see your dog shift and naturally cross one paw over the other, mark the behavior with a click or “Yes!” and toss them a treat. Don’t make a big fuss; just a simple click-treat. The treat can be tossed slightly away from them so they have to ‘reset’ their position, giving them another chance to offer the behavior.
- Rinse and Repeat: Continue this every single time you see them do it. At first, your dog might be confused about what they’re getting rewarded for. But soon, the lightbulb will go on. You’ll notice them starting to offer the paw-cross behavior deliberately to see if it earns them a treat. This is a huge win!
- Add the Verbal Cue: Once your dog is intentionally offering the paw cross, you can start to add your verbal cue. Wait for a moment when you’re pretty sure they are about to do it, say your cue (“Paws Cross”), and then click and treat when they perform the action. After many repetitions, your dog will associate the words with the action.
Capturing can feel slow at first, but it’s an incredibly powerful way to communicate with your dog. You’re essentially telling them, “Hey, I love that thing you just did! Do it again!” This builds a creative and confident learner.
Method 3: Shaping with a Prop (The Creative Approach)
Shaping is the art of building a complex behavior by rewarding small, successive steps toward the final goal. It’s like a game of ‘hot and cold.’ This method is wonderful for building a dog’s confidence and problem-solving skills. We’ll use a simple prop to help guide the process.
Step-by-Step Guide to Shaping a Paw Cross:
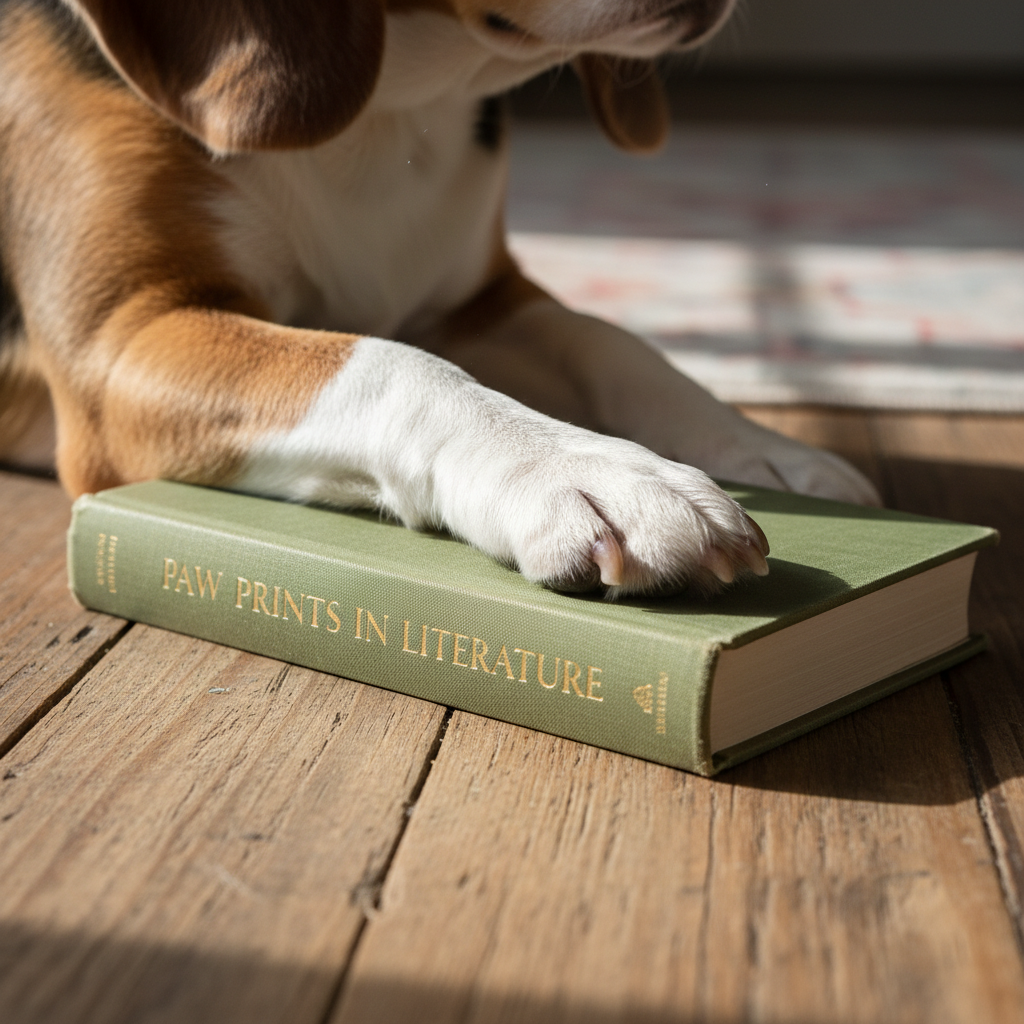
- Choose Your Prop: You’ll need a low, flat object that your dog won’t be afraid of. A thin book, a coaster, a mouse pad, or even a piece of cardboard works perfectly.
- Introduce the Prop: With your dog in a ‘down’ position, place the prop on the floor next to one of their paws (let’s say the right paw).
- Reward Interaction: Now, you’ll reward any acknowledgment of the prop. Click and treat if they look at it. Click and treat if they sniff it. Click and treat if they nudge it with their nose. We want them to think the prop is a fun treat dispenser!
- Reward Paw Interaction: After a few rewards for looking or sniffing, raise the criteria. Now, only click and treat when their paw interacts with the object. A slight twitch of the paw, a tap, or eventually, placing the paw fully on the prop.
- Move the Prop: Once your dog is confidently placing their right paw on the prop, it’s time to move it. Slide the prop so it’s now sitting on top of their stationary left paw.
- Encourage the Cross: This is the key step. Your dog, already conditioned to put their paw on the prop, will now try to do so in its new location. When they lift their right paw and place it on the prop (which is on top of their left paw), you have a paw cross! Throw a jackpot of treats and praise them enthusiastically!
- Remove the Prop: After several successful repetitions, briefly remove the prop and see if your dog will offer the same paw-crossing motion. If they do, big reward! If they seem confused, put the prop back for a few more reps. Gradually, you’ll rely on the prop less and less until it’s gone completely.
- Name Your Trick: Once the motion is consistent without the prop, you can begin adding your verbal cue right before they perform the action.
Troubleshooting & Pro Tips for Royal Success
Even with the best methods, you might hit a small bump in the road. Don’t worry, it’s a normal part of the training process! Here’s how to navigate common challenges and keep your training on the right track.
My dog keeps standing up!
This usually means one of two things: the training session has gone on too long and they’re losing focus, or your lure (if you’re using Method 1) is too high, causing them to get up to follow it. Try keeping your treat hand lower to the ground and ensure your sessions are short, peppy, and end before your dog gets restless.
My dog seems frustrated or bored.
If you see signs of frustration like barking, whining, or disengaging, it’s a clear signal to stop. End the session on a positive note by asking for a simple trick they know well (like ‘sit’ or ‘shake’), rewarding them for it, and then taking a play break. Training should always be fun. You can always come back to it later with a fresh perspective.
Which paw should they cross?
Most dogs have a dominant paw, just like we have a dominant hand. You might find your dog naturally prefers to cross their right over their left, or vice versa. Pay attention to their natural tendencies and start by teaching the side that seems easiest for them. Once they’ve mastered one side, you can always teach the other as a separate trick!
| Problem | Quick Solution |
|---|---|
| Dog is biting or mouthing at the lure hand. | Your treats might be too large or you’re letting them nibble before the trick is complete. Use a smaller treat and practice closing your fist securely around it. |
| Dog isn’t interested in the treats. | Your treats aren’t high-value enough! Level up to something more exciting. Also, make sure your dog isn’t already full from a recent meal. |
| Progress seems to have stalled. | Go back a step! If they were successful at step 3 but are struggling with step 4, go back to practicing step 3 until it’s rock solid before moving on. |
Expert Tip: Every dog learns at a different pace. Don’t compare your dog’s progress to a video you saw online. Celebrate the small victories, be patient with the process, and focus on the fun you’re having together. The journey is just as important as the destination.
Conclusion
Congratulations! You are now equipped with three fantastic methods to teach your dog the elegant paw cross. Whether you chose the straightforward path of luring, the patient game of capturing, or the creative challenge of shaping, you’ve engaged your dog’s mind and strengthened your connection. Remember that the real prize isn’t just the finished trick, but the moments of communication, problem-solving, and joy you share along the way.
So, be patient, keep it positive, and get ready to show off your dog’s sophisticated new skill. Prepare for the ‘oohs’ and ‘aahs’ from friends and family when your pup casually strikes their new, royal pose. Happy training!