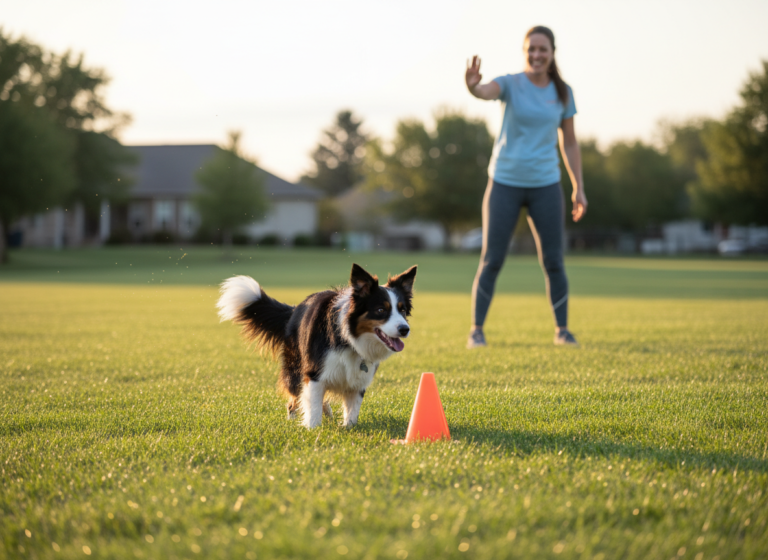
Welcome to the wonderful world of Rally Obedience! If you’re looking for a new way to connect with your canine companion that’s more dynamic than traditional obedience and more focused on teamwork than agility, you’ve come to the right place. Rally is a fantastic sport where you and your dog navigate a course of numbered signs, performing the exercise described on each sign. Think of it as a fun, interactive scavenger hunt for you and your best friend!
Unlike some other dog sports that can feel a bit formal, Rally encourages you to talk to and praise your dog throughout the course. It’s all about building a positive relationship and having a great time together. Whether you have dreams of competing or just want a new weekend hobby, getting started is easier than you think. This guide will walk you through 10 foundational signs that form the building blocks of any Novice level course. So grab your leash, some tasty treats, and let’s get ready to Rally!
First Things First: Understanding the Language of Rally Signs
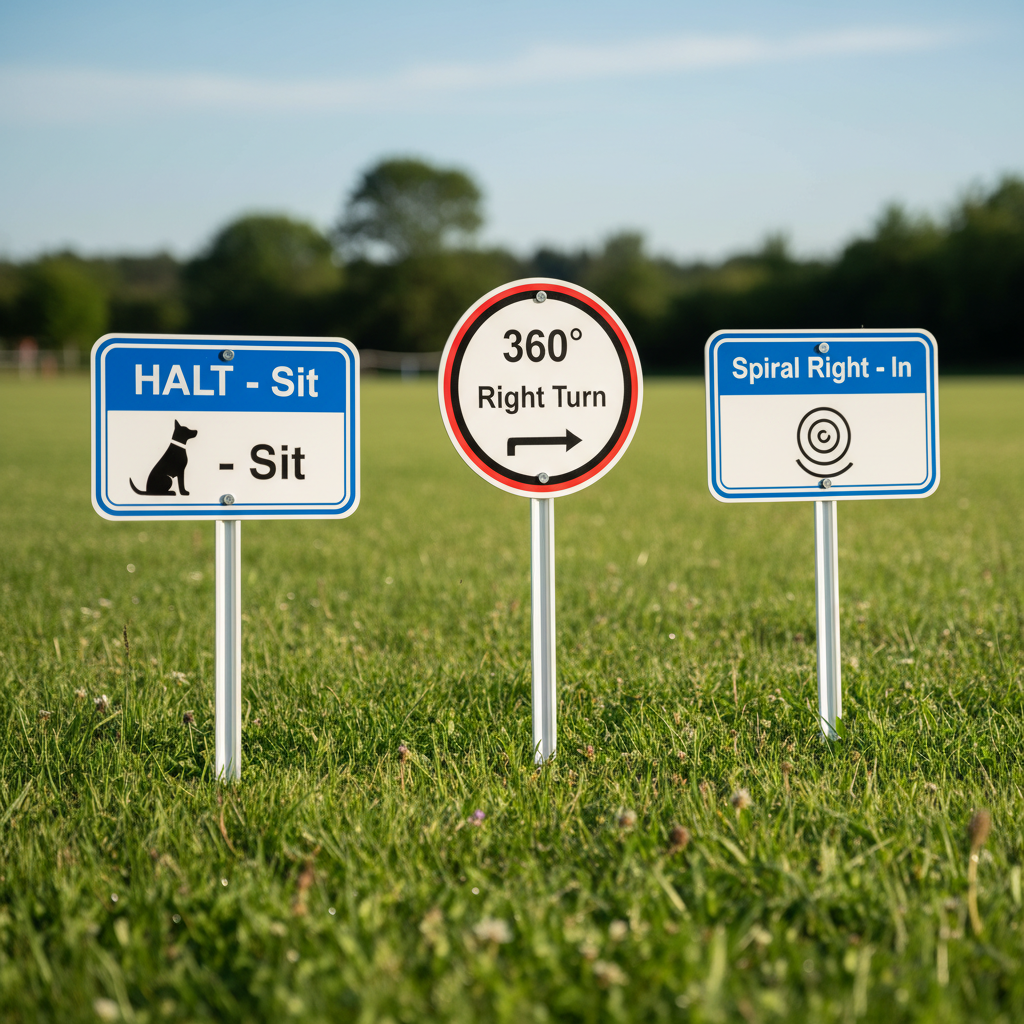
Before we jump into the specific exercises, let’s talk about the signs themselves. When you first see a Rally course, it might look like a confusing jumble of posters on stands. But once you learn the language, it all clicks into place! Each sign features instructions, symbols, and a number indicating its place in the sequence.
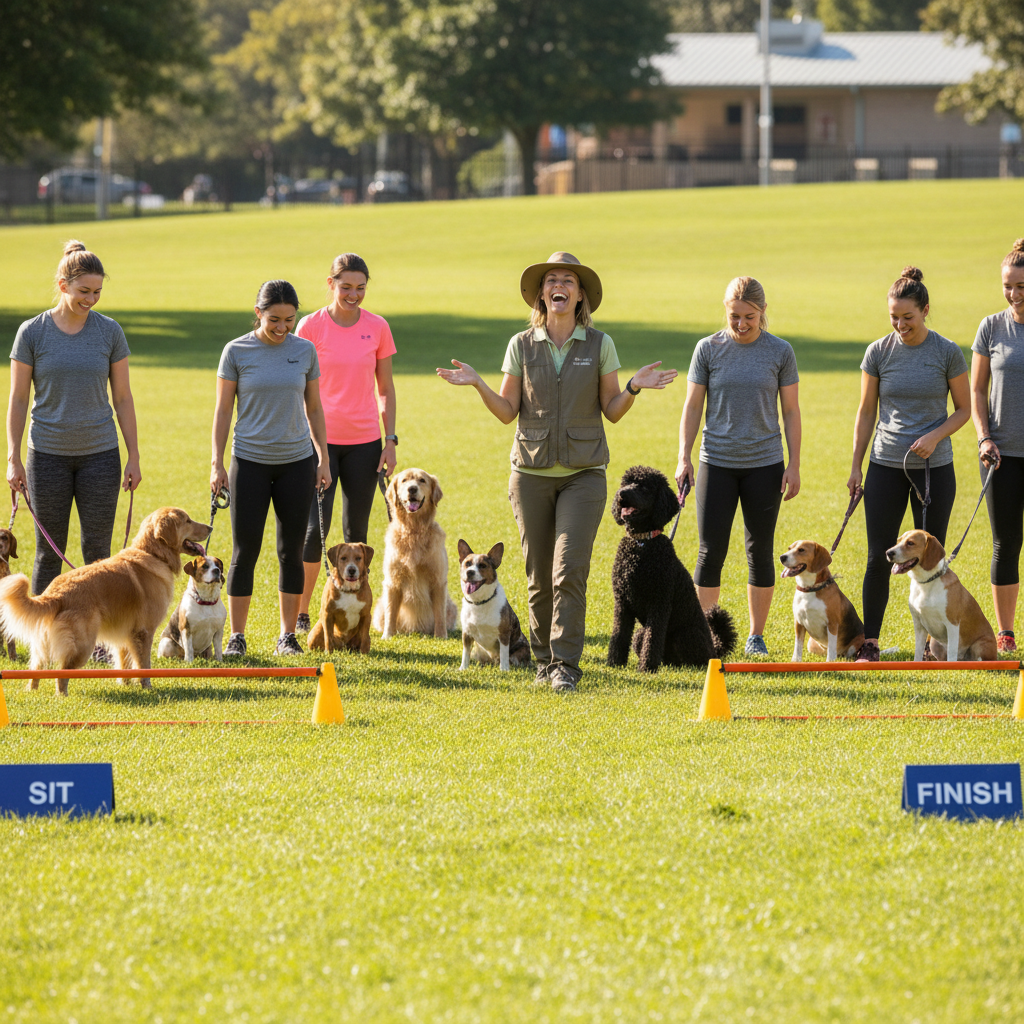
The signs are your roadmap. They’ll tell you everything you need to do, from simple commands like ‘Sit’ to more complex sequences like a ‘Figure 8’. The course always starts with a ‘START’ sign and ends with a ‘FINISH’ sign. Your job is to move from one sign to the next, in numerical order, executing the required skill with your dog in the ‘heel’ position (by your left side) unless the sign says otherwise. The beauty of Rally is that you can use verbal cues, hand signals, and lots of encouragement along the way. It’s a conversation between you and your dog, not a silent test.
The Building Blocks: Foundational Signs for Every Course
Every journey begins with a single step, and in Rally, that first step is at the START sign. These first few signs are the absolute essentials you’ll see on every single Novice course. Mastering them will give you the confidence to tackle the rest.
1. START
This sign is exactly what it sounds like! It marks the beginning of the course. You’ll approach the sign with your dog in heel position and wait for the judge to give you the signal to begin. No specific action is required here other than getting ready and focused with your pup. It’s your moment to take a deep breath and connect with your dog before you begin.
2. FINISH
The sweet sight of success! The FINISH sign marks the end of the course. When you pass this sign, your time stops. It’s crucial to keep your dog in heel position until you’ve completely passed the sign. Once you’re past it, it’s time for a ‘jackpot’ reward—lots of praise, treats, and maybe a celebratory toy toss for a job well done!
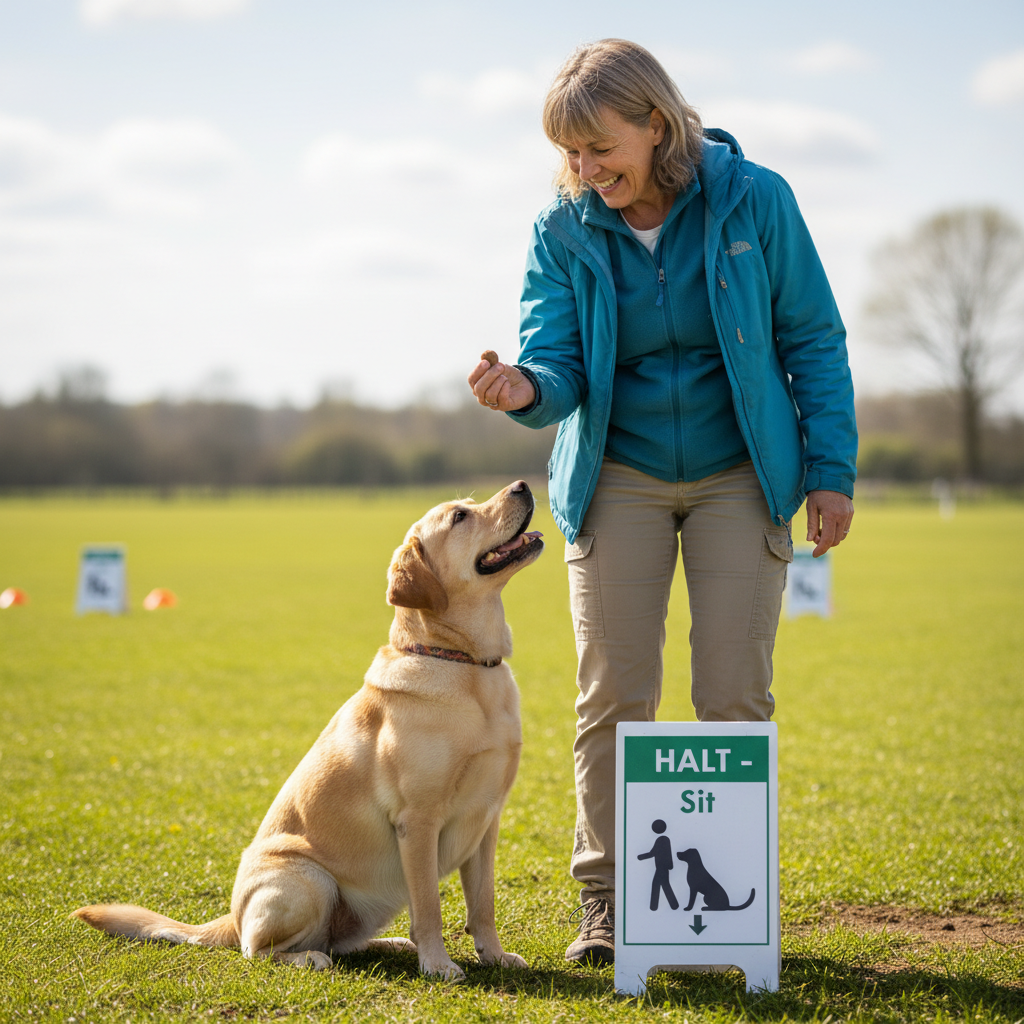
3. HALT – Sit
This is one of the most common signs you’ll encounter. It’s a simple test of basic obedience. As you approach the sign, you will stop moving (HALT), and your dog should automatically sit in heel position without a specific command. If they don’t, you can give a cue. The key is a smooth stop and a prompt sit. Practice this by walking a few steps in your living room, stopping, and rewarding your dog for sitting nicely at your side.
Let’s Get Moving: Mastering Turns and Pace Changes
Rally is all about movement. The course will guide you through a series of turns, changes in speed, and flowing exercises designed to test your dog’s ability to stay with you. These signs challenge your connection and communication while on the move.
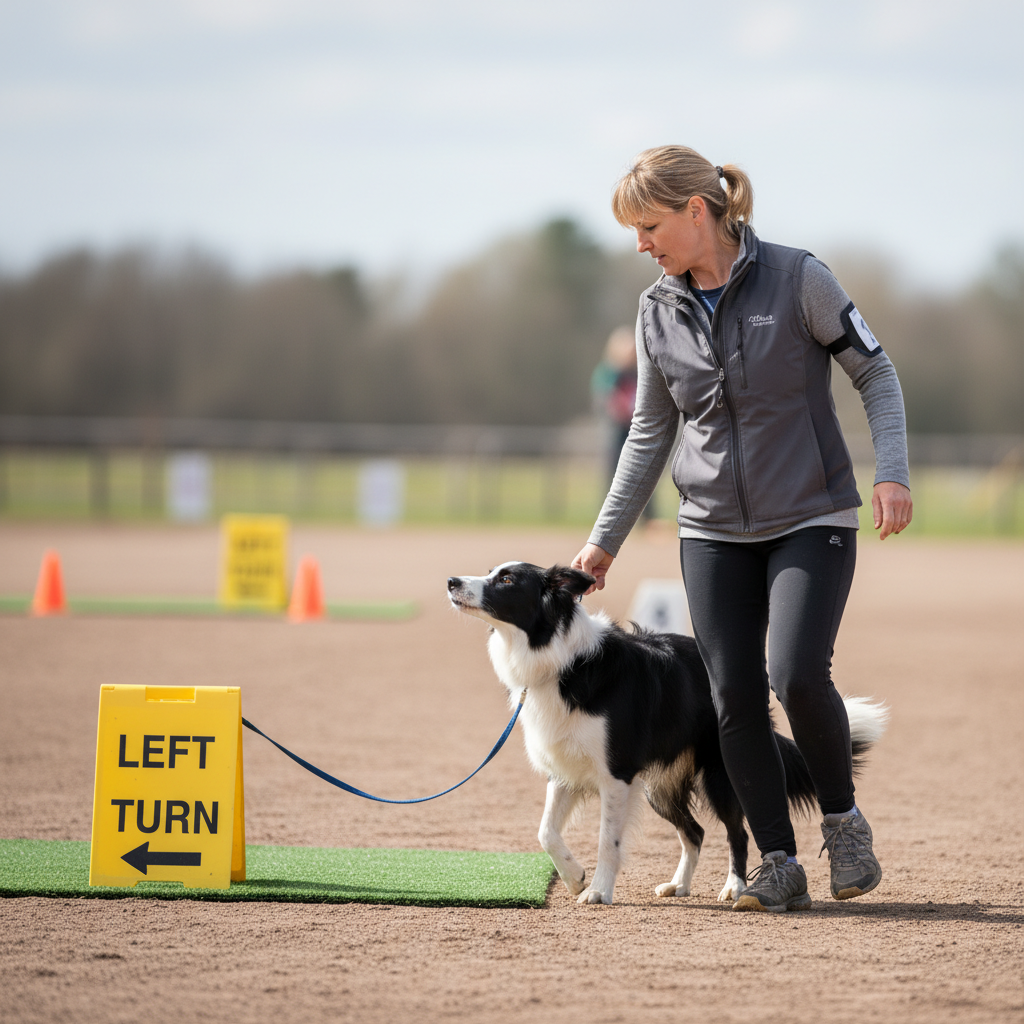
4. Right Turn & Left Turn
These are fundamental to navigating any course. For a Right Turn, you’ll make a crisp 90-degree turn to your right. Your dog, being on your left, has to speed up slightly to keep up and stay in heel position. For a Left Turn, you’ll turn 90 degrees to your left. This requires you to be careful not to crowd your dog, as they will need to slow down and pivot with you. Practice these in an open space, rewarding your dog for staying close to your leg through the turn.
5. Slow Pace & Normal Pace
These signs test your dog’s ability to adjust to your speed. When you see ‘Slow Pace,’ you’ll dramatically slow your walking speed. Your dog should match your new, slower pace without forging ahead. The ‘Normal Pace’ sign signals you to return to your regular walking speed. The transition should be smooth. This is a great exercise for teaching your dog to pay attention to your body language.
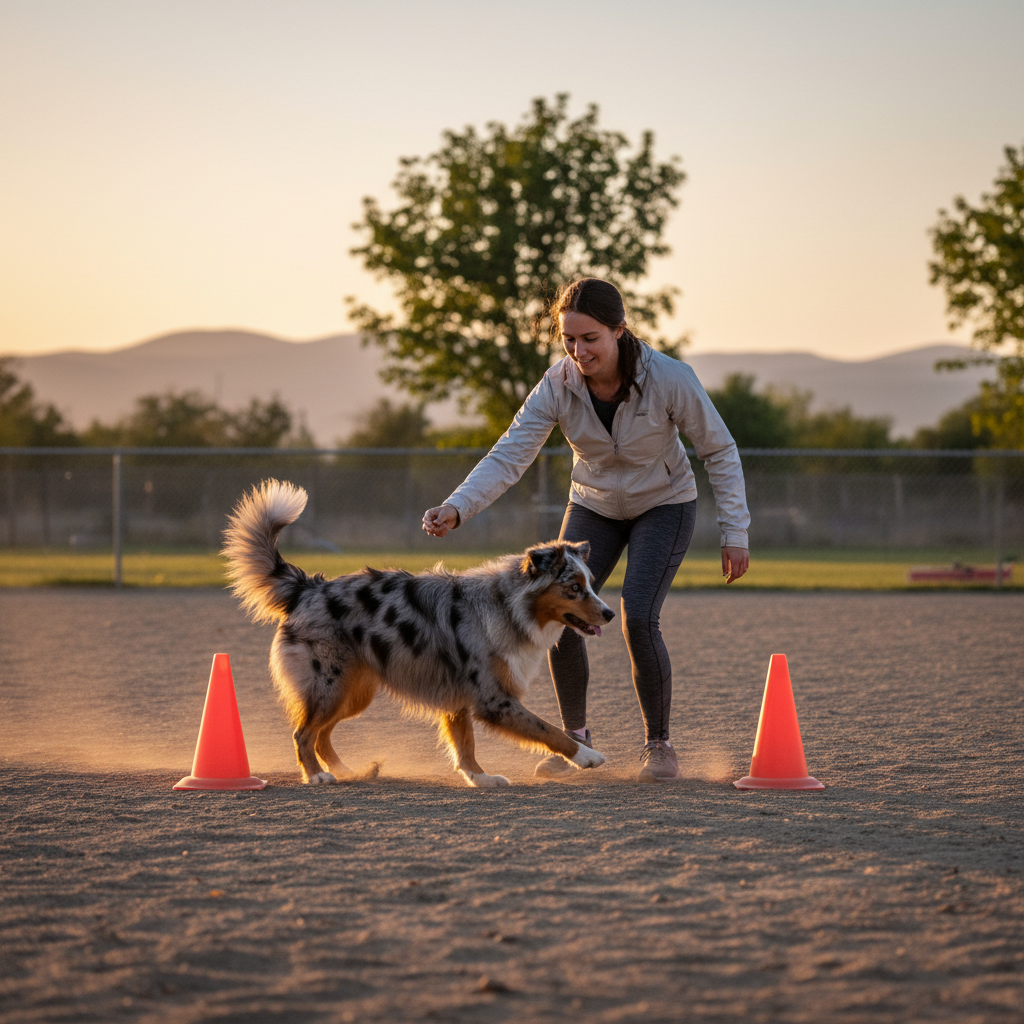
6. Serpentine Weave Once
This sign introduces a fun, flowing movement. You’ll see a set of cones or posts, and the sign will direct you to weave through them. For ‘Serpentine Weave Once,’ you’ll simply weave through the cones one time, with your dog staying in the heel position. It’s less about speed and more about teamwork and making sure you and your dog navigate the cones together smoothly.
Going in Circles: Spirals and Figure 8s
Now we’re adding a little more complexity! Circles and weaving patterns are a staple in Rally. They challenge your dog to maintain heel position through continuous changes in direction and can be a little dizzying at first, but they are incredibly fun once you get the hang of them.
7. Spiral Right – Dog Inside
This sign will be next to a single cone. You and your dog will perform a spiral, circling the cone three times with the circle getting progressively smaller, and then spiraling back out. For ‘Spiral Right – Dog Inside’, you will keep the cone on your right side, meaning your dog is on the inside of the circle. This requires them to take smaller, more collected steps. It’s a true test of your dog’s ability to rate their speed and stay connected to you.
8. Figure 8 and Forward
A classic obedience exercise! This sign will be placed between two cones or posts. You’ll start by walking between the posts, then circle around the right one, back through the middle, around the left one, and finally continue forward. Your dog must remain in heel position throughout this entire weaving pattern. It’s a fantastic exercise for building focus, as your dog has to ignore the ‘distraction’ of the second cone while circling the first.
Keep your energy up and use your voice! Your positive attitude is the most valuable tool you have on the course. Your dog will feed off your confidence and enthusiasm.
Putting It All Together: Combining Skills
As you advance, Rally signs will start to combine multiple behaviors into one station. These signs are a great way to check in on your foundation training and see how fluently your dog can move from one behavior to the next. They look tricky, but they are just sequences of the simple skills you’ve already been practicing!
9. HALT – Sit – Down
This sign builds on the simple ‘HALT – Sit’. Here, you will stop, have your dog sit in heel position, and then cue your dog to lie down, all while you remain standing. It tests your dog’s ability to perform a chain of behaviors without you moving. The key is to wait for each behavior to be completed before moving to the next cue. For example, ensure a clean sit before you ask for the down.
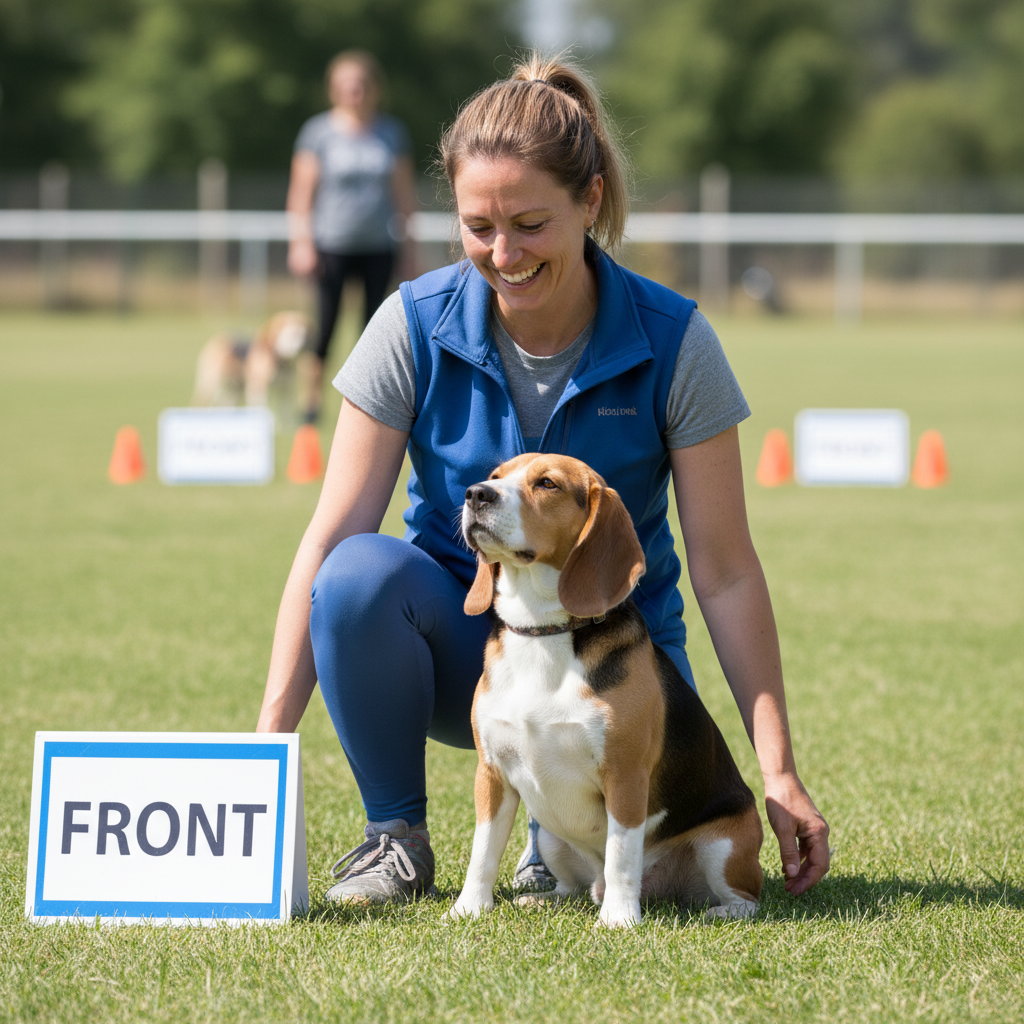
10. Call Front – Finish Right
This is your introduction to a recall within the course! The sign will instruct you to halt and leave your dog in a sit position. You will then walk forward a short distance, turn to face your dog, and call them to you. They should run to you and sit directly in front of you, facing you (the ‘Front’ position). The ‘Finish Right’ command then tells you how to get your dog back into heel position. In this case, you’ll cue your dog to move around behind you and circle back into the heel position on your left side. It’s a multi-step exercise that beautifully showcases your teamwork.
Top Tips for Acing Your First Rally Course
Feeling excited to get started? That’s the spirit! As you begin practicing these signs, keep a few key things in mind to make the learning process fun and effective for both you and your four-legged partner.
- Keep It Short and Sweet: Training sessions should be brief, especially at the beginning. A few 5-10 minute sessions per day are much more effective than one long, frustrating hour. Always end on a positive note!
- Positive Reinforcement is Key: Rally is a ‘feel-good’ sport. Use plenty of high-value treats, exciting toys, and enthusiastic praise to reward your dog for trying. Let them know what a superstar they are!
- Walk the Course First: In a class or competition setting, you’ll be allowed to walk the course without your dog. Use this time to memorize the path, plan your movements, and figure out where you might need to give your dog extra support.
- Talk to Your Dog: This is the best part of Rally! You are encouraged to talk to, praise, and encourage your dog throughout the course (though you can’t touch them or use continuous commands). Use your voice to keep them engaged and happy.
- Focus on Connection, Not Perfection: Especially when you’re starting, don’t worry about getting every single step perfect. The goal is to build a joyful working relationship. The precision will come with practice. The fun should be there from day one.
Conclusion
And there you have it—10 essential signs to kickstart your Rally Obedience adventure! From a simple ‘HALT-Sit’ to a multi-step ‘Call Front’, these exercises provide a solid foundation for a lifetime of fun with your dog. Remember, the ultimate goal of Rally isn’t a blue ribbon; it’s the incredible bond you build while working and playing together as a team.
So, start practicing in your backyard, find a local training club, or even set up a mini-course in your living room. Be patient, be positive, and celebrate the small victories along the way. Before you know it, you and your dog will be navigating courses with the confidence and style of seasoned pros. Happy training!